Ubuntu 20.04安装/更新升级后进系统黑屏,屏幕亮度无法调节踩坑记
1.背景
这几天将Thinkpad E15笔记系统更换成了Ubuntu Desktop 20.04 LTS,系统装好后进入系统只登录了Ubuntu账号和Livepath,然后系统安装器弹出提示说要有更新,更新完成后提示需要重启,点击立即重启,无法进入登陆界面,黑屏的左上角只有个光标一直在闪。没有拍照,类似下图:

2.排查问题
根据这个表现形式初步估计是显卡驱动问题,系统升级后显卡驱动没了。使用`Ctrl+Alt+F2`进入控制台,输入`lspci |grep -i vga`命令查看显卡。
~$ lspci |grep -i vga
00:02.0 VGA compatible controller: Intel Corporation UHD Graphics (rev 02)
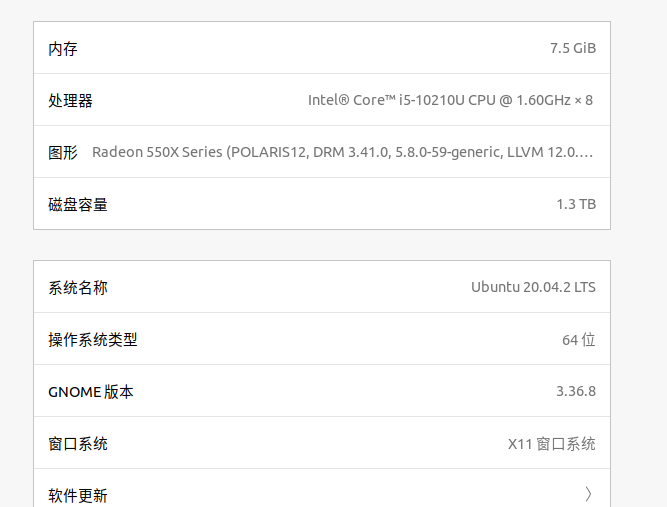
输入`lshw -c video`和`lspci -k | grep -EA3 'VGA|Display'`命令查看一下显卡型号,得到两个显卡一个是集成显卡,一个是独立显卡Radeon 540X,目前看来应该是独显的驱动没有了。
~$ lshw -c video
WARNING: you should run this program as super-user.
*-display
description: VGA compatible controller
product: UHD Graphics
vendor: Intel Corporation
physical id: 2
bus info: pci@0000:00:02.0
version: 02
width: 64 bits
clock: 33MHz
capabilities: vga_controller bus_master cap_list rom
configuration: driver=i915 latency=0
resources: irq:141 memory:d1000000-d1ffffff memory:a0000000-bfffffff ioport:5000(size=64) memory:c0000-dffff
*-display
description: Display controller
product: Lexa [Radeon 540X/550X/630 / RX 640 / E9171 MCM]
vendor: Advanced Micro Devices, Inc. [AMD/ATI]
physical id: 0
bus info: pci@0000:03:00.0
version: c0
width: 64 bits
clock: 33MHz
capabilities: bus_master cap_list rom
configuration: driver=amdgpu latency=0
resources: irq:139 memory:c0000000-cfffffff memory:d0000000-d01fffff ioport:4000(size=256) memory:d2400000-d243ffff memory:d2440000-d245ffff
WARNING: output may be incomplete or inaccurate, you should run this program as super-user.
~$ lspci -k | grep -EA3 'VGA|Display'
00:02.0 VGA compatible controller: Intel Corporation UHD Graphics (rev 02)
Subsystem: Lenovo UHD Graphics
Kernel driver in use: i915
Kernel modules: i915
--
03:00.0 Display controller: Advanced Micro Devices, Inc. [AMD/ATI] Lexa [Radeon 540X/550X/630 / RX 640 / E9171 MCM] (rev c0)
Subsystem: Lenovo Lexa [Radeon 540X/550X/630 / RX 640 / E9171 MCM]
Kernel driver in use: amdgpu
Kernel modules: amdgpu
3.尝试修复
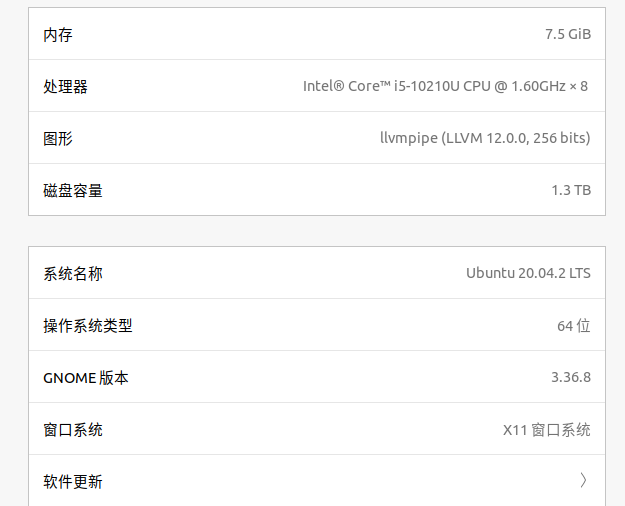
输入`startx`试试能不能进入图形界面,发现居然进去了。在设置->关于中看了一下显卡信息,果然是独显。如图Radeon 550X Series是AMD家的显卡:
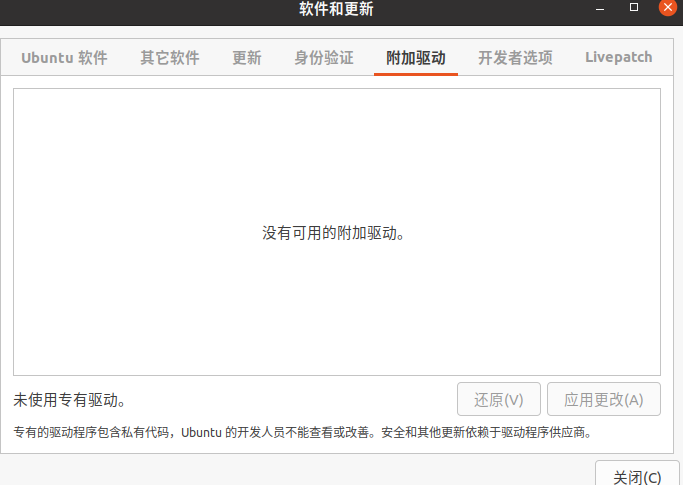
按照百度经验的文章( https://zhidao.baidu.com/question/1772499773845841740.html )尝试修复发现附加驱动为空。
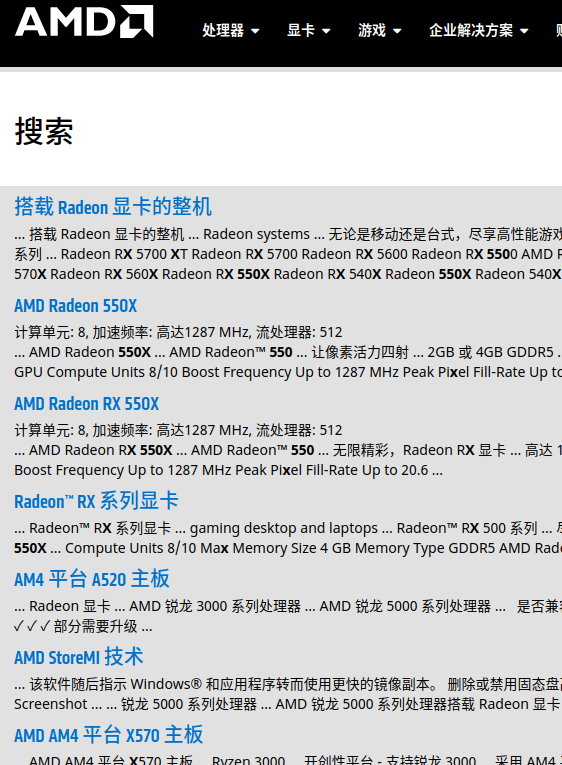
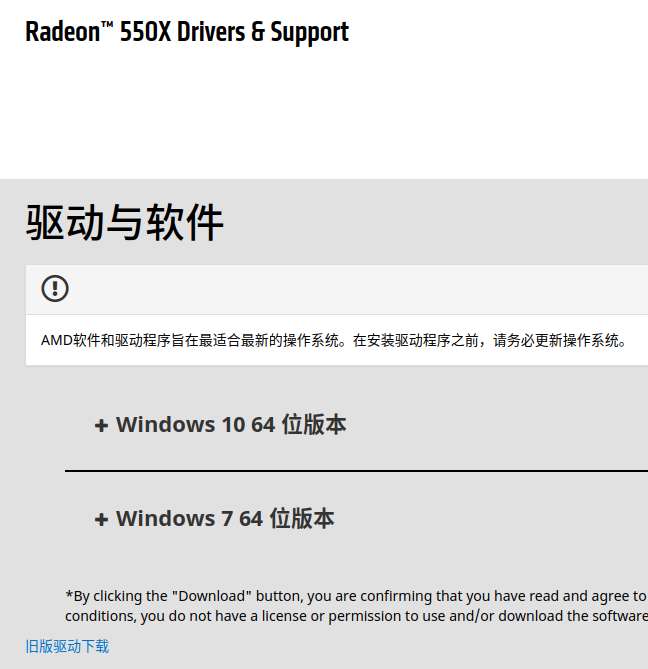
于是到AMD中文官方搜索550X的驱动,发现只有windows驱动...
于是找到网上另一种方法尝试,依然是黑屏进不去系统。
~$ sudo add-apt-repository ppa:oibaf/graphics-drivers #添加AMD驱动源
~$ sudo apt update && sudo apt upgrade
这有点奇怪为什么刚装好系统就能进去,难道升级后的驱动不能用吗?那么是不是系统装好了不升级就没问题了呢?于是重装系统不升级直接重启,惊喜出现了。还是那个很受欢迎的黑屏界面:):)
按照另外网友的方法,修改`/etc/default/grub`,添加nomodeset。
#GRUB_CMDLINE_LINUX_DEFAULT="quiet splash" #原版
GRUB_CMDLINE_LINUX_DEFAULT="quiet splash nomodeset" #修改后
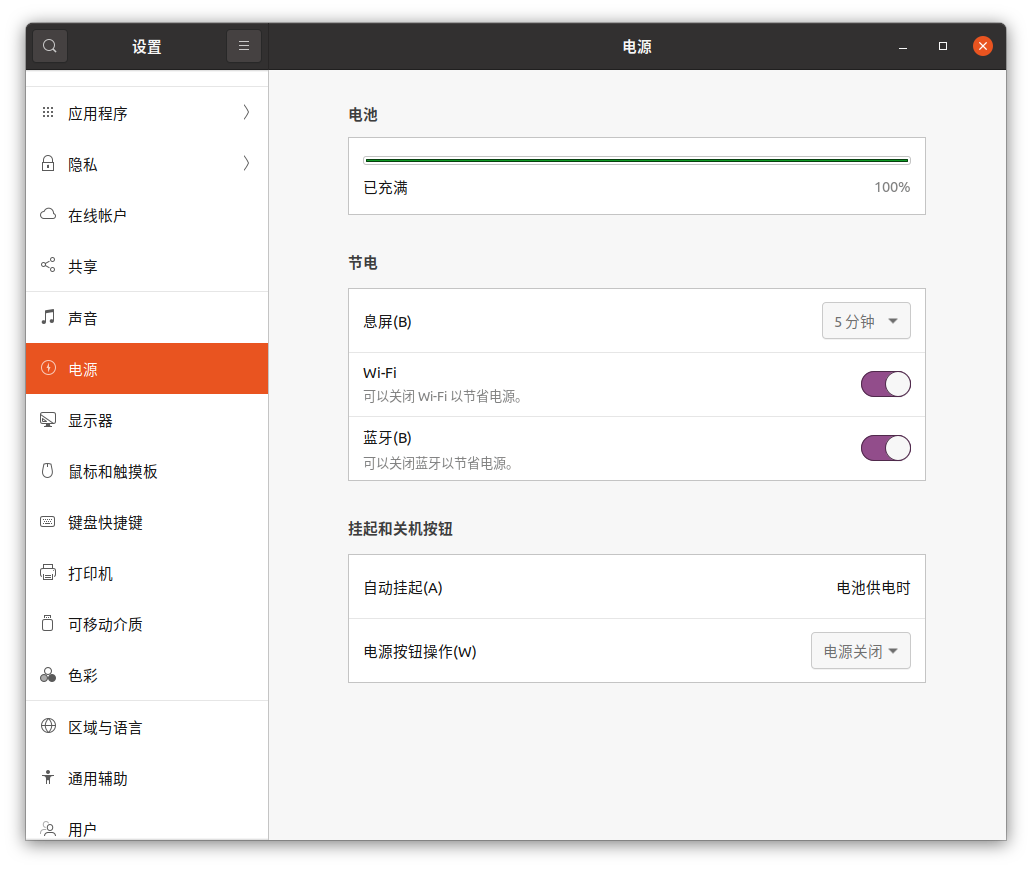
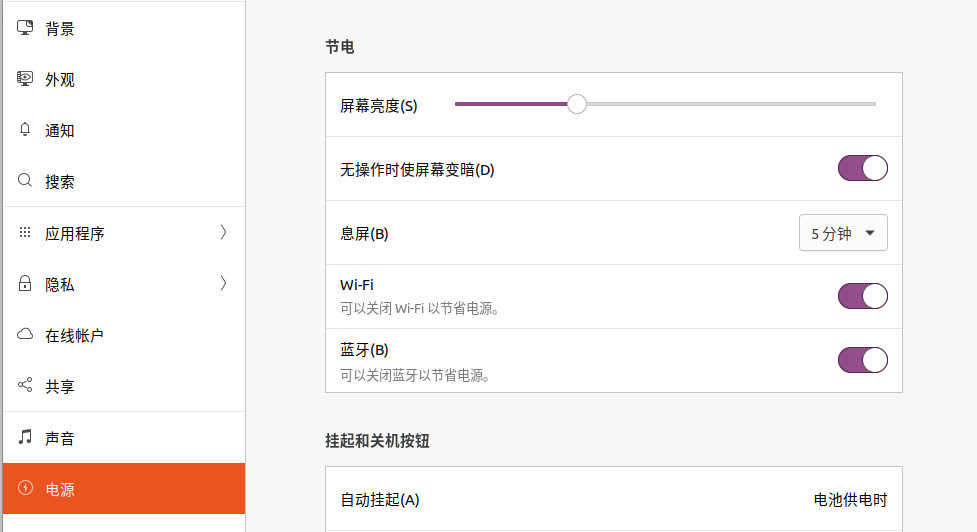
按此方法尝试终于进入系统界面了,但是这种跳过方式带来了新的问题就是屏幕亮度无法调节,屏幕亮度无法调节,屏幕亮度无法调节。屏幕会很亮,很亮,很亮。亮瞎你的眼。打开设置->电源选项,你会惊奇的发现原本躺在那里的“屏幕亮度”调节按钮没有了。
解决方法
经过多方的摸索和尝试,再次来到AMD官网搜索`Ubuntu 20.04`,发现没有结果...
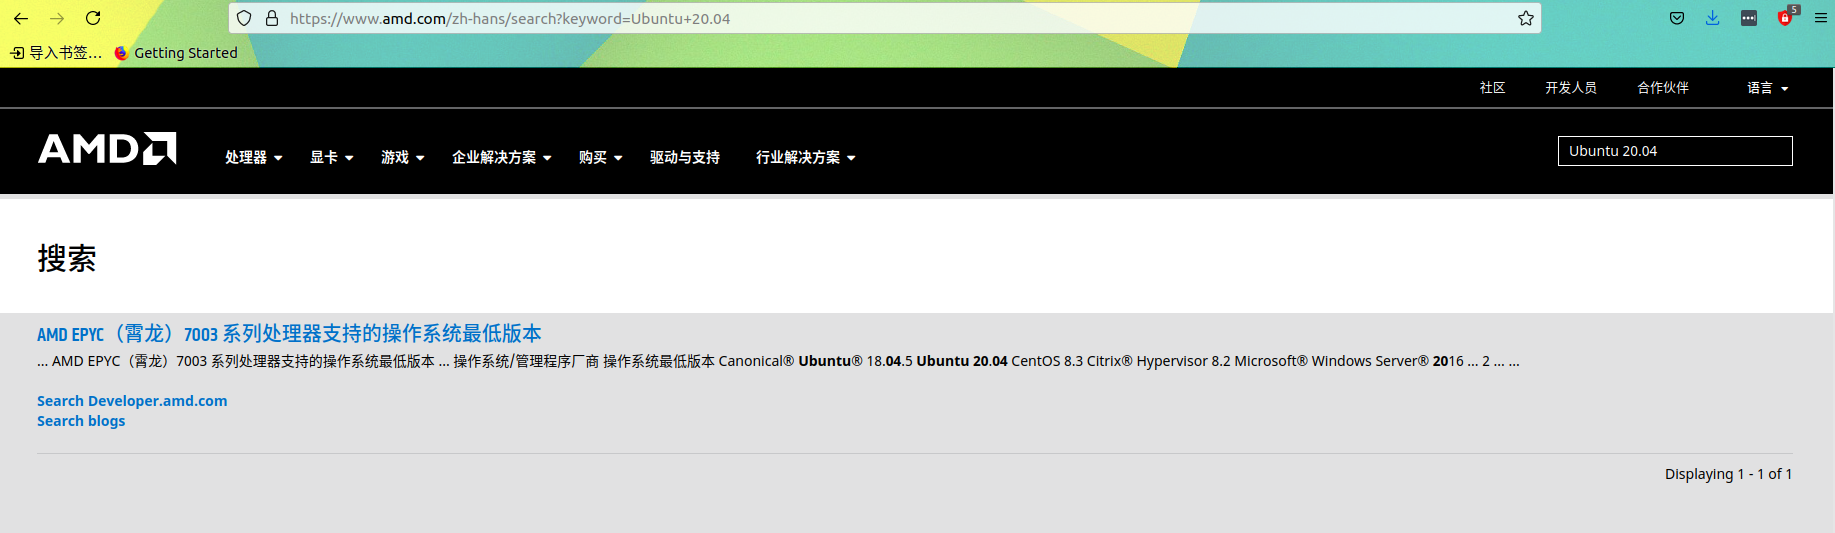
将网址`https://www.amd.com/zh-hans/search?keyword=Ubuntu+20.04中的“zh-hans”改成英文“en”,奇迹出现了,看来AMD预料到中国用户只用windows的,所以连个驱动都不给。
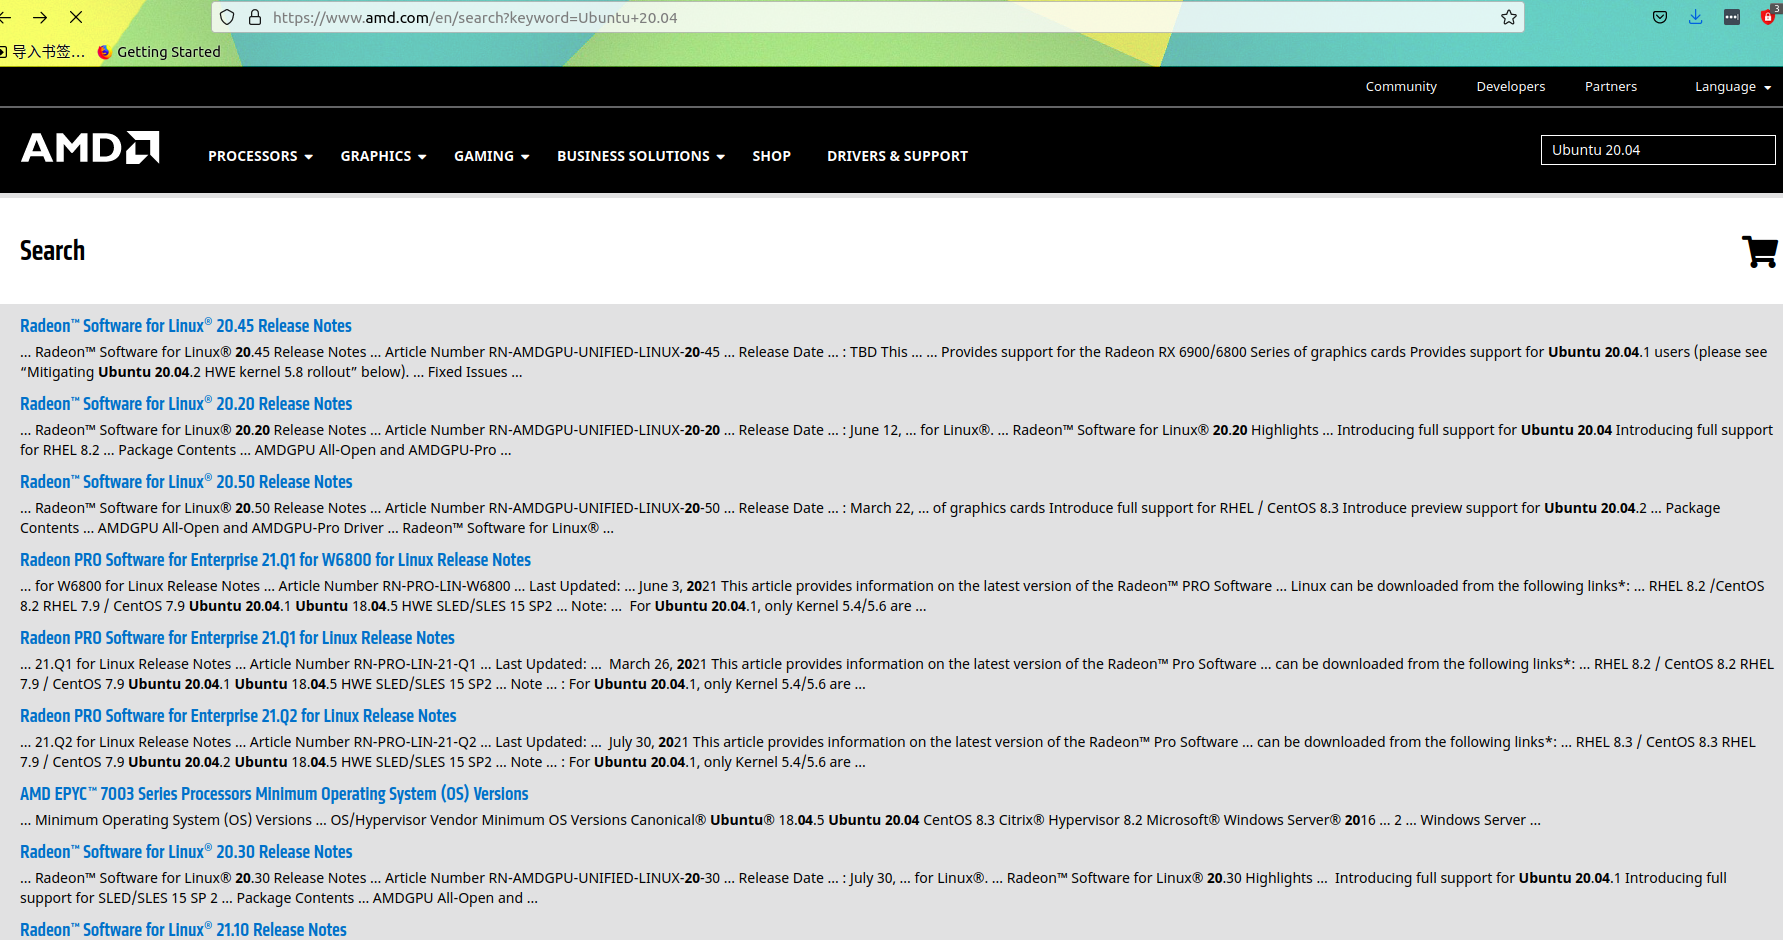
找一个最新的版本`Radeon™ Software for Linux® 21.20 Release Notes`:https://www.amd.com/en/support/kb/release-notes/rn-amdgpu-unified-linux-21-20
下载`Radeon™ Software for Linux® version 21.20 for Ubuntu 20.04.2`后解压。

执行`amdgpu-install`命令进行安装
~$ sudo ./amdgpu-install -y
安装过程中可能会弹出`Secure Boot`选项让你输入密码,这步很重要一定要记住密码重启开机时会弹出一个蓝色的对话框让你输入密码。

这一步很坑,笔者选了好多次都选错了。一定不要直接选那个。
经过很多次尝试后,找到官方文档:https://amdgpu-install.readthedocs.io/en/latest/install-installing.html#using-the-mok-manager
Using the MOK Manager to Enroll the MOK Certificate
After requesting to import the MOK certificate and entering a temporarypassword, the MOK manager will start on next boot.
Hit any key to avoid continuing boot. Do no select “Continue Boot”, but rather select “Enroll MOK” and “View key 0” to confirm that the key is correct.
Select “Continue”, “Yes”, and enter the temporary password to finish enrolling the key certificate. Select “Reboot” to exit the MOK manager.
The signed driver should now load successfully.
进入MOK界面后不要选择“Continue Boot”,而是选择“Enroll MOK” 和“View key 0” 来确认;
然后选择“Continue”;
然后选择“Yes”;
然后输入安装驱动时的密码;
再选择“Reboot”退出MOK启动后直接进入系统。发现亮度能正常调节,查看设置->关于里面显卡也正常。
后续
2021-7-15更新
最近发现一个很扯淡的问题,就是又黑屏了。不过发现一个很荒诞的解决方法,大家可以试试:黑屏光标一闪一闪的时候,使用进tty2,进去后不做任何操作,再用,发现登录界面出来了。神奇不神奇?