03 Spring Security 入门实例
目录结构
依赖
我们还是使用 Maven 管理依赖,Kotlin 作为开发语言,在 Spring Boot 的版本上,我们选择 版本。其中除了必须的依赖之外还引入了 、,以及主角 。
    4.0.0

        org.springframework.boot
        spring-boot-starter-parent
        2.3.3.RELEASE


    com.example
    security
    0.0.1-SNAPSHOT
    security
    Demo project for Spring Boot


        1.8
        1.3.72


            org.springframework.boot
            spring-boot-starter-security


            org.springframework.boot
            spring-boot-starter-thymeleaf


            org.springframework.boot
            spring-boot-starter-web


            com.fasterxml.jackson.module
            jackson-module-kotlin


            org.jetbrains.kotlin
            kotlin-reflect


            org.jetbrains.kotlin
            kotlin-stdlib-jdk8


            org.springframework.boot
            spring-boot-starter-test
            test


                    org.junit.vintage
                    junit-vintage-engine


            org.springframework.security
            spring-security-test
            test


        ${project.basedir}/src/main/kotlin
        ${project.basedir}/src/test/kotlin


                org.springframework.boot
                spring-boot-maven-plugin


                org.jetbrains.kotlin
                kotlin-maven-plugin


                        -Xjsr305=strict


                        spring


                        org.jetbrains.kotlin
                        kotlin-maven-allopen
                        ${kotlin.version}
路径映射
package com.example.security.configuration

import org.springframework.context.annotation.Configuration
import org.springframework.web.servlet.config.annotation.ViewControllerRegistry
import org.springframework.web.servlet.config.annotation.WebMvcConfigurer

@Configuration
class MvnConfig : WebMvcConfigurer {

    override fun addViewControllers(registry: ViewControllerRegistry) {
        registry.addViewController("/home").setViewName("home")
        registry.addViewController("/").setViewName("home")
        registry.addViewController("/hello").setViewName("hello")
        registry.addViewController("/login").setViewName("login")
    }

}
这里我们使用统一的配置 MVC-View 的关系映射,不再创建多个 Controller 了。主要的就是配置四对 URL-页面的映射,并没有什么其他功能。
安全框架配置
package com.example.security.configuration

import org.springframework.context.annotation.Bean
import org.springframework.context.annotation.Configuration
import org.springframework.security.config.annotation.web.builders.HttpSecurity
import org.springframework.security.config.annotation.web.configuration.EnableWebSecurity
import org.springframework.security.config.annotation.web.configuration.WebSecurityConfigurerAdapter
import org.springframework.security.core.userdetails.User
import org.springframework.security.core.userdetails.UserDetailsService
import org.springframework.security.provisioning.InMemoryUserDetailsManager

@Configuration
@EnableWebSecurity
class WebSecurityConfig : WebSecurityConfigurerAdapter() {

    override fun configure(http: HttpSecurity) {
        http
            .authorizeRequests()
            .antMatchers("/", "/home").permitAll()
            .anyRequest().authenticated()
            .and()
            .formLogin()
            .loginPage("/login")
            .permitAll()
            .and()
            .logout()
            .permitAll()
    }

    @Bean
    override fun userDetailsService(): UserDetailsService {
        val user = User
            .withDefaultPasswordEncoder()
            .username("user")
            .password("password")
            .roles("USER")
            .build()

        return InMemoryUserDetailsManager(user)
    }
}
注解简单的理解就是字面意思启用 Spring Security 对与 web 的安全支持,并且同事继承了 类,复用了其中的一个默认配置,也自定义了 Spring Security 配置。
方法我们从方法名上就可以知道它一个用来设置某些东西的,而形参的类型是 可以简单的推断出是一个关于 http 请求的一个设置方法。既然是关于一个 http 相关的,那么就大概就是管什么请求路径可以访问,什么请求路径不可以访问,某个角色可以访问那些个路径之类的。
上面的示例中代码所进行的配置大致意思就是:
路径 以及 可以随意访问,不用登录就可以访问
表示的意思是,剩下的任何路径都要登录才能访问
通过 是登录的入口地址
登出、注销是通过 作为出口的地址
方法其实是我们通过使用内存的方式来模拟一个用户用的,用户名是 user,密码是 password,对应的角色是 USER。
页面
页面我们在前面引入了 ,来作为视图层的实现。
home.html
    Home


    Welcome!
    Click here to see a greeting.
很简单的一个欢迎页,然后点击按钮会访问 路径。
hello.html
    Hello


    Hello [[${#httpServletRequest.remoteUser}]]!
当成功访问 路径后会调到 hello.html 页面,但是有一个问题是,我们在之前的安全配置中,没有指明 路径是可以不用登录直接访问的,那么结果就是浏览器自动跳转到 login 登录页面
login.html
Login
Invalid username and password.
You have been logged out.
页面包含最基本的一个 标签,需要输入用户名和密码,登录请求的地址就是 ;额外的当我们输入的用户名和密码是不对的 Spring Security 会复用该登录页面,返回类似 /login?eror 的格式,同样的登出注销是一样的,格式类似 /login?logout
项目启动
欢迎首页(home.html)
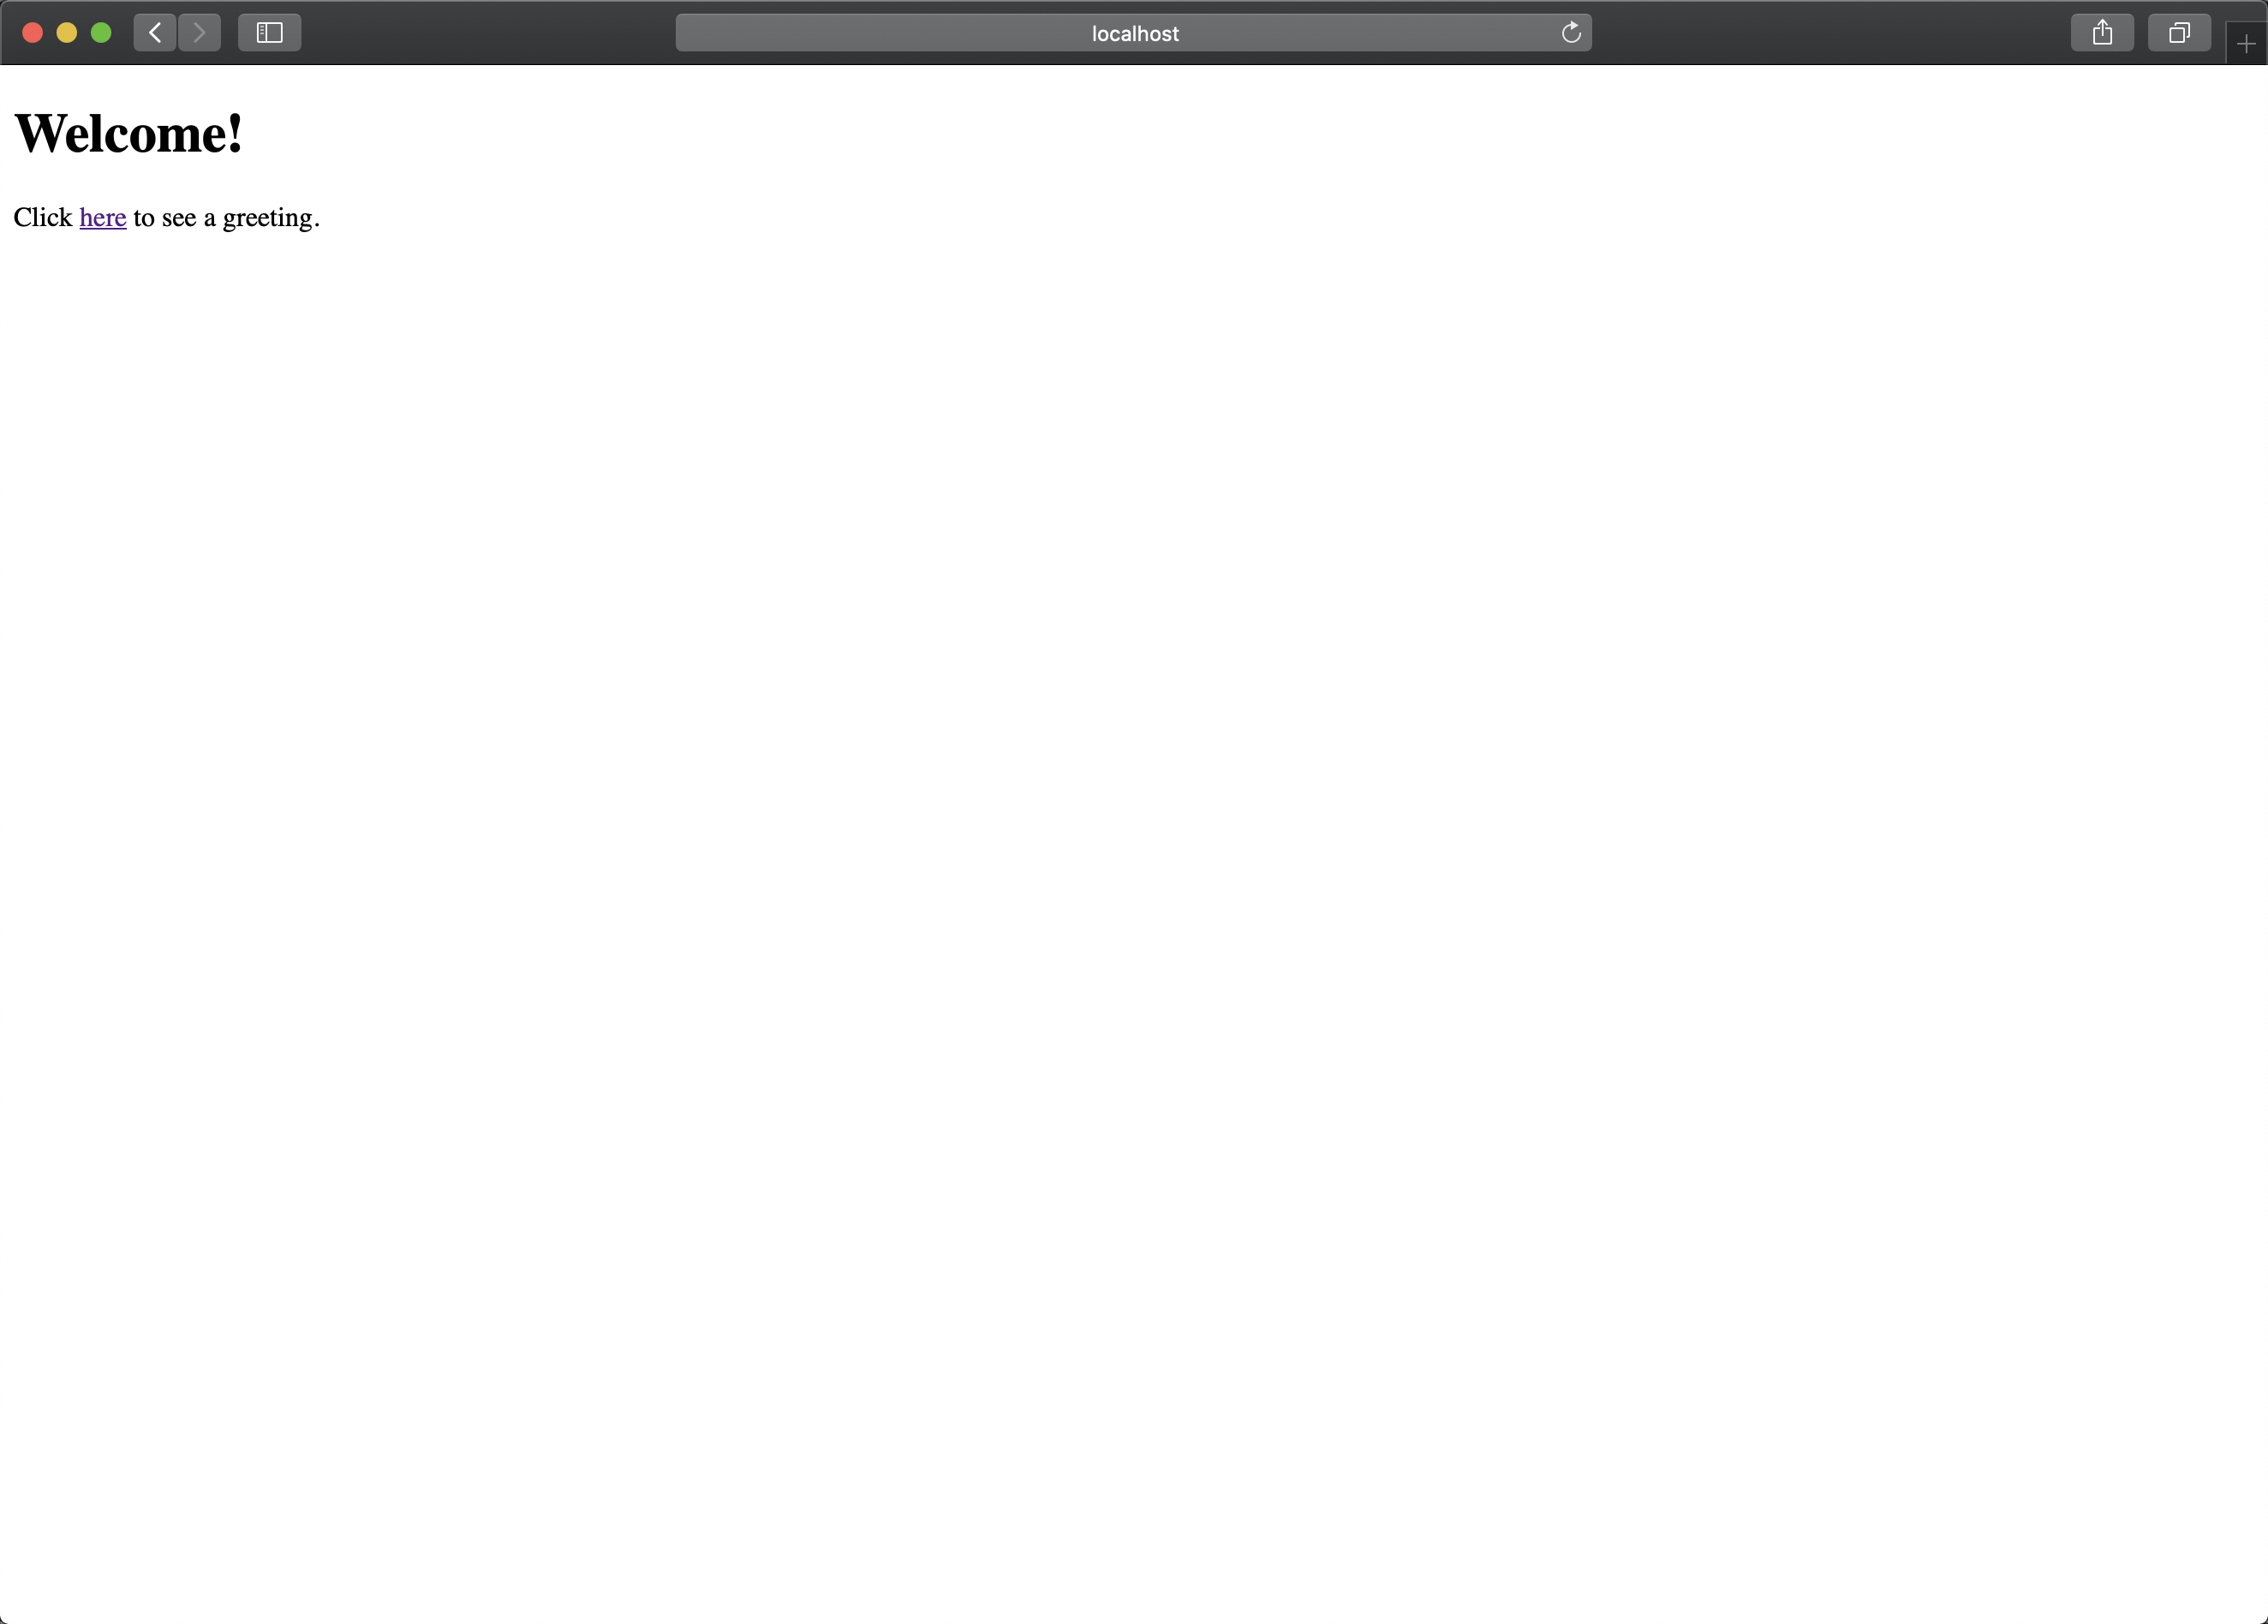
点击 按钮应该会跳转到 hello.html 页面,但是因为框架检测到我们没有登录,自动的转到了 login.html 的登录页面。
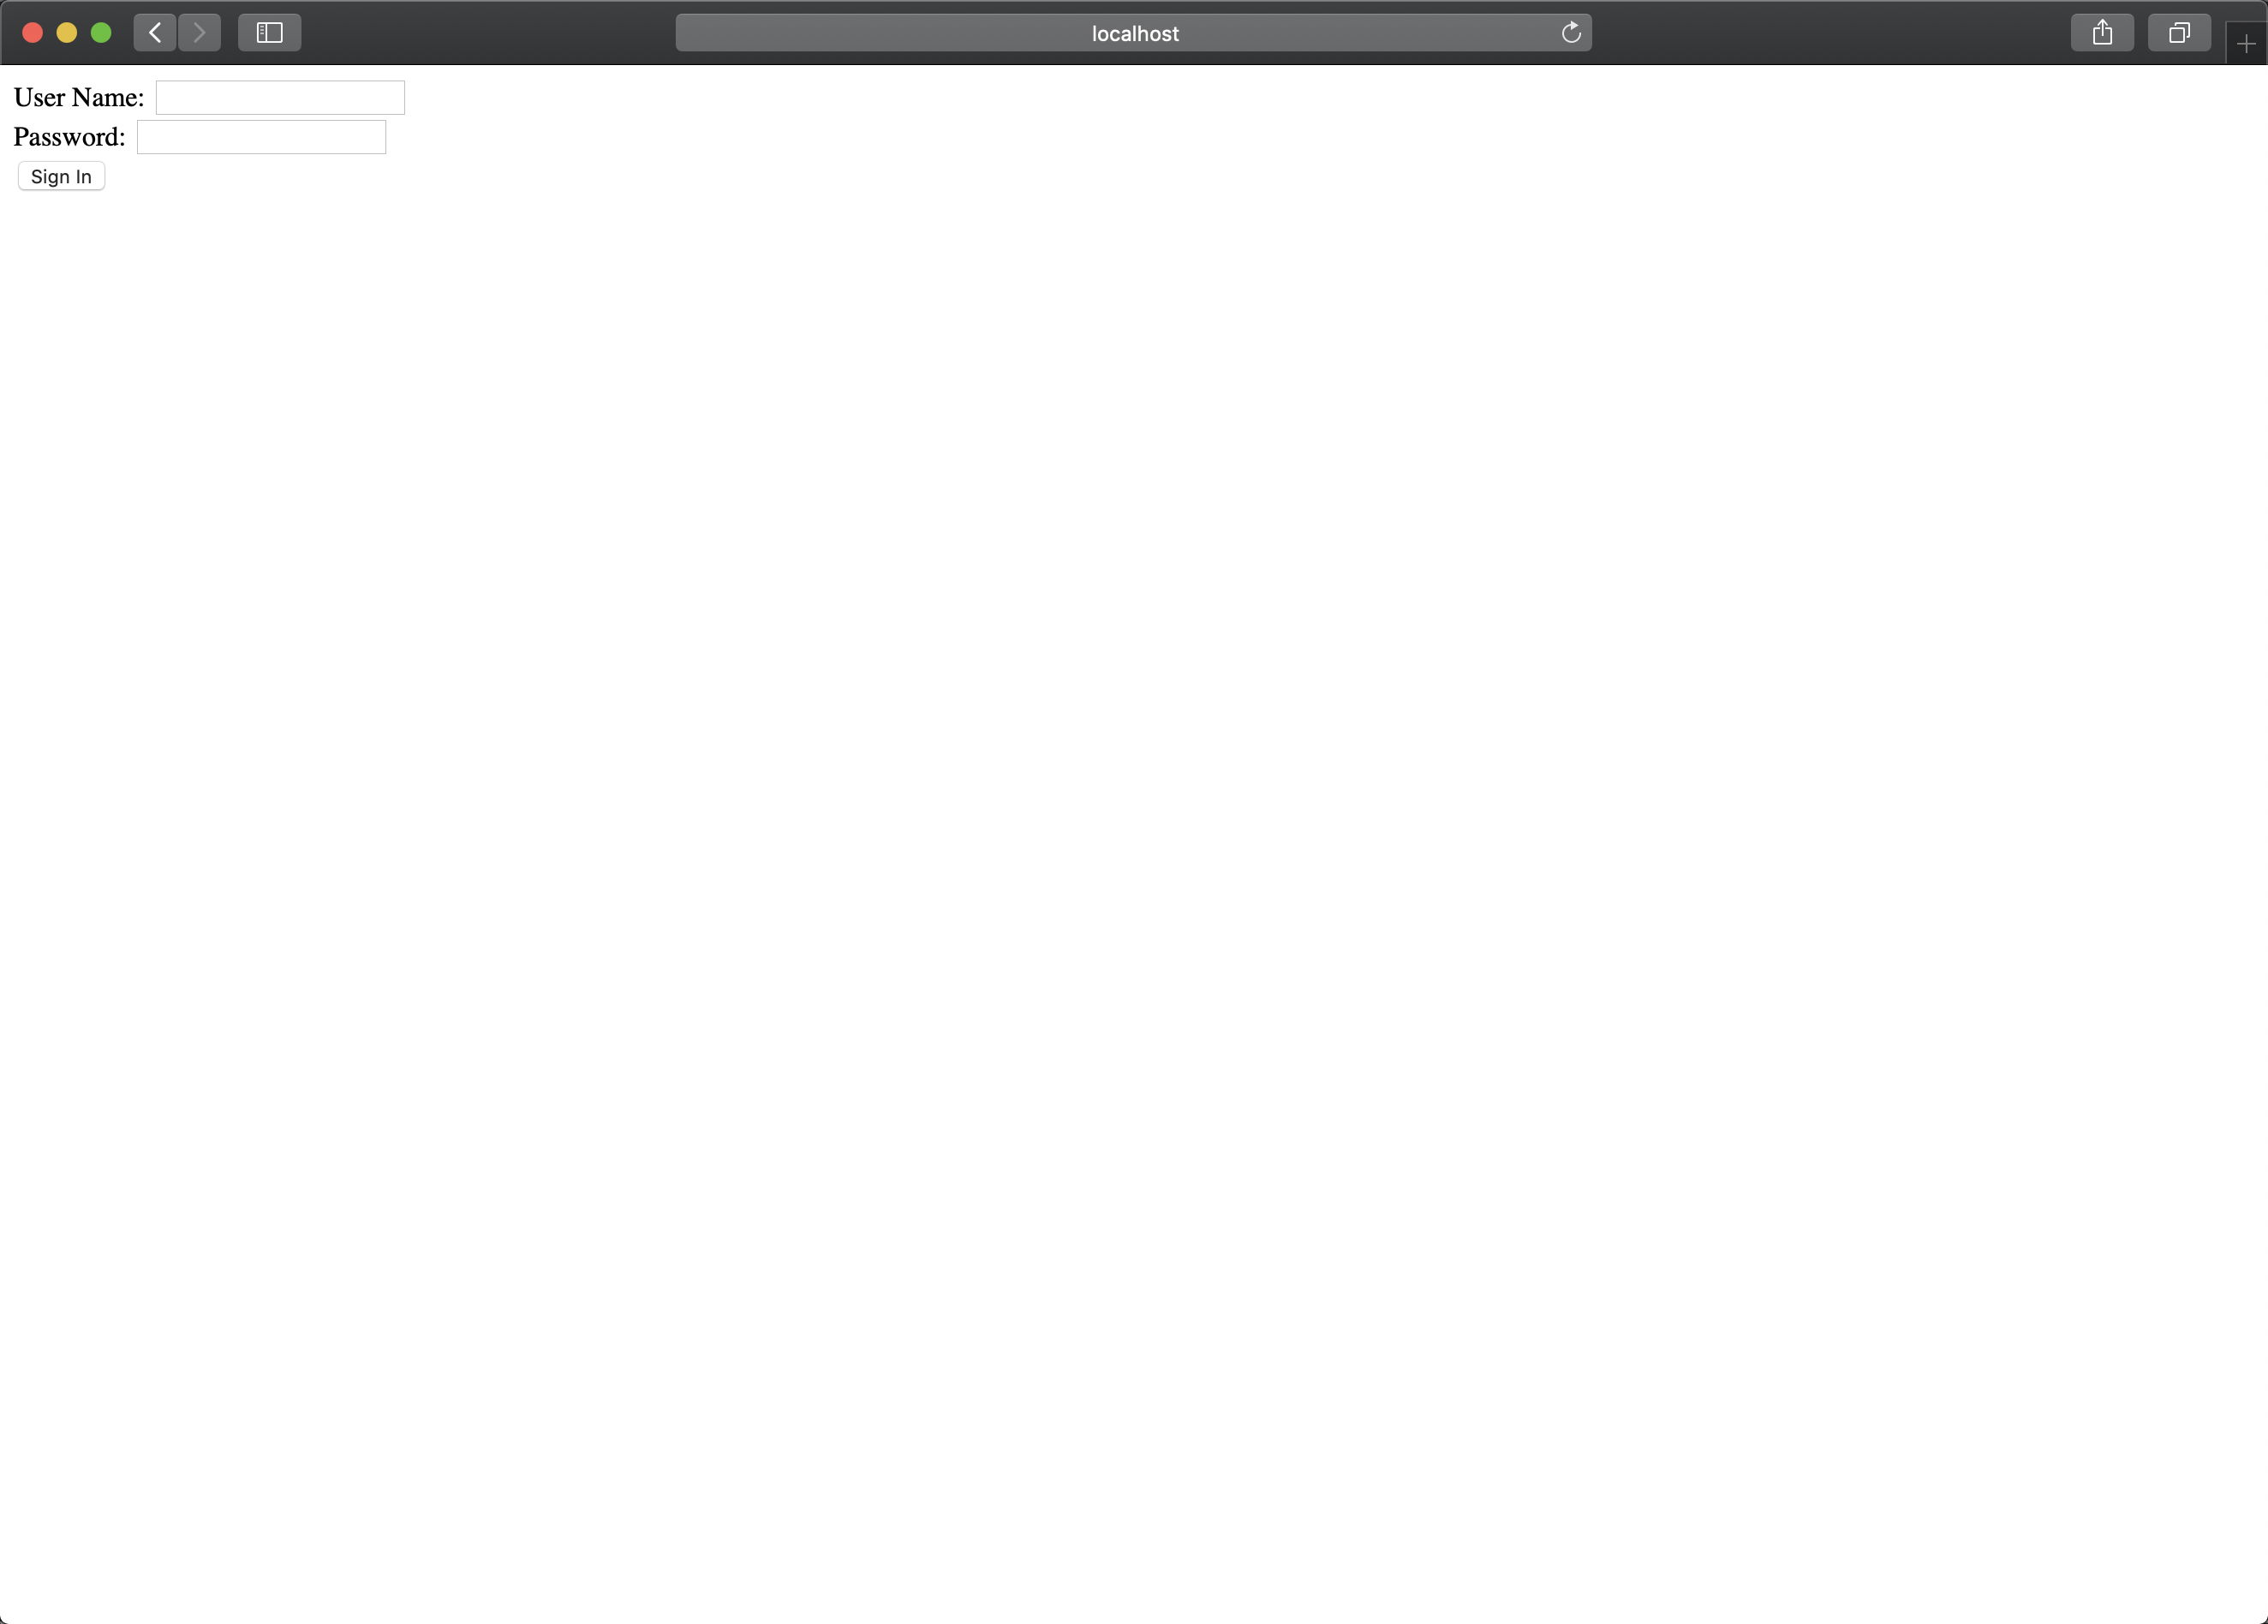
这时我们用在代码里固定模拟的用户以及密码(user/password),进行登录尝试。
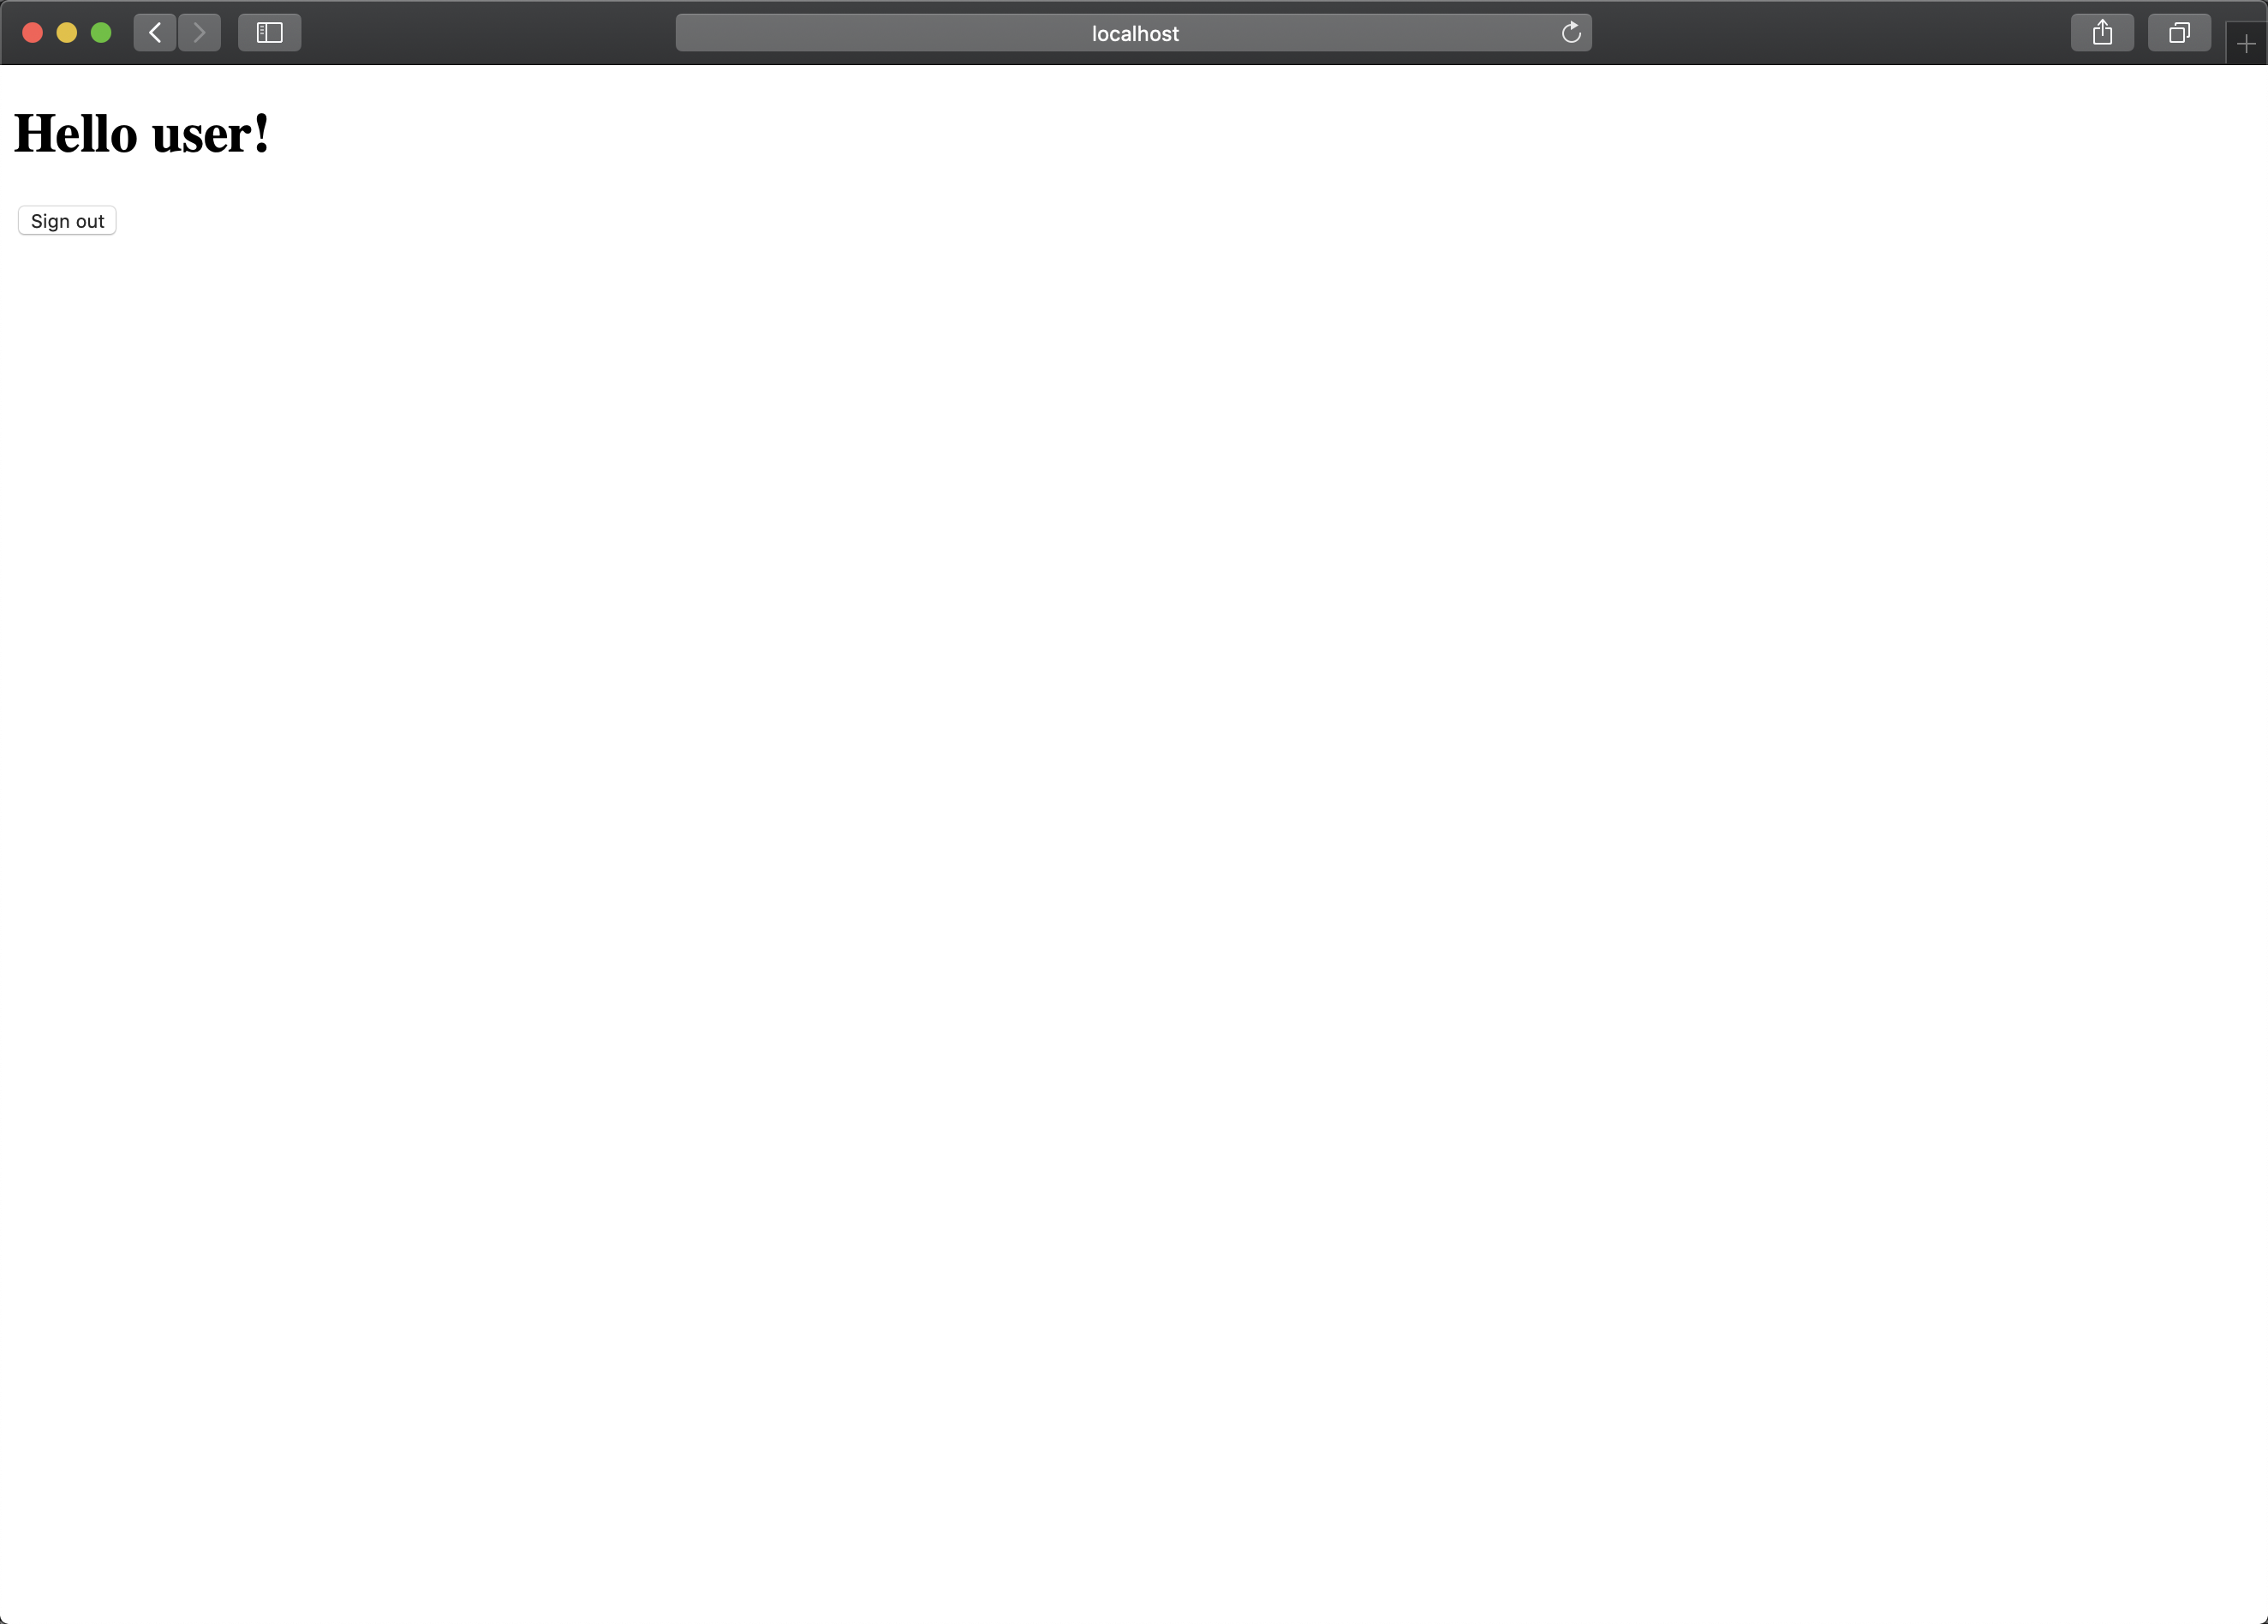
页面提示登录成功,我们再来试一下登出,点击 按钮。
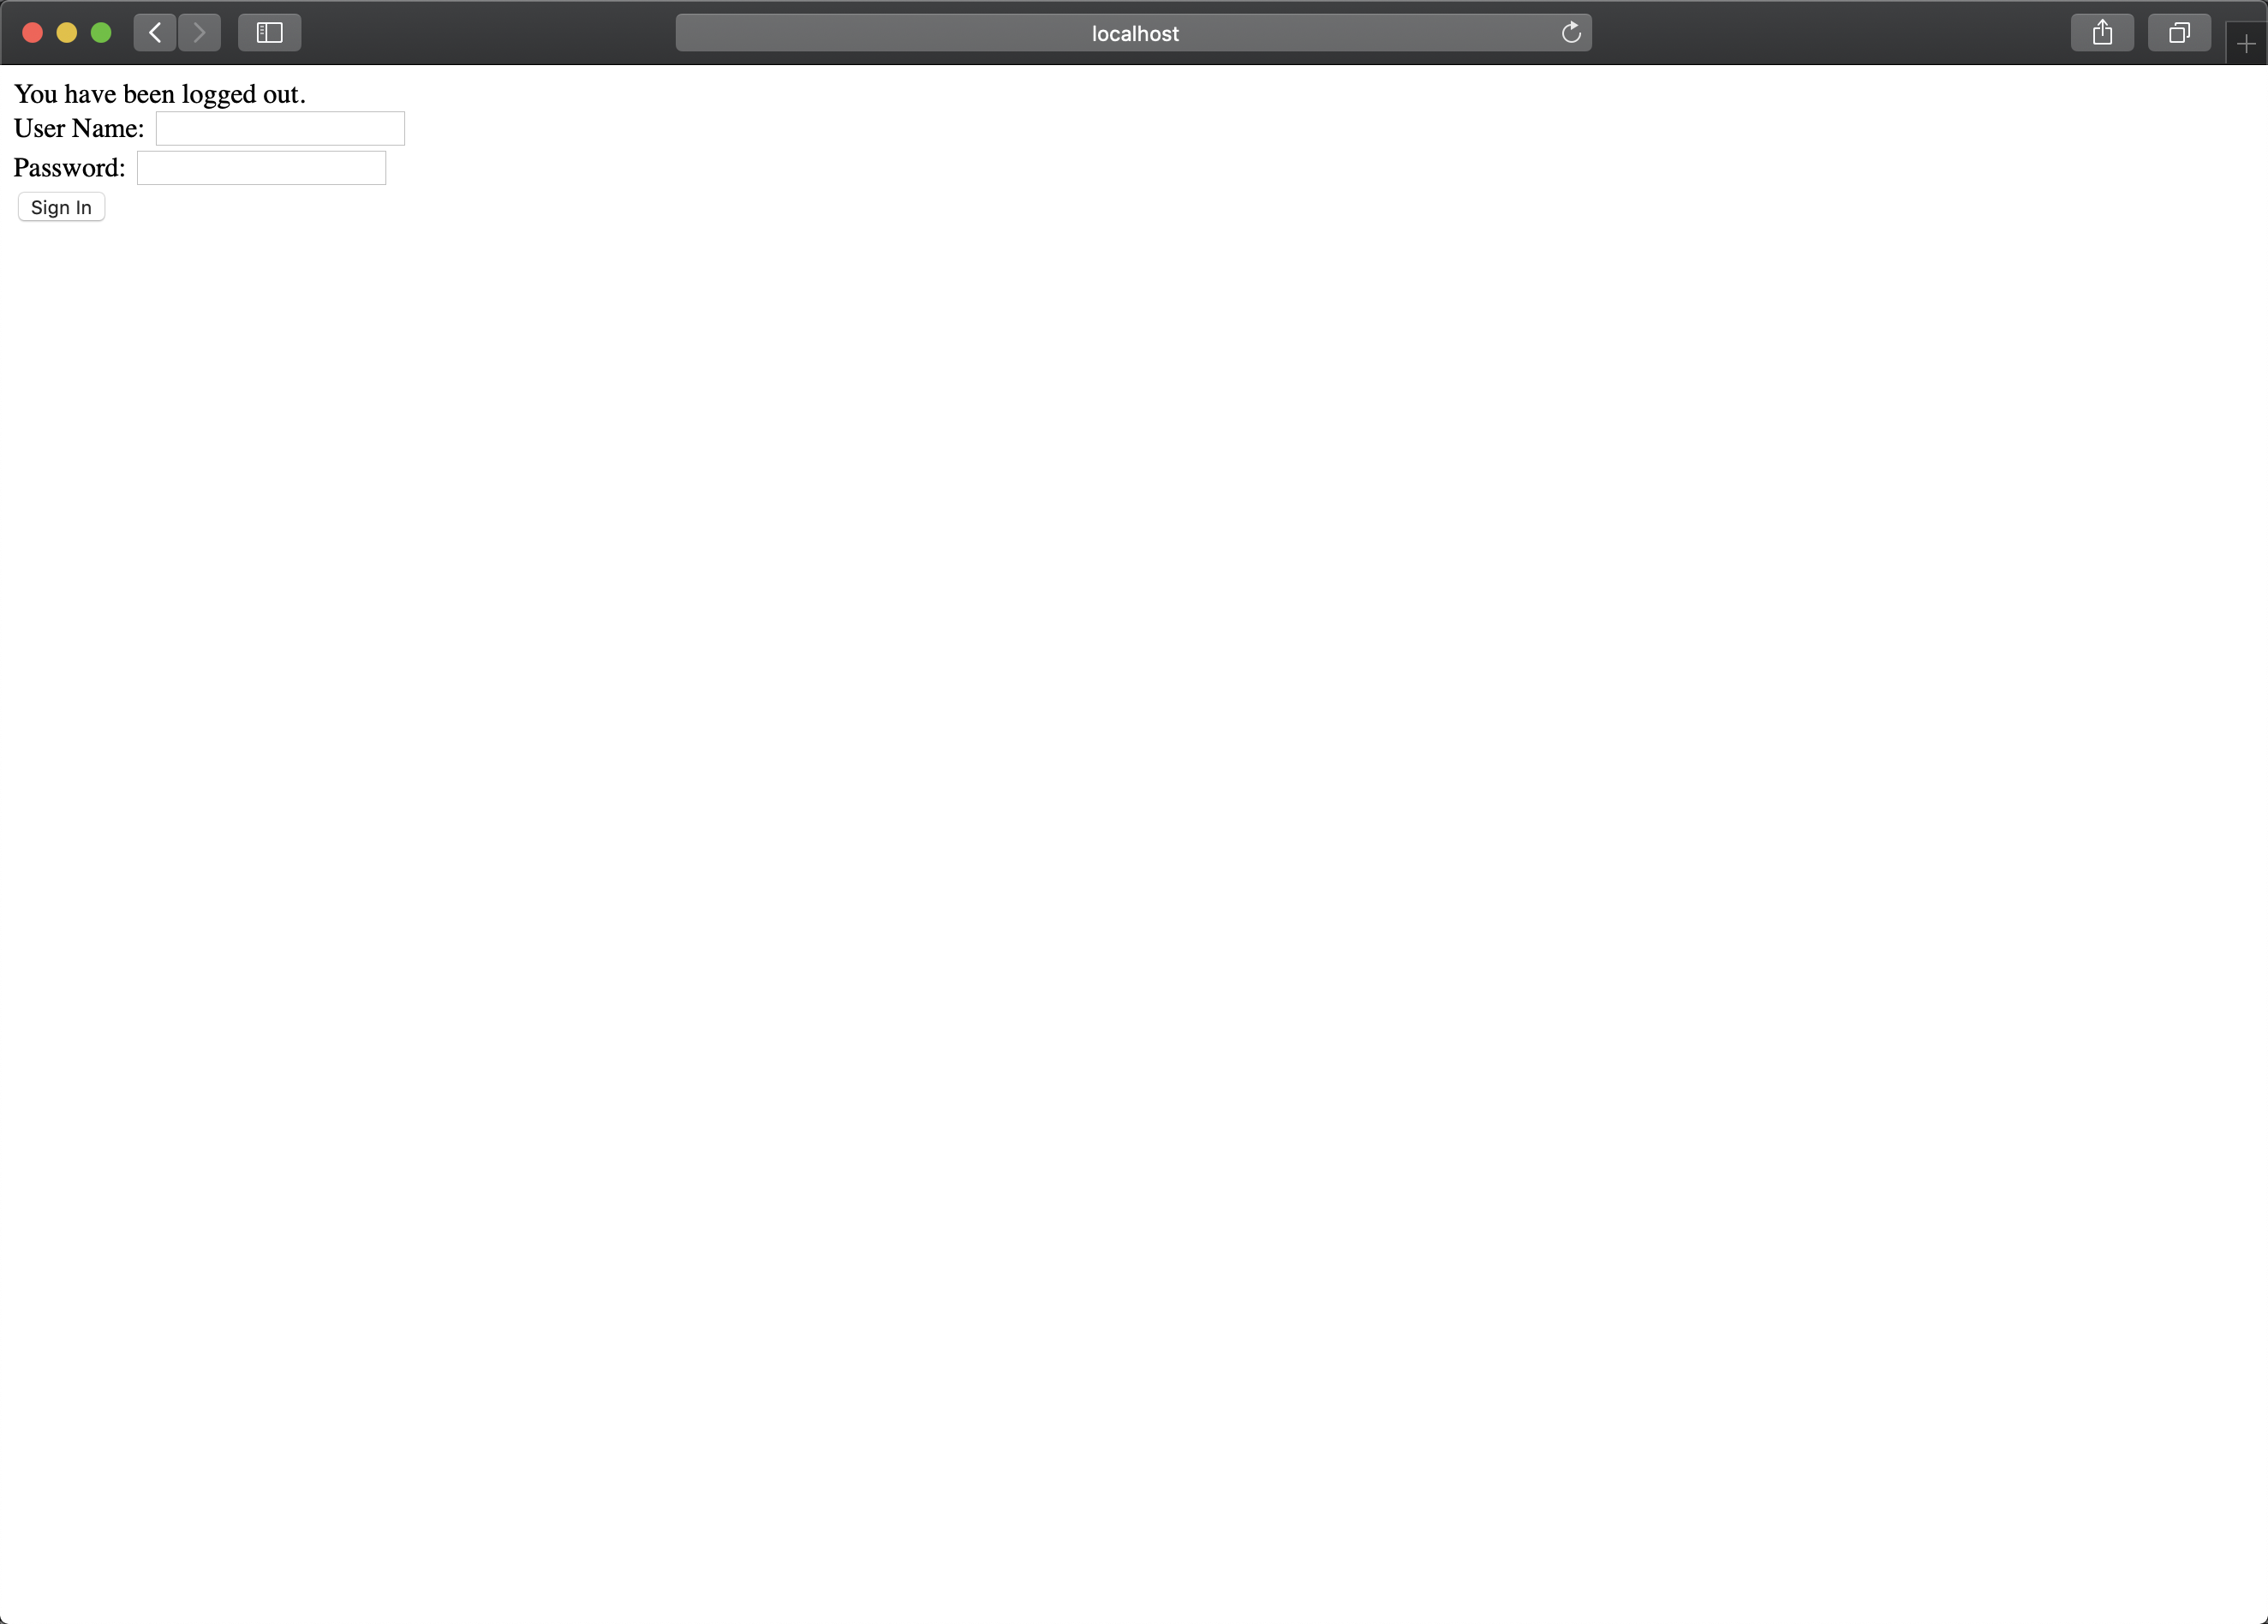
果然,登出的页面是复用的登录的页面,然是在最上面第一行输出了提示,“You have been logged out.” 来区分是登录还是登出的动作。
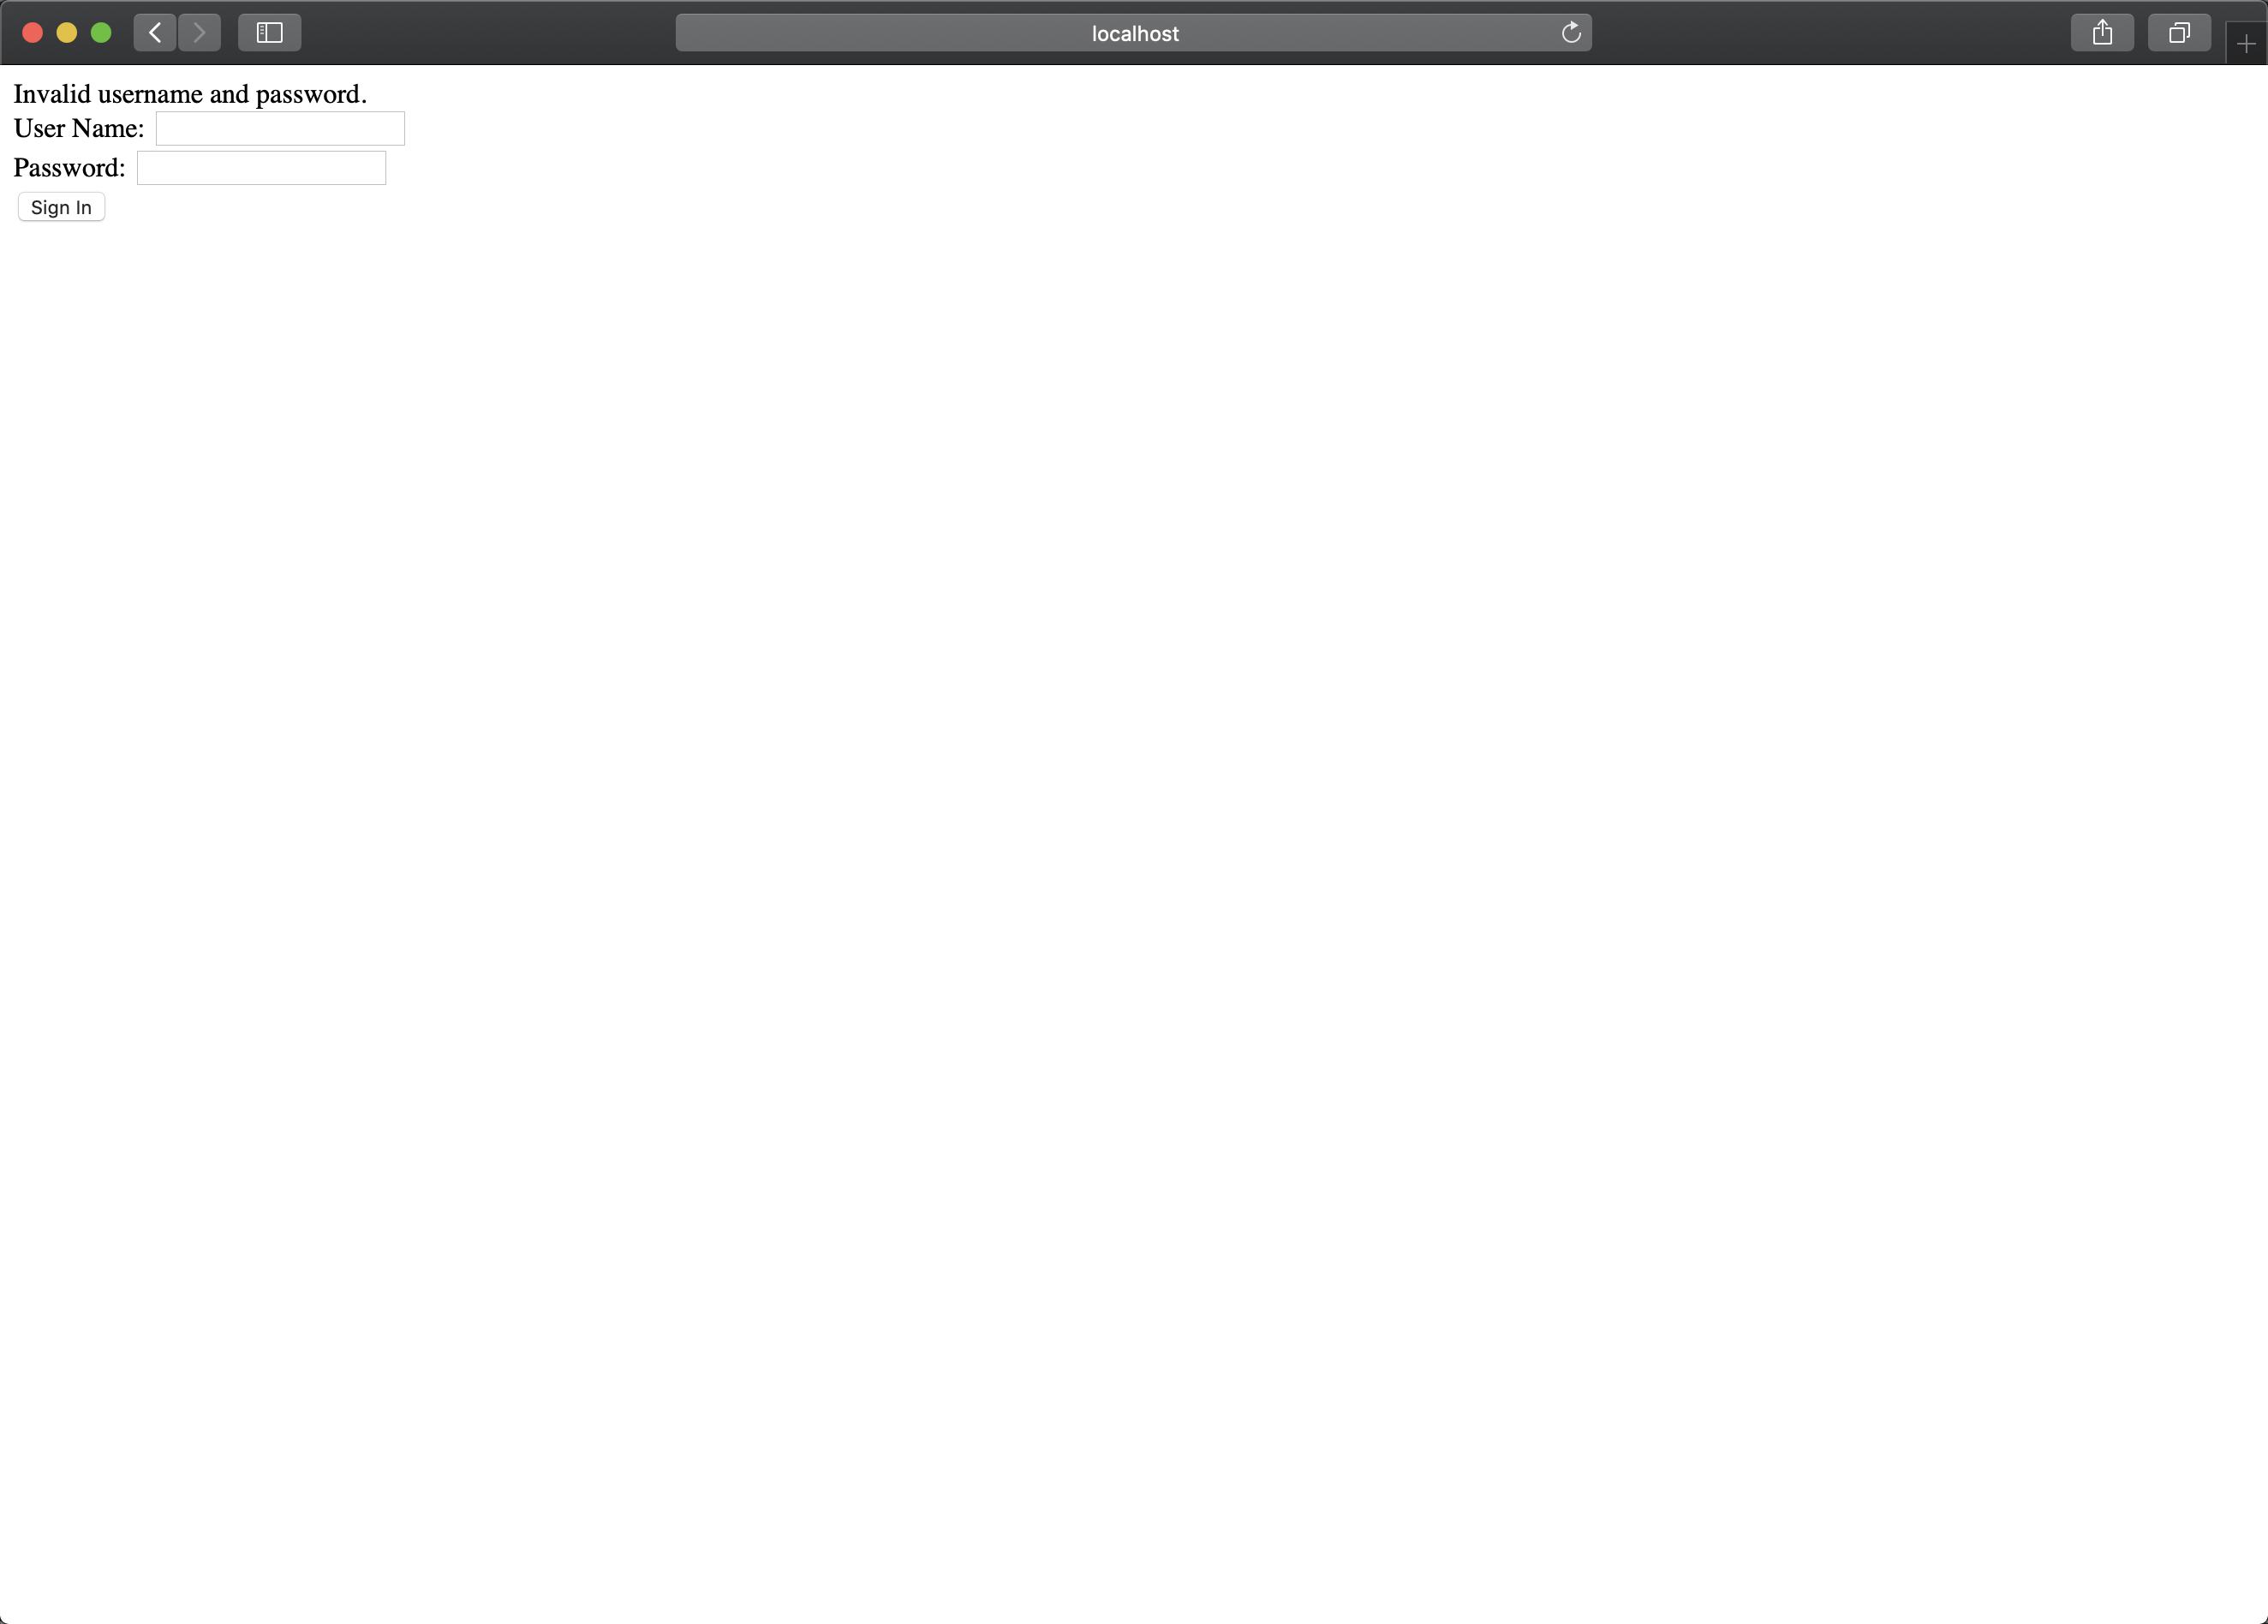
最后,我试下登录不成功的情况,输入错误的用户名或者密码。
到此为止一个入门的简单的 Spring Security 例子就完成了。
该例子可以在 Spring 的 github 代码仓库中找到,只不过是简单用 Kotlin 进行了重新写了一遍而已。