手把手教你从零开始搭建个人博客,20分钟上手
一、前言
大家好,我是爱思思爱猫爱技术的老表,最近一直在研究个人博客搭建,目前正在进行的有Django个人博客搭建系列,最近了解到还有很多现成的博客搭建框架,准备后面依次给大家分享下。
本文是基于Hexo框架来构建个人博客的,整个过程十分简单,如果顺利的话,可能只需要10-20分钟就可以完美构建部署好一个专属于你的个人博客了,记得点赞~

二、Hexo基本介绍
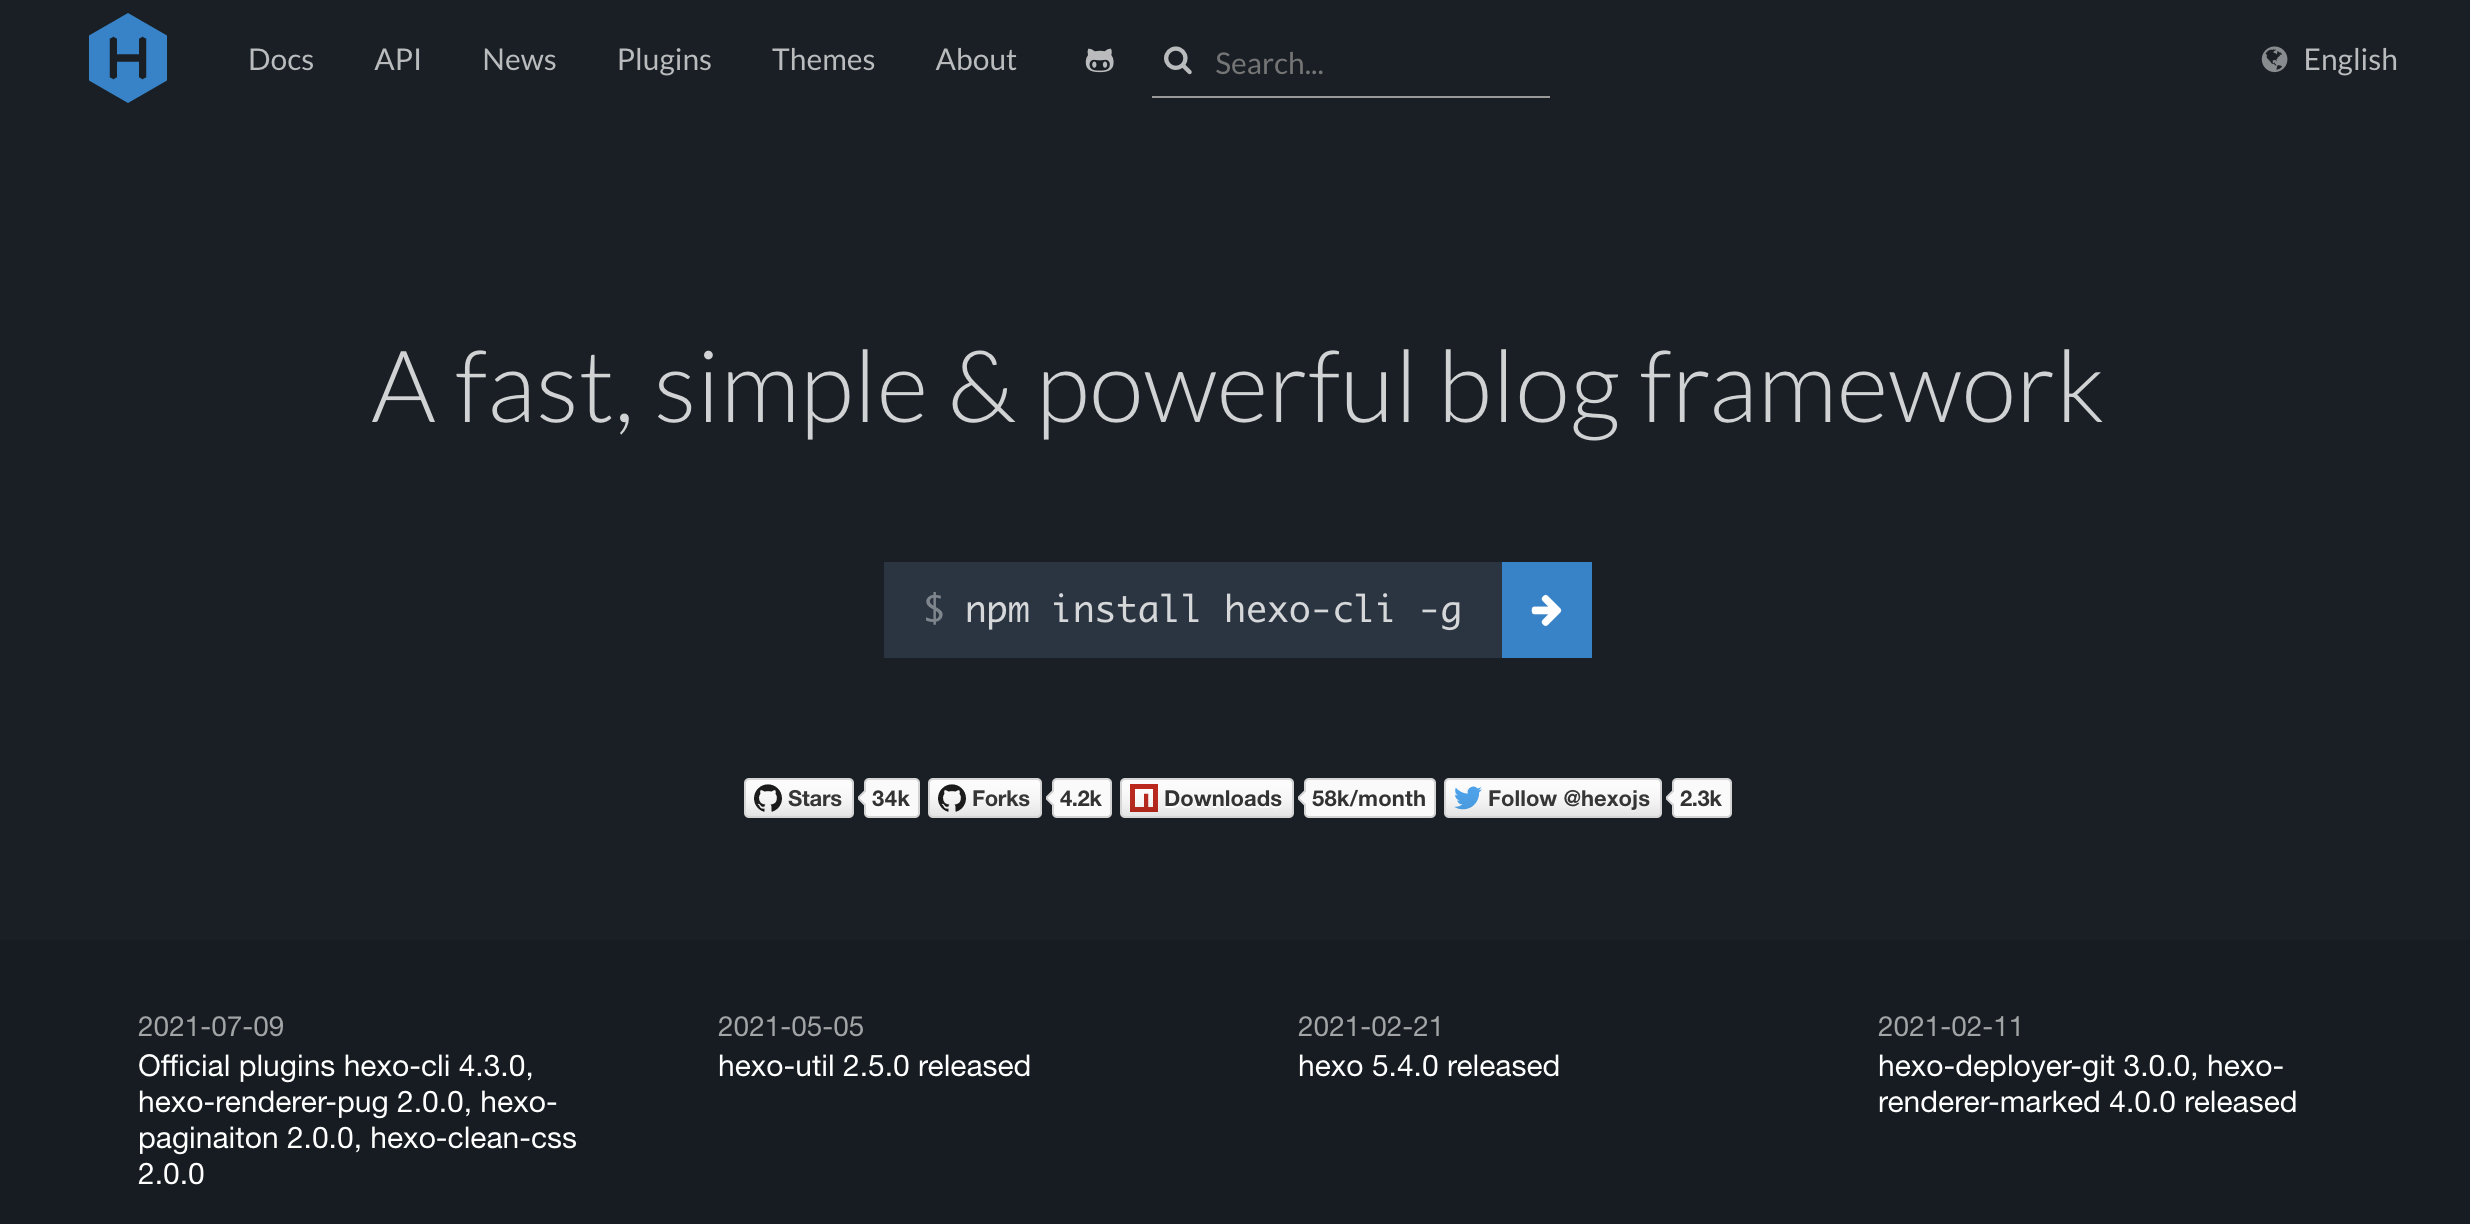
Hexo 是一个快速、简单且功能强大的博客框架。你用Markdown(或其他标记语言)写帖子,Hexo 会在几秒钟内生成带有漂亮主题的静态文件。
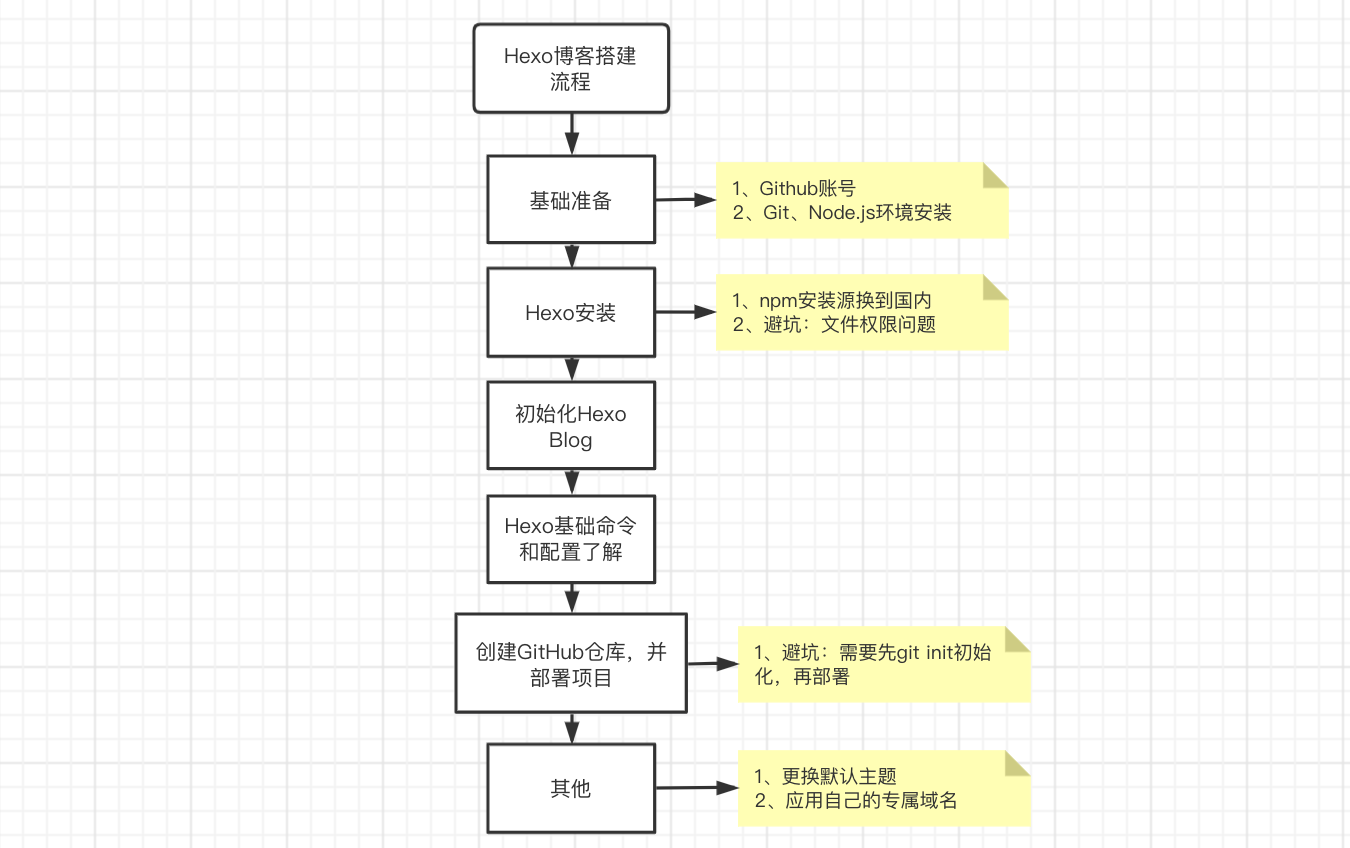
三、Hexo+Github搭建博客网站流程
四、开始动手动脑
首先我们进入Hexo的官网:https://hexo.io/
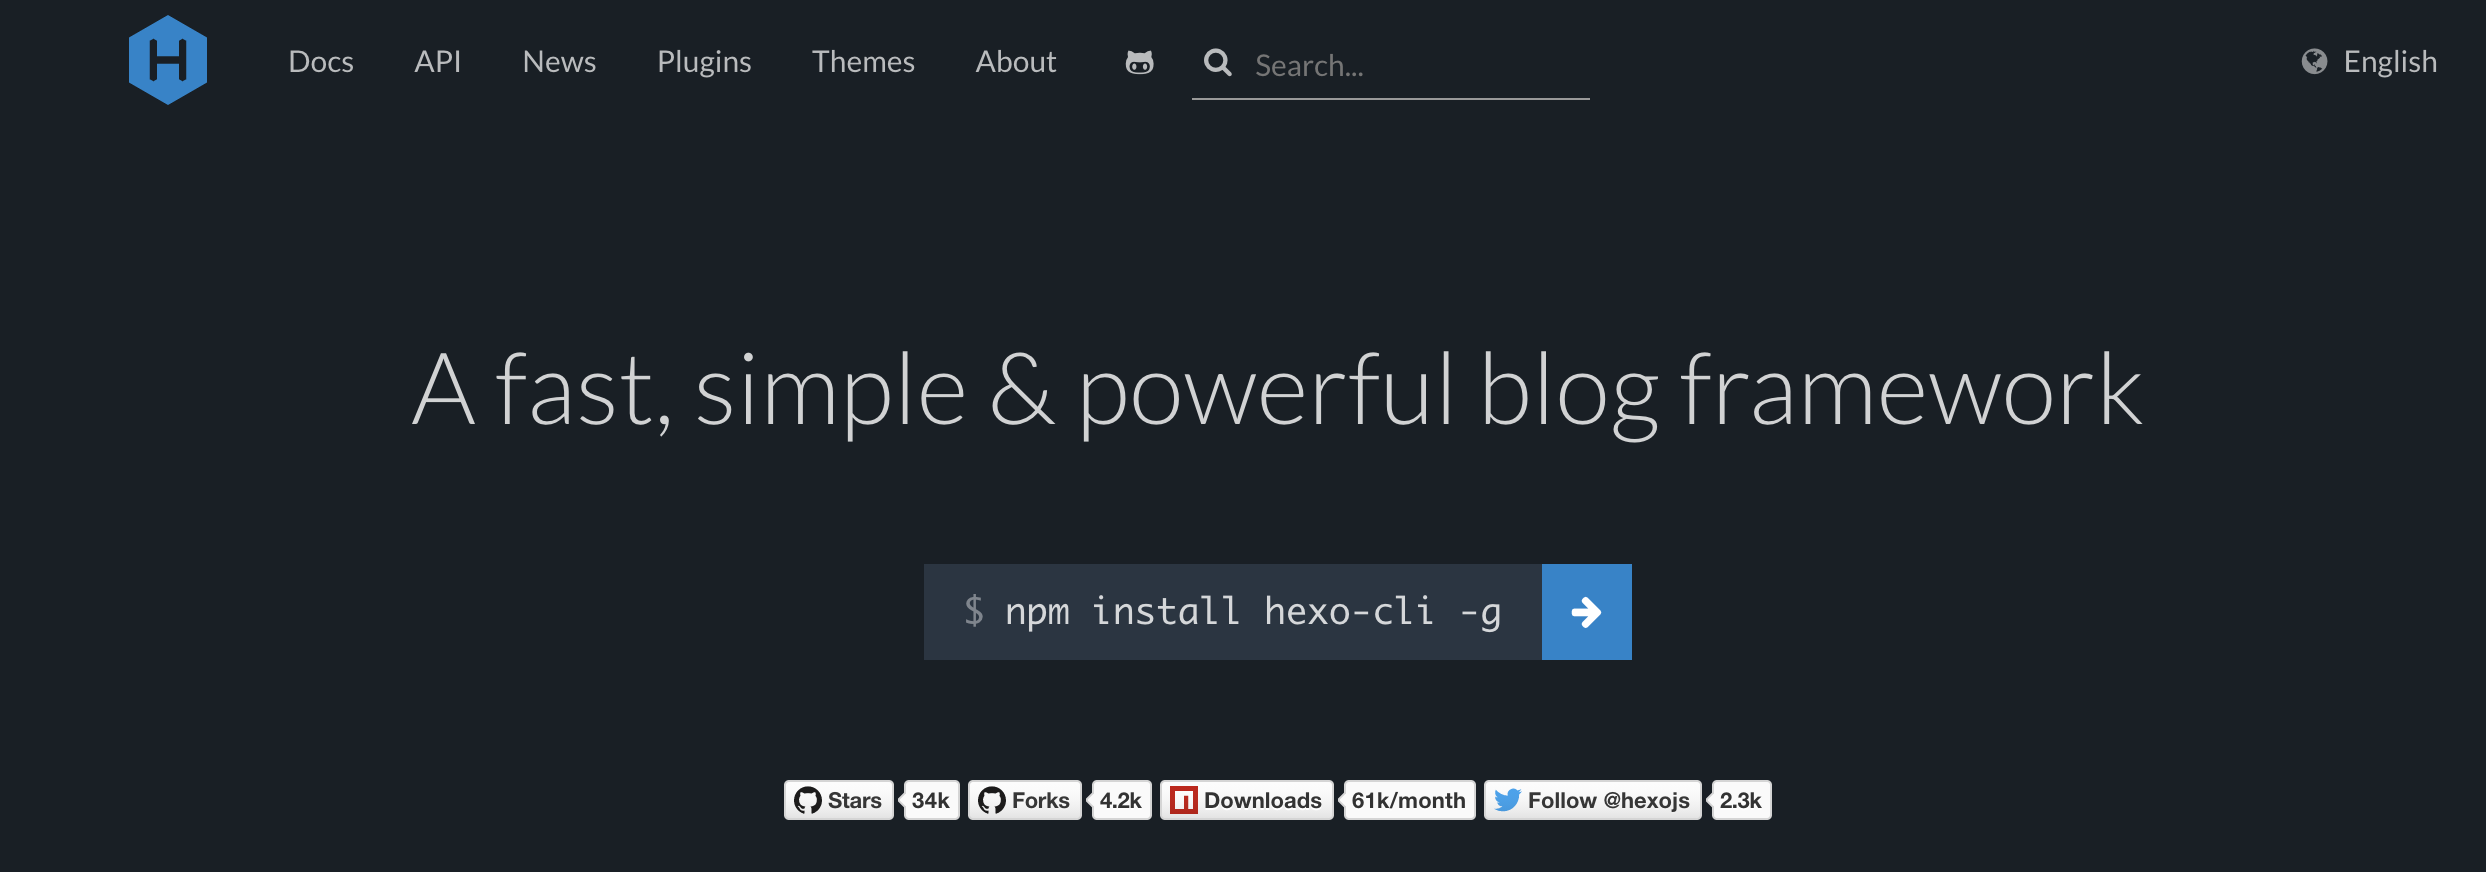
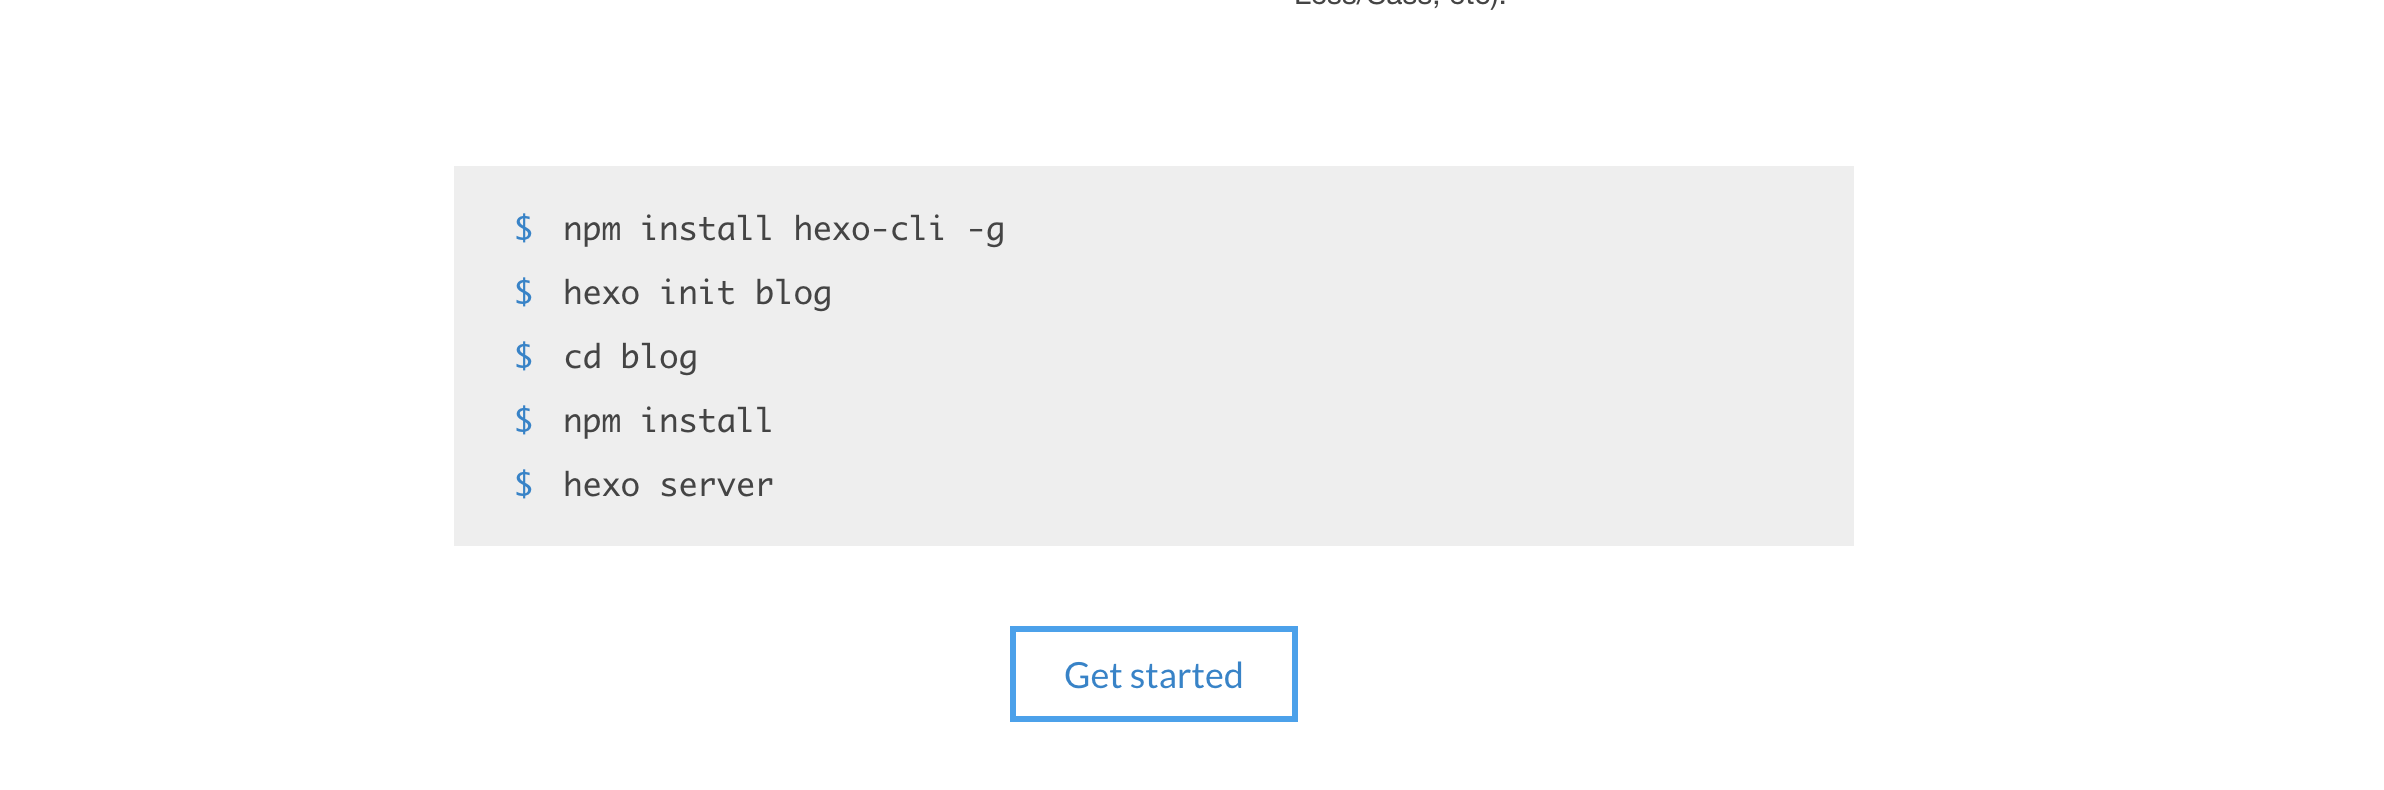
就可以看到对于Hexo的详细介绍,直接下滑,然后点击`Get Started`,即可进入Hexo使用介绍文档,也可以直接访问:https://hexo.io/docs/ 进入。
4.1 基础准备
在正式开始前,确保你已经准备好了:
1、一个GitHub账号,可以直接去官网注册:https://github.com
2、安装好了Git、Node.js
安装方法很多,最简单的是直接官网下载软件包,然后安装(Mac和Windows及其他版本都有),
https://git-scm.com/downloads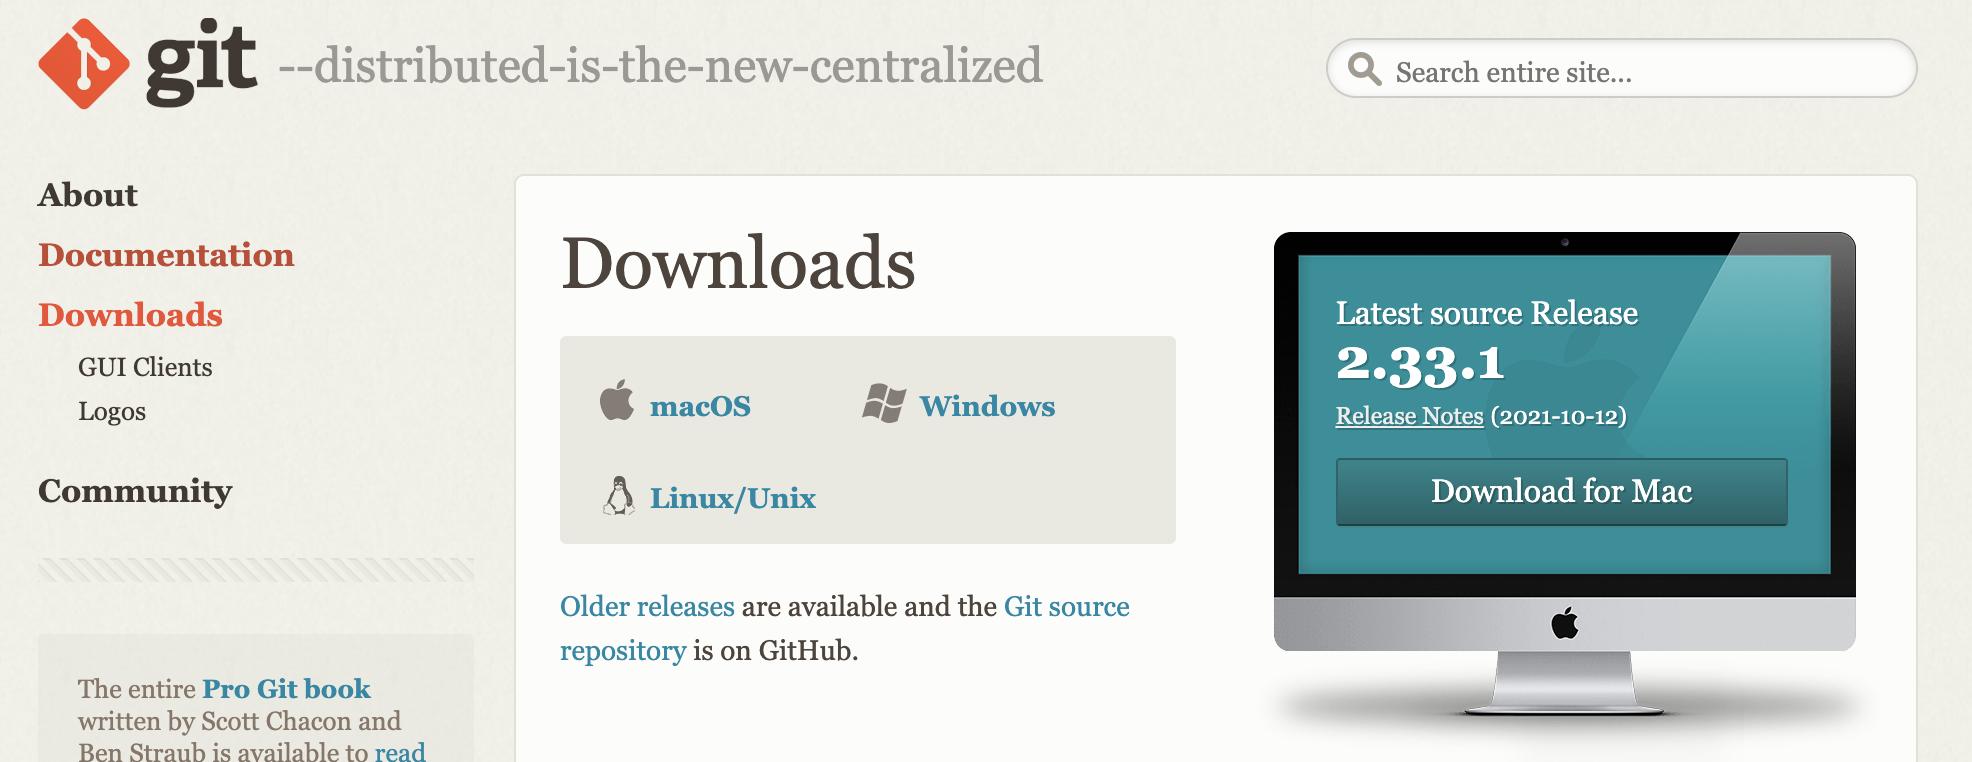
Mac电脑害可以直接利用`brew install git` 进行安装(默认应该自带git),或者yum、apt-get等包管理工具安装。
也可以直接去官网下载对应系统安装包,然后一步步安装即可。
https://nodejs.org/zh-cn/download/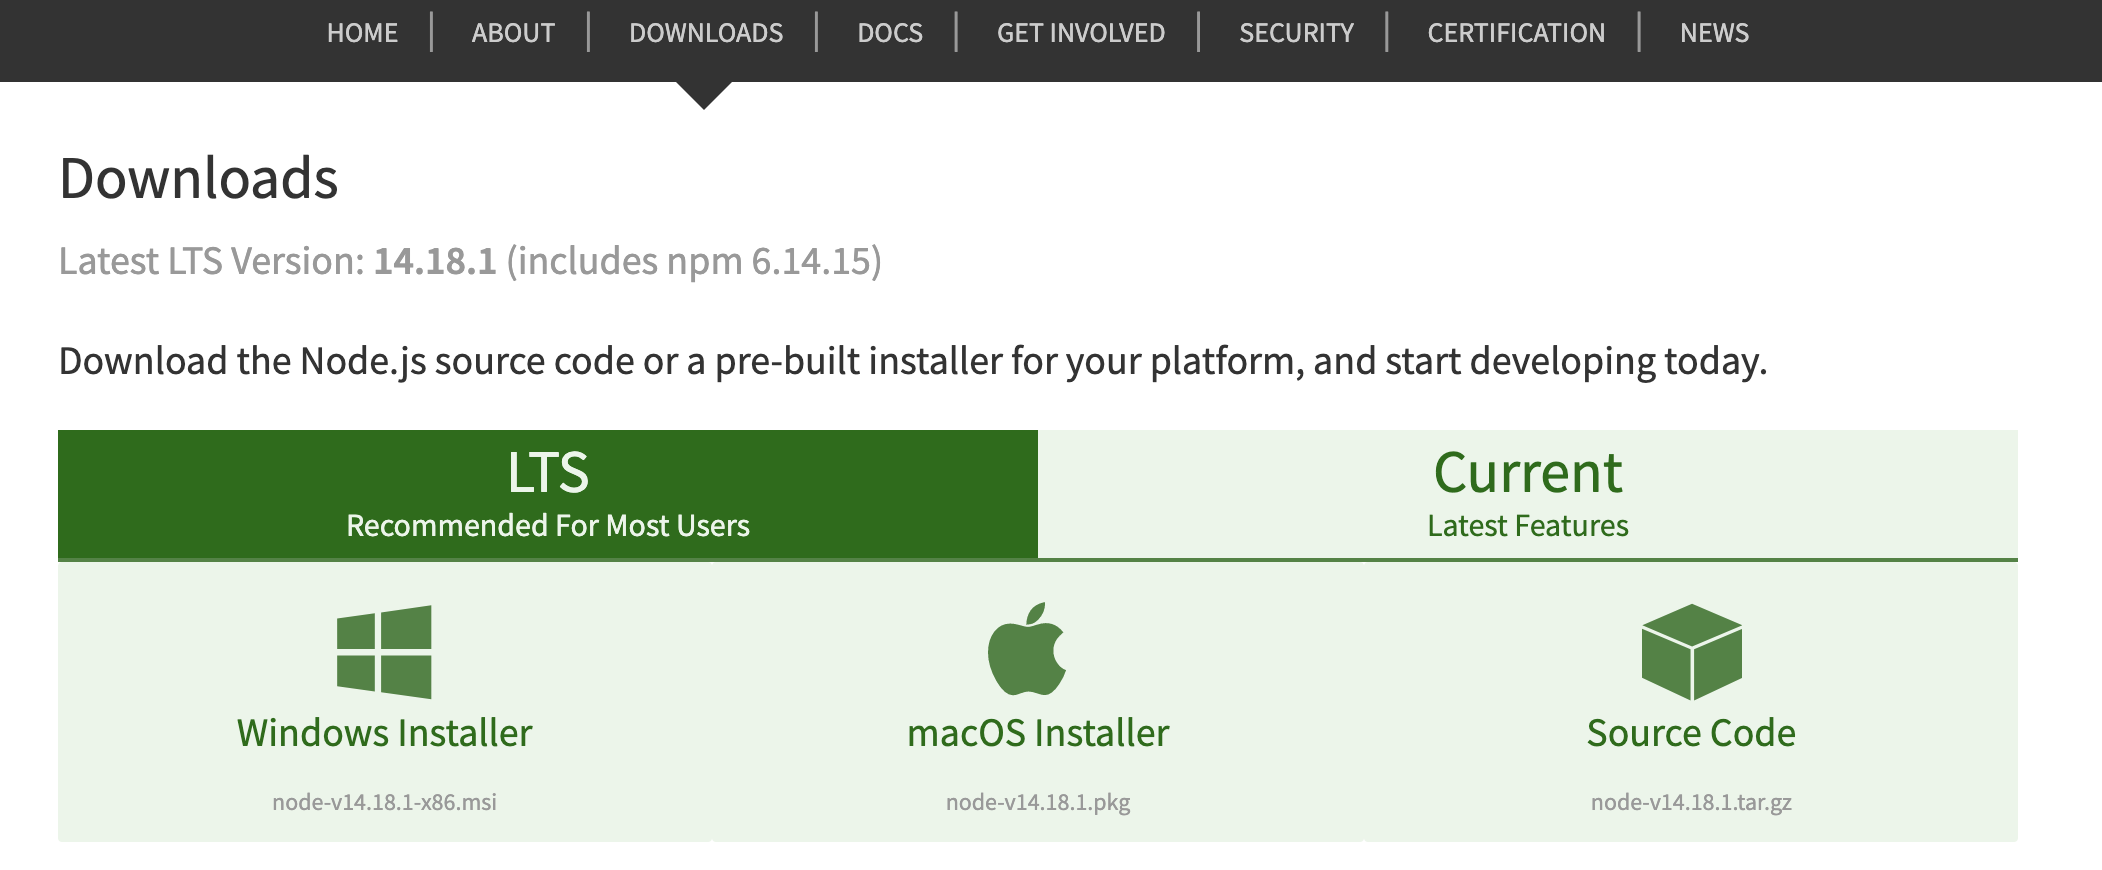
下载好后直接点击软件包,默认会给我们安装好Node.js和npm(Node.js的包管理工具)。
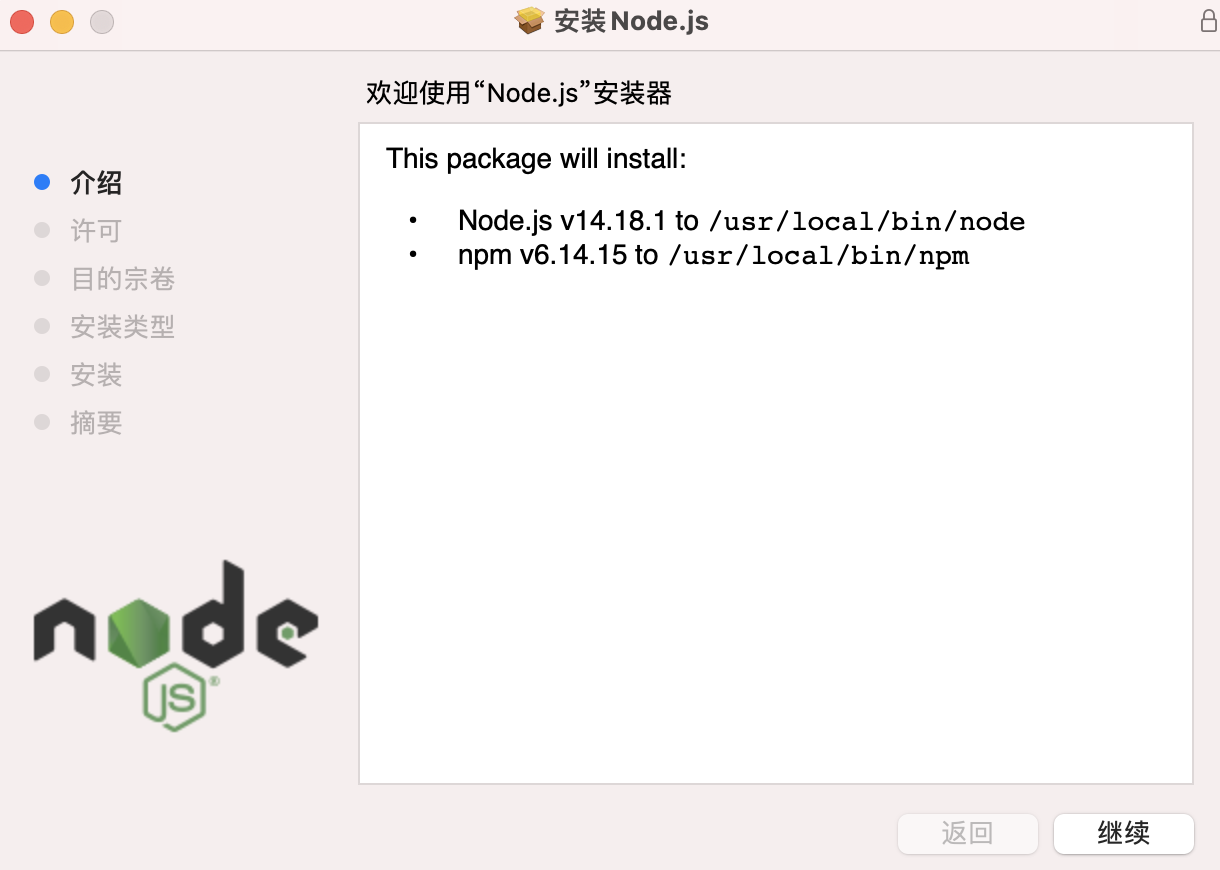
Windows系统可能需要自己设置环境变量,将对应安装目录添加到系统环境变量即可,浏览器搜索下对应方法即可。
查看下Git、Node.js版本,确保安装无误 。
git --version

node -v

npm -v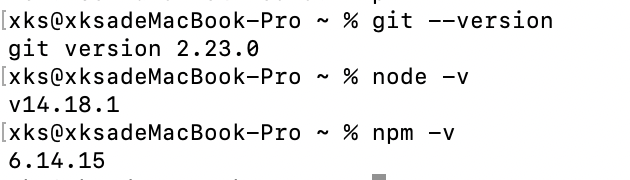
4.2 安装Hexo
首先我们需要新建一个项目目录,以我为例:我会在桌面的Project目录下新建一个HexoBlog文件夹用于存放改项目相关文件。
cd Desktop/Project/
mkdir HexoBlog&&cd HexoBlog
这个时候如果直接运行下面语句安装Hexo,你可能会遇到。
npm install -g hexo-cli
这是因为网络问题(npm的服务器位于国外下载慢),可以使用cnpm(淘宝团队做的国内镜像)的获取镜像或者直接修改npm的资源获取地址为国内的。
# 安装cnmp

npm install -g cnpm --registry=https://registry.npm.taobao.org

# 直接修改npm资源获取地址(推荐)

npm config set registry http://registry.npm.taobao.org
另外我自己还遇到了文件写入权限问题,
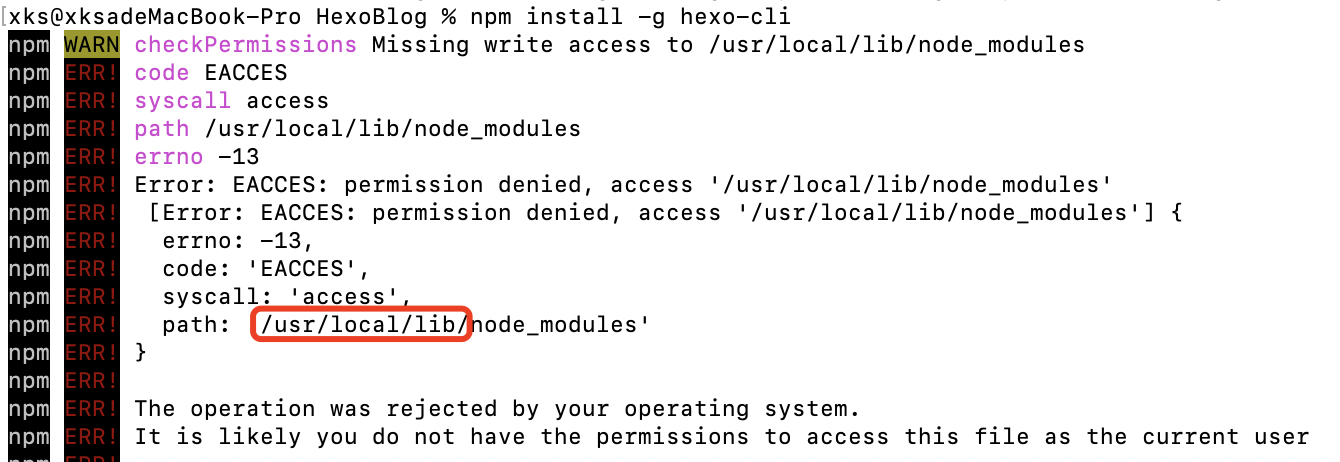
直接修改目录文件权限即可,如:
chmod -R 777 /usr/local/lib解决上面问题后,我们在安装就可以成功啦~(如下截图所示)

4.3 初始化一个Hexo Blog
前面已经准备好了所有相关环境,接下来我们就正式来初始化一个Hexo博客吧~初始化的命令格式为,这里我们暂且叫做blog。
hexo init blog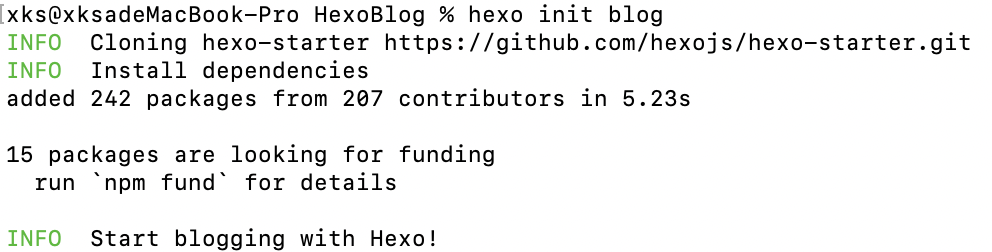
成功初始化后,会在当前文件夹下生成一个新的文件夹`blog`,目录结构如下:
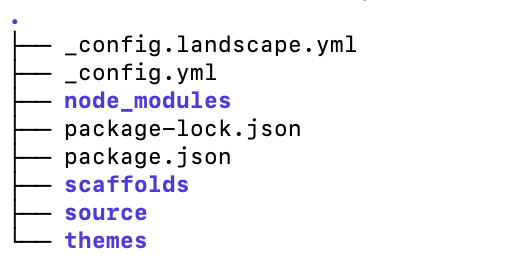
├── _config.landscape.yml:主题配置文件,如果

├── _config.yml:站点配置文件,对站点进行配置。

├── node_modules:用来存储已安装的各类依赖包。

├── package-lock.json:包版本依赖锁文件。

├── package.json:应用数据,Hexo的版本以及相关依赖包的版本等。

├── scaffolds:博客模版文件夹,包含page.md,post.md,draft.md三种。

├── source:资源文件夹,存放静态资源如博客md文件、图片等。

└── themes:主题文件夹,Hexo通过将网站内容与主题组合来生成静态网站。
初始化项目后,我们只需在本地执行下面命令即可在本地进行预览,
cd blog
hexo s
首先我们需要进入到新建的项目目录下,然后执行`hexo s`即可启动项目,然后我们访问即可查看网站啦~
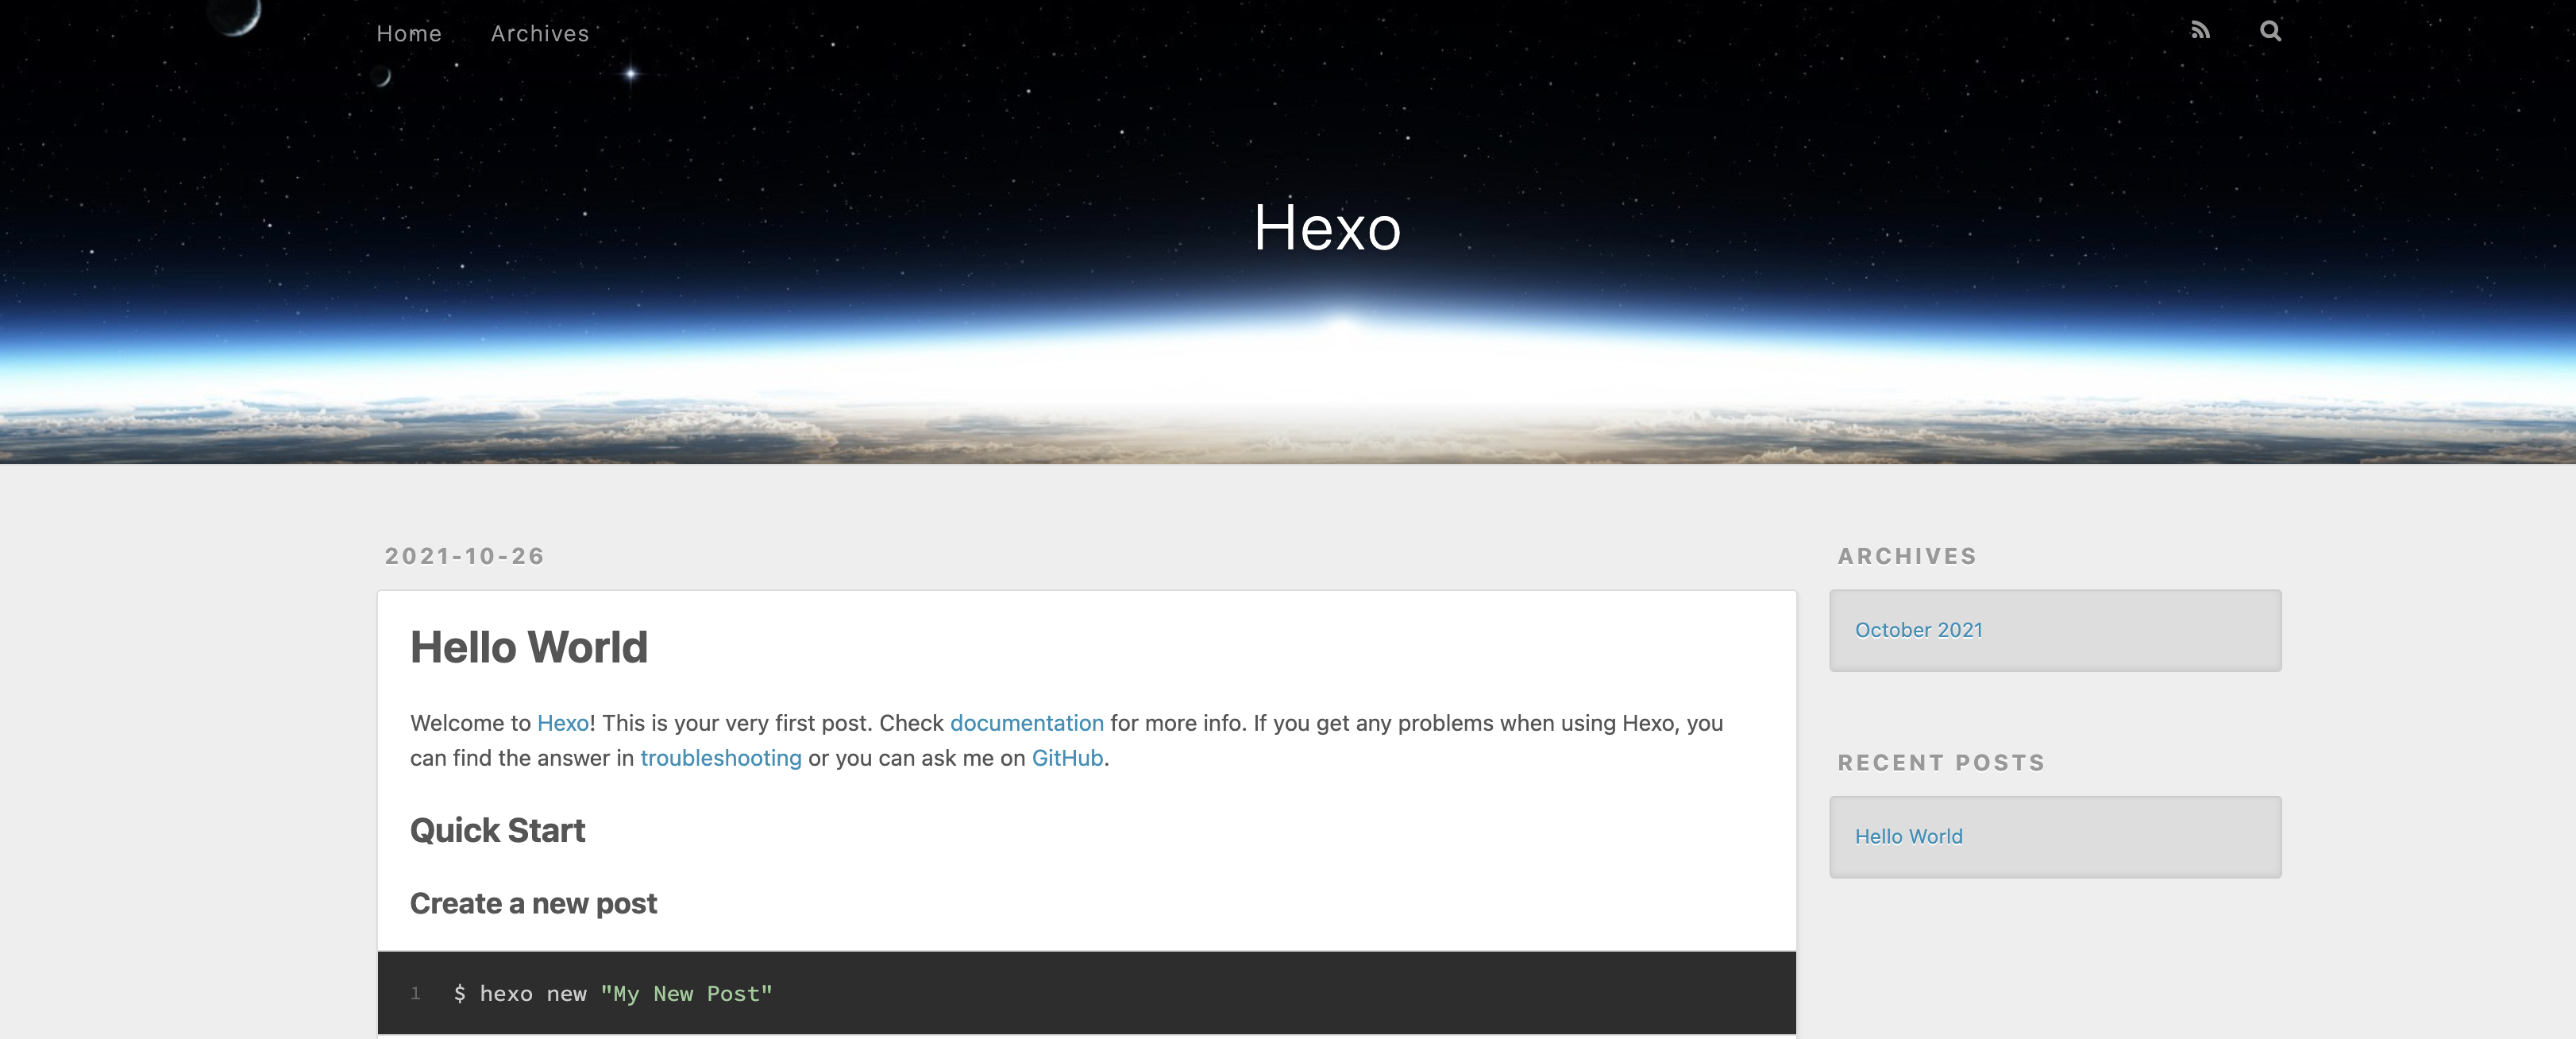
目前是默认的主题,另外还有一篇默认的博客`Hello World`。
4.4 Hexo基本命令介绍
本地启动项目,s表示server
hexo s
创建一个新的博客,n表示new
hexo n [layout]

如:hexo new "我的第一篇博客 Hexo Hello!"</code></pre><p data-type="paragraph">layout表示文章布局,可选(post page draft),默认使用 中的 default_layout 参数代替(post)。</p><p data-type="paragraph">title表示文章标题,如果标题包含空格的话,请使用引号括起来。</p><div data-type="image"><div data-content=""  data-style-width="75%"  data-style-bordertype="none" ><img  src="https://static001.geekbang.org/infoq/7b/7b528c36195c39dd6144e012fa52b8d2.png"></div></div><ul data-type="bulletedlist"><li><p data-type="paragraph">生成静态文件,g表示generate</p></li></ul><pre><code class="language-text">hexo g</code></pre><p data-type="paragraph"></p><div data-type="image"><div data-content=""  data-style-width="75%"  data-style-bordertype="none" ><img  src="https://static001.geekbang.org/infoq/a8/a8105f908c06c6bb7e43617d70b9fa16.png"></div></div><ul data-type="bulletedlist"><li><p data-type="paragraph">部署Hexo网站,d表示deploy</p></li></ul><pre><code class="language-text">hexo d</code></pre><ul data-type="bulletedlist"><li><p data-type="paragraph">清除缓存文件 (db.json) 和已生成的静态文件 (public)</p></li></ul><pre><code class="language-text">hexo clean</code></pre><p data-type="paragraph">更多相关指令大家可以前往官网查看:https://hexo.io/zh-cn/docs/commands</p><h3 data-type="heading">4.5 Hexo基本配置介绍修改</h3><p data-type="paragraph"><strong>【必改部分】</strong> 站点的基本设置,首页标题、子标题、简介、关键词(英文,隔开)、作者、语言和时区,都需要修改,这样才算自己的网站嘛。</p><pre><code class="language-text"># Site
title: 老表的博客
subtitle: '爱思思爱猫爱技术'
description: '记录老表生活、Python和Go学习笔记,由Hexo+Github搭建。'
keywords: 生活,养猫,Python,Go,数据分析,Web开发
author: 老表
language: zh-CN
timezone: 'Asia/Shanghai'</code></pre><p data-type="paragraph">> 踩个坑,和之间必须要有空格,不然会报错。</p><div data-type="image"><div data-content=""  data-style-width="75%"  data-style-bordertype="none" ><img  src="https://static001.geekbang.org/infoq/23/2365b192cb8002f42abd5ac2cc3a6bc0.png"></div></div><p data-type="paragraph">重启下Hexo服务,我们刷新页面,就会发现上面的修改生效啦~如果没有生效,你可以先运行下`hexo clean`先清除缓存,然后再执行`hexo s`启动服务器。</p><div data-type="image"><div data-content=""  data-style-width="75%"  data-style-bordertype="none" ><img  src="https://static001.geekbang.org/infoq/36/36b09e80996c3dc45f5a76e547d0c998.png"></div></div><p data-type="paragraph"><strong>【选改部分】</strong> </p><p data-type="paragraph">访问路径相关设置</p><pre><code class="language-text"># URL
## Set your site url here. For example, if you use GitHub Page, set url as 'https://username.github.io/project'
url: http://example.com
root: /
permalink: :title/
permalink_defaults:
pretty_urls:
  trailing_index: false # Set to false to remove trailing 'index.html' from permalinks
  trailing_html: false # Set to false to remove trailing '.html' from permalinks</code></pre><p data-type="paragraph">原主题太简陋了,我从官网主题地址:https://hexo.io/themes/中下载了主题,所以我们需要将配置中的主题改为,大家也可以选择其他主题。</p><pre><code class="language-text"># Extensions
## Plugins: https://hexo.io/plugins/
## Themes: https://hexo.io/themes/
theme: amber</code></pre><h3 data-type="heading">4.6 将Hexo博客部署到GitHub</h3><p data-type="paragraph">首先我们先需要新建在GitHub上新建一个项目:https://github.com/new,项目名称格式需要注意,必须是,如下图所示:</p><div data-type="image"><div data-content=""  data-style-width="75%"  data-style-bordertype="none" ><img  src="https://static001.geekbang.org/infoq/4c/4c53b04bbcacdb6266e34ff03dee8fff.png"></div></div><p data-type="paragraph">同时我们需要配置下SSH密钥,具体配置方法可以查看:<a data-type="link" href="#"></a></p><p data-type="paragraph">接着我们要修改下配置文件,下滑到最后,将部署信息改为:</p><pre><code class="language-text"># Deployment
## Docs: https://hexo.io/docs/one-command-deployment
deploy:
  type: git
  repo: git@github.com:你的用户名/你的用户名.github.io.git
  branch: main</code></pre><p data-type="paragraph"></p><div data-type="image"><div data-content=""  data-style-width="75%"  data-style-bordertype="none" ><img  src="https://static001.geekbang.org/infoq/d2/d284f2f17ec88e38196d526ab0096239.png"></div></div><p data-type="paragraph">部署到GitHub,需要安装相关工具hexo-deployer-git。</p><pre><code class="language-text">npm install hexo-deployer-git --save</code></pre><p data-type="paragraph">接下来直接输入指令配置就行了,清除缓存数据,生成相关静态文件。</p><pre><code class="language-text">hexo clean
hexo g</code></pre><p data-type="paragraph">如果继续输入进行部署的时候,会报错,</p><div data-type="image"><div data-content=""  data-style-width="75%"  data-style-bordertype="none" ><img  src="https://static001.geekbang.org/infoq/e5/e5813ab9b3659dd19edc08b6f624d653.png"></div></div><p data-type="paragraph">这个时候不要慌,这是因为在本地Hexo项目目录还没有初始化git造成的,我们运行下面命令进行初始化即可。</p><pre><code class="language-text">git init</code></pre><p data-type="paragraph">我们再次输入进行部署即可,可能会要求输入GitHub账号和密码(配置了ssh公钥就不需要了,上面有说如何配置),直接输入即可,上传完成后,再刷新GitHub页面会发现多了一些文件,原来的readme也不见了,这是因为Hexo每次部署都会将`hexo g`生成的静态文件(在blog/public目录下)上传到GitHub,<strong>并覆盖原先所有的内容</strong>。</p><div data-type="image"><div data-content=""  data-style-width="75%"  data-style-bordertype="none" ><img  src="https://static001.geekbang.org/infoq/a5/a515ccdf241b727e5ccc0d3d0fd18018.png"></div></div><p data-type="paragraph">这个时候,我们在浏览器内访问</p><pre><code class="language-text">https://<你的用户名>.github.io/
# 如:https://xksa-me.github.io/</code></pre><p data-type="paragraph">即可访问我们的博客首页啦,点击博客也可以进入对应的博客页面。</p><div data-type="image"><div data-content=""  data-style-width="75%"  data-style-bordertype="none" ><img  src="https://static001.geekbang.org/infoq/d5/d5389a73ee13e093e6747cf4a6bf55ec.png"></div></div><p data-type="paragraph"></p><p data-type="paragraph">通过上面,我们已经得到了一个在线的、可以随时随地访问的个人博客,整个操作过程还是很简单的,麻烦的就是上传更新文章和部署项目了,每次部署都需要输入账号密码,另外由于GitHub服务器在国外,国内访问速度也很堪忧,不用担心,在后面的博客优化中我们一起来解决这些问题,让模型先跑起来。</p><h3 data-type="heading">4.7 设置应用自己的域名</h3><p data-type="paragraph">如果你有域名的话,还可以设置专属域名,比如我之前在<a data-type="link" href="#"></a>,当然大家也可以买<a data-type="link" href="#"></a>,国内比较靠谱的两个云服务器和域名服务公司了~</p><div data-type="image"><div data-content=""  data-style-width="75%"  data-style-bordertype="none" ><img  src="https://static001.geekbang.org/infoq/c0/c01a7af7fff87e8c65a3f165ccc1faad.png"></div></div><p data-type="paragraph">(以我自己为例)首先我们需要在阿里云域名管理后台,进行域名解析,我们直接从我们自己的域名解析到博客的github地址,谈及一条CNAME记录即可,主机记录就是我们后面通过什么链接访问,记录值就是github访问地址了。</p><div data-type="image"><div data-content=""  data-style-width="75%"  data-style-bordertype="none" ><img  src="https://static001.geekbang.org/infoq/09/099c54d523262ebc139e8165ca8625e2.png"></div></div><p data-type="paragraph">然后我们需要到GitHub对应项目中设置项目的域名,进入项目-> Settings -> Page -> ,将我们设置的CNAME域名写入即可(注意是在这个项目的设置里,并非GitHub的设置)。</p><div data-type="image"><div data-content=""  data-style-width="75%"  data-style-bordertype="none" ><img  src="https://static001.geekbang.org/infoq/b2/b2a253a084672ace93b53627b713ff7e.png"></div></div><p data-type="paragraph">最后我们还需要在本地项目中的blog/source文件夹下新建一个文件,编辑写入我们的域名,就是刚刚填入GitHub的,这样后面GitHub就能映射到我们的域名啦。</p><div data-type="image"><div data-content=""  data-style-width="75%"  data-style-bordertype="none" ><img  src="https://static001.geekbang.org/infoq/bb/bb19c036ffb1d3ad21834591c49e32ec.png"></div></div><p data-type="paragraph">再执行下面命令,重新更新和部署项目,</p><pre><code class="language-text">hexo g
hexo d</code></pre><p data-type="paragraph"></p><div data-type="image"><div data-content=""  data-style-width="75%"  data-style-bordertype="none" ><img  src="https://static001.geekbang.org/infoq/f4/f440f0c21225945292142698aee6c3ac.png"></div></div><p data-type="paragraph">部署成功后,我们直接访问(我自定义的域名)来查看我们的博客啦~</p><div data-type="image"><div data-content=""  data-style-width="75%"  data-style-bordertype="none" ><img  src="https://static001.geekbang.org/infoq/65/65800b2fb1ad8d46d1918550d034c4cc.png"></div></div><h2 data-type="heading">五、下集预告</h2><p data-type="paragraph">经过上面操作,你会发现搭建确实很简单,但是访问真的是慢!!!</p><p data-type="paragraph"></p><p data-type="paragraph">主要原因是GitHub服务器在国外,这个解决还比较简单,我们可以同时将项目部署到国内码云:https://gitee.com/或者Coding:https://coding.net/,整个过程和将项目部署到GitHub差不多。</p><p data-type="paragraph">具体操作我们下节再分享,这周内更新,记得给本文点赞哦~还有什么好的博客搭建框架也可以留言区推荐给老表,我来踩坑!</p><h2 data-type="heading">近期福利</h2><p data-type="paragraph">文章中有说到服务器,然后最近阿里云也在做双十一活动,我是云大使,大家想买服务器的可以私聊我(<strong>可以白领,仅针对新用户,大家通过我的链接购买,我会返现大家60元,2核2G突击性t6 60元/年</strong>),当然,我也还能赚个早餐钱,现在第一波活动已经过去啦,第二波活动是11.9-11.11,有需要的朋友可以加我微信(pythonbrief)私聊我。</p><p data-type="paragraph"></p><p data-type="paragraph">参与活动需要先和我关联,通过我的链接注册并登录即可:<a data-type="link" href="#"></a></p><p data-type="paragraph">【必看】<a data-type="link" href="#"></a></p><p data-type="paragraph"></p><div data-type="image"><div data-content=""  data-style-width="75%"  data-style-bordertype="none" ><img  src="https://static001.geekbang.org/infoq/87/87428541a08ae09bc8a63ce803d0121e.png"></div></div><p data-type="paragraph"></p><p data-type="paragraph"><strong>如何找到我:</strong></p><div data-type="image"><div data-content=""  data-style-width="75%"  data-style-bordertype="none" ><img  src="https://static001.geekbang.org/infoq/c9/c9eff7f194228e5c3395dc6c19fbf3f3.png"></div></div><p data-type="paragraph"></p></div></div>

            </article>

            <nav class="blog-pagination" aria-label="Pagination">
                <a class="btn btn-outline-primary" href="#">Older</a>
                <a class="btn btn-outline-secondary disabled">Newer</a>
            </nav>

        </div>

        <div class="col-md-4">
            <div class="position-sticky" style="top: 2rem;">
                <div class="p-4 mb-3 bg-light rounded">
                    <h4 class="fst-italic">关于我们</h4>
                    <p class="mb-0">Customize this section to tell your visitors a little bit about your publication,
                        writers, content, or something else entirely. Totally up to you.</p>
                </div>

                <div class="p-4">
                    <h4 class="fst-italic">热门标签</h4>
                    <a href="/cms/page/tag/9198" class="link-secondary m-0 m-md-0 p-1" target="_blank">
                        <button class="btn text-start text-secondary text-nowrap"
                                style="width: 106px">钉钉开放平台</button>
                    </a><a href="/cms/page/tag/9202" class="link-secondary m-0 m-md-0 p-1" target="_blank">
                        <button class="btn text-start text-secondary text-nowrap"
                                style="width: 106px">Javaspring</button>
                    </a><a href="/cms/page/tag/9203" class="link-secondary m-0 m-md-0 p-1" target="_blank">
                        <button class="btn text-start text-secondary text-nowrap"
                                style="width: 106px">字节offer</button>
                    </a><a href="/cms/page/tag/9204" class="link-secondary m-0 m-md-0 p-1" target="_blank">
                        <button class="btn text-start text-secondary text-nowrap"
                                style="width: 106px">小程序管理平台</button>
                    </a><a href="/cms/page/tag/9206" class="link-secondary m-0 m-md-0 p-1" target="_blank">
                        <button class="btn text-start text-secondary text-nowrap"
                                style="width: 106px">线下办公</button>
                    </a><a href="/cms/page/tag/9207" class="link-secondary m-0 m-md-0 p-1" target="_blank">
                        <button class="btn text-start text-secondary text-nowrap"
                                style="width: 106px">主机</button>
                    </a><a href="/cms/page/tag/9209" class="link-secondary m-0 m-md-0 p-1" target="_blank">
                        <button class="btn text-start text-secondary text-nowrap"
                                style="width: 106px">居家办公</button>
                    </a><a href="/cms/page/tag/9212" class="link-secondary m-0 m-md-0 p-1" target="_blank">
                        <button class="btn text-start text-secondary text-nowrap"
                                style="width: 106px">钉钉应用开发</button>
                    </a><a href="/cms/page/tag/9213" class="link-secondary m-0 m-md-0 p-1" target="_blank">
                        <button class="btn text-start text-secondary text-nowrap"
                                style="width: 106px">连接器</button>
                    </a><a href="/cms/page/tag/9214" class="link-secondary m-0 m-md-0 p-1" target="_blank">
                        <button class="btn text-start text-secondary text-nowrap"
                                style="width: 106px">Redis 消费队列</button>
                    </a><a href="/cms/page/tag/9217" class="link-secondary m-0 m-md-0 p-1" target="_blank">
                        <button class="btn text-start text-secondary text-nowrap"
                                style="width: 106px">bootstrap_lite</button>
                    </a><a href="/cms/page/tag/4" class="link-secondary m-0 m-md-0 p-1" target="_blank">
                        <button class="btn text-start text-secondary text-nowrap"
                                style="width: 106px">读书笔记</button>
                    </a><a href="/cms/page/tag/5" class="link-secondary m-0 m-md-0 p-1" target="_blank">
                        <button class="btn text-start text-secondary text-nowrap"
                                style="width: 106px">算法</button>
                    </a><a href="/cms/page/tag/7" class="link-secondary m-0 m-md-0 p-1" target="_blank">
                        <button class="btn text-start text-secondary text-nowrap"
                                style="width: 106px">学习方法</button>
                    </a><a href="/cms/page/tag/11" class="link-secondary m-0 m-md-0 p-1" target="_blank">
                        <button class="btn text-start text-secondary text-nowrap"
                                style="width: 106px">大数据</button>
                    </a><a href="/cms/page/tag/9" class="link-secondary m-0 m-md-0 p-1" target="_blank">
                        <button class="btn text-start text-secondary text-nowrap"
                                style="width: 106px">Python</button>
                    </a><a href="/cms/page/tag/8" class="link-secondary m-0 m-md-0 p-1" target="_blank">
                        <button class="btn text-start text-secondary text-nowrap"
                                style="width: 106px">高效工作</button>
                    </a><a href="/cms/page/tag/15" class="link-secondary m-0 m-md-0 p-1" target="_blank">
                        <button class="btn text-start text-secondary text-nowrap"
                                style="width: 106px">开源</button>
                    </a><a href="/cms/page/tag/14" class="link-secondary m-0 m-md-0 p-1" target="_blank">
                        <button class="btn text-start text-secondary text-nowrap"
                                style="width: 106px">深度思考</button>
                    </a><a href="/cms/page/tag/13" class="link-secondary m-0 m-md-0 p-1" target="_blank">
                        <button class="btn text-start text-secondary text-nowrap"
                                style="width: 106px">团队管理</button>
                    </a><a href="/cms/page/tag/10" class="link-secondary m-0 m-md-0 p-1" target="_blank">
                        <button class="btn text-start text-secondary text-nowrap"
                                style="width: 106px">前端</button>
                    </a><a href="/cms/page/tag/12" class="link-secondary m-0 m-md-0 p-1" target="_blank">
                        <button class="btn text-start text-secondary text-nowrap"
                                style="width: 106px">程序员</button>
                    </a><a href="/cms/page/tag/16" class="link-secondary m-0 m-md-0 p-1" target="_blank">
                        <button class="btn text-start text-secondary text-nowrap"
                                style="width: 106px">redis</button>
                    </a><a href="/cms/page/tag/26" class="link-secondary m-0 m-md-0 p-1" target="_blank">
                        <button class="btn text-start text-secondary text-nowrap"
                                style="width: 106px">数据库</button>
                    </a><a href="/cms/page/tag/20" class="link-secondary m-0 m-md-0 p-1" target="_blank">
                        <button class="btn text-start text-secondary text-nowrap"
                                style="width: 106px">Docker</button>
                    </a><a href="/cms/page/tag/21" class="link-secondary m-0 m-md-0 p-1" target="_blank">
                        <button class="btn text-start text-secondary text-nowrap"
                                style="width: 106px">个人成长</button>
                    </a><a href="/cms/page/tag/27" class="link-secondary m-0 m-md-0 p-1" target="_blank">
                        <button class="btn text-start text-secondary text-nowrap"
                                style="width: 106px">nginx</button>
                    </a><a href="/cms/page/tag/18" class="link-secondary m-0 m-md-0 p-1" target="_blank">
                        <button class="btn text-start text-secondary text-nowrap"
                                style="width: 106px">Linux</button>
                    </a><a href="/cms/page/tag/17" class="link-secondary m-0 m-md-0 p-1" target="_blank">
                        <button class="btn text-start text-secondary text-nowrap"
                                style="width: 106px">微服务架构</button>
                    </a><a href="/cms/page/tag/23" class="link-secondary m-0 m-md-0 p-1" target="_blank">
                        <button class="btn text-start text-secondary text-nowrap"
                                style="width: 106px">Java并发</button>
                    </a>
                </div>

                <div class="p-4">
                    <h4 class="fst-italic">Elsewhere</h4>
                    <ol class="list-unstyled">
                        <li><a href="https://www.github.com">GitHub</a></li>
                        <li><a href="/cms/page/index">竹心导航</a></li>
                    </ol>
                    <p>
                        <a href="#">返回顶部</a>
                    </p>
                </div>
            </div>
        </div>
    </div>

</main>

<footer class="blog-footer">
    <p> <a href="/cms/page/index">博客系统</a> by <a href="/cms/page/index">i230.com</a>.</p>
    <p><p>©CopyRight 2020- <span id="year">{{year}}</span> I230.COM Inc All Rights Reserved
    </p>

</footer>
</div>
<script src="/static/assets/dist/js/bootstrap.bundle.min.js"></script>
<script src="/static/assets/js/vue.min.js"></script>

<script type="application/javascript">
    var app = new Vue({
        el: '#app',
        data: {
            message: 'Hello Vue!',
            year: (new Date()).getUTCFullYear(),
            searchString: ""
        },
        methods: {
            openSearch: function (searchEngineUrl) {
                open(searchEngineUrl + this.searchString, "_blank")
            },
            searchBaidu: function (event) {
                this.openSearch("https://www.baidu.com/s?wd=")
            },
            searchBingInternal: function () {
                this.openSearch("https://cn.bing.com/search?ensearch=0&q=")
            },
            searchBing: function () {
                this.openSearch("https://cn.bing.com/search?ensearch=1&q=")
            },
            searchGoogle: function () {
                this.openSearch("https://www.sogou.com/web?query=")
            },
            searchSougou: function () {
                this.openSearch("https://www.sogou.com/web?query=")
            },
            search360: function () {
                this.openSearch("https://www.so.com/s?q=")
            },
            searchTaobao: function () {
                this.openSearch("https://s.taobao.com/search?q=")
            }
        }
    })

    hljs.highlightAll();
</script>
</body>
</html>