(VMware)ubuntu 环境下搭建docker环境
本文主要讲述如何在win10系统上,使用vmware安装Ubuntu虚拟机,并搭建docker环境
版本约定
试验电脑系统为 Windows 10 专业版
VMware 版本为 VMware Workstation 16 Pro
Ubuntu 版本为 Ubuntu 20.04.2 LTS
Docker 版本为 Docker version 20.10.6
docker-compose 版本为 docker-compose version 1.29.2
软件包准备
环境设置
由于笔者电脑之前安装了环境,开启了 Hyper-V 功能,因此在 VMware 中安装 Ubuntu 虚拟机时报如下的错误:
VMware Workstation 与 Device/Credential Guard 不兼容.在禁用 Device/Credenti
VMware workstation安装
VMware workstation的安装过程比较简单,网上的教程也比较多,笔者这边只讲重要步骤作详细阐述!
Ubuntu 虚拟机安装
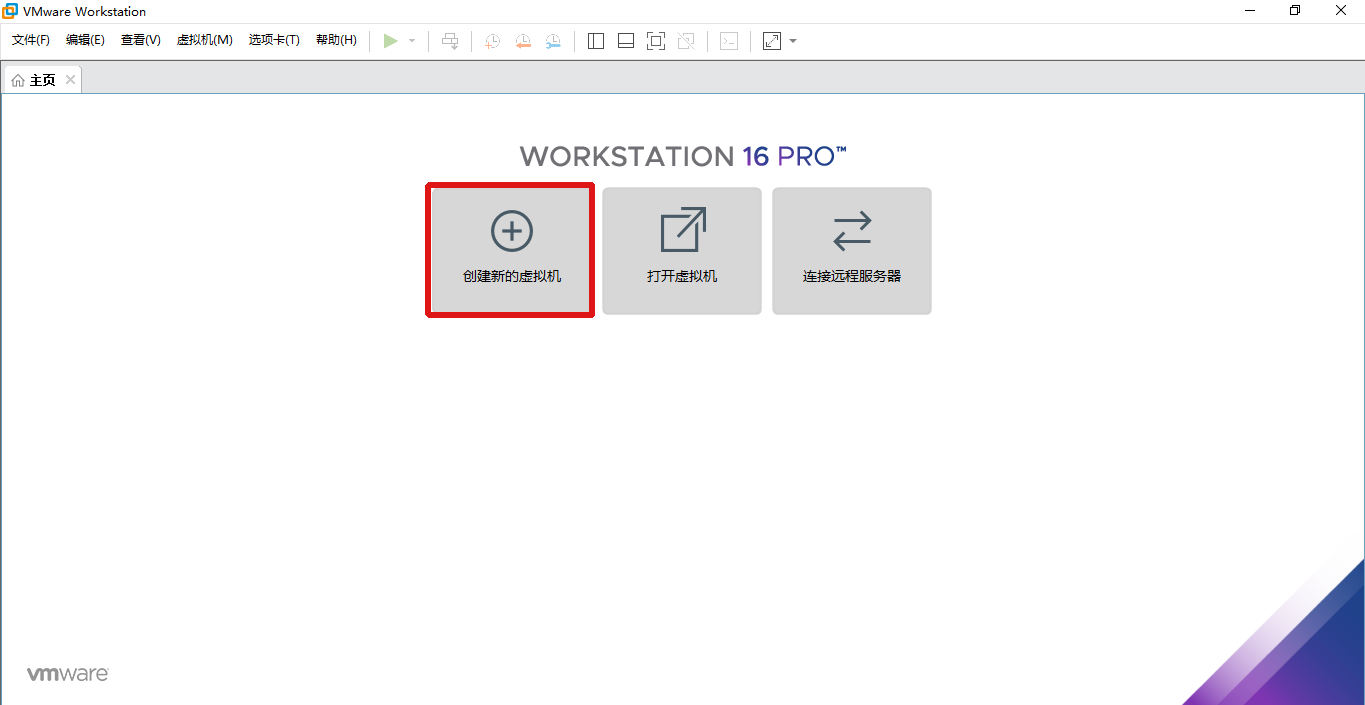
创建新的虚拟机
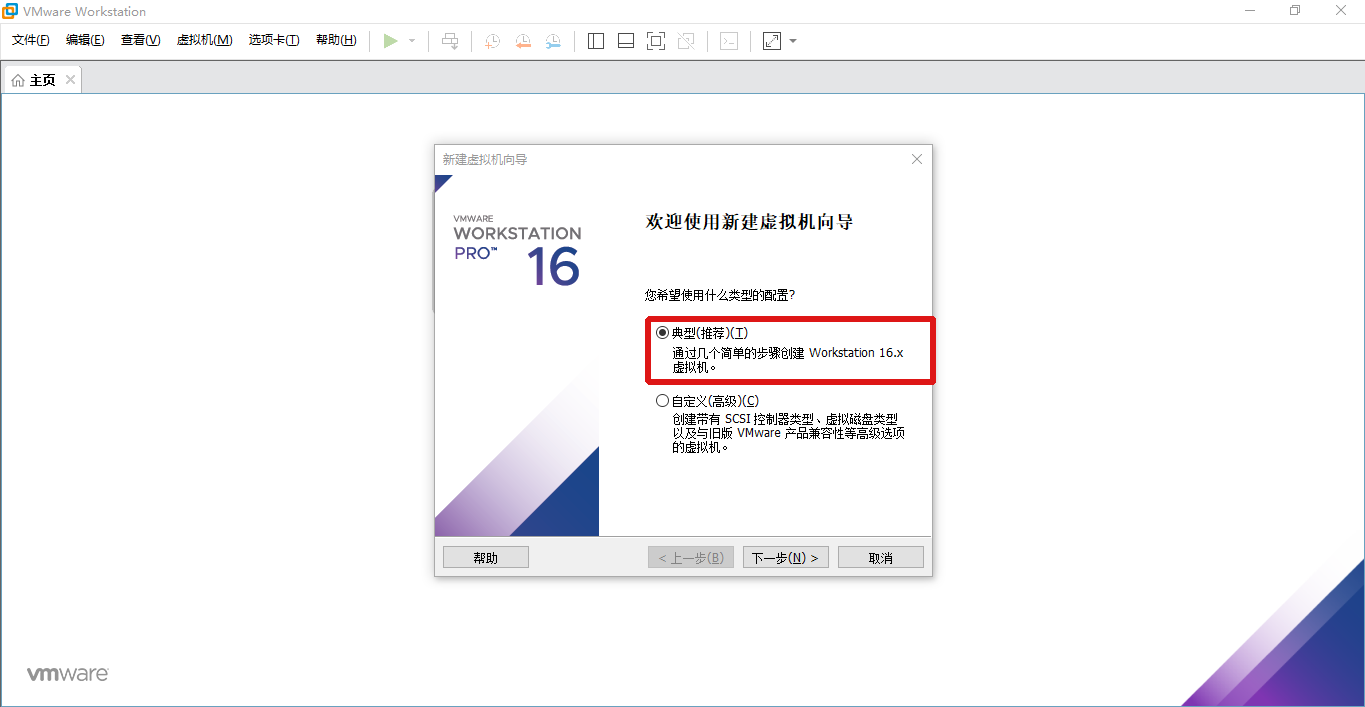
选择典型(推荐)(
T )配置即可
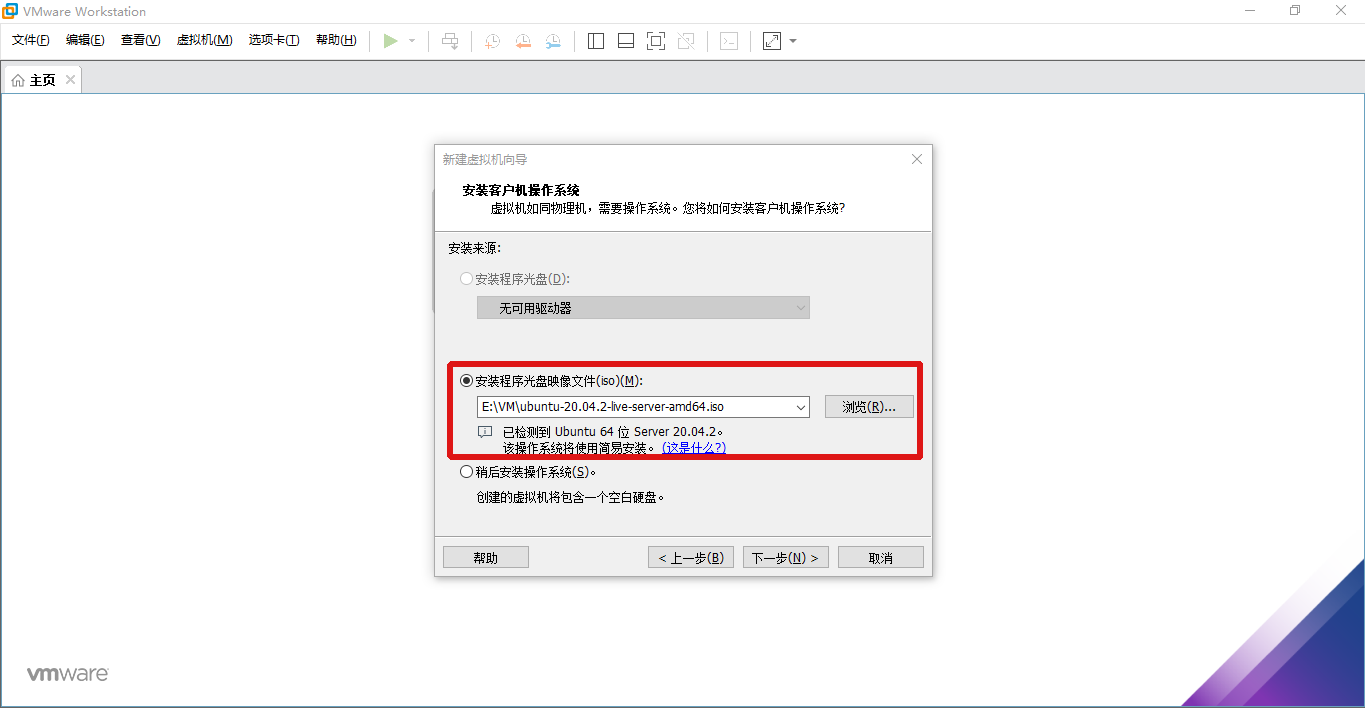
设置Ubuntu 镜像文件
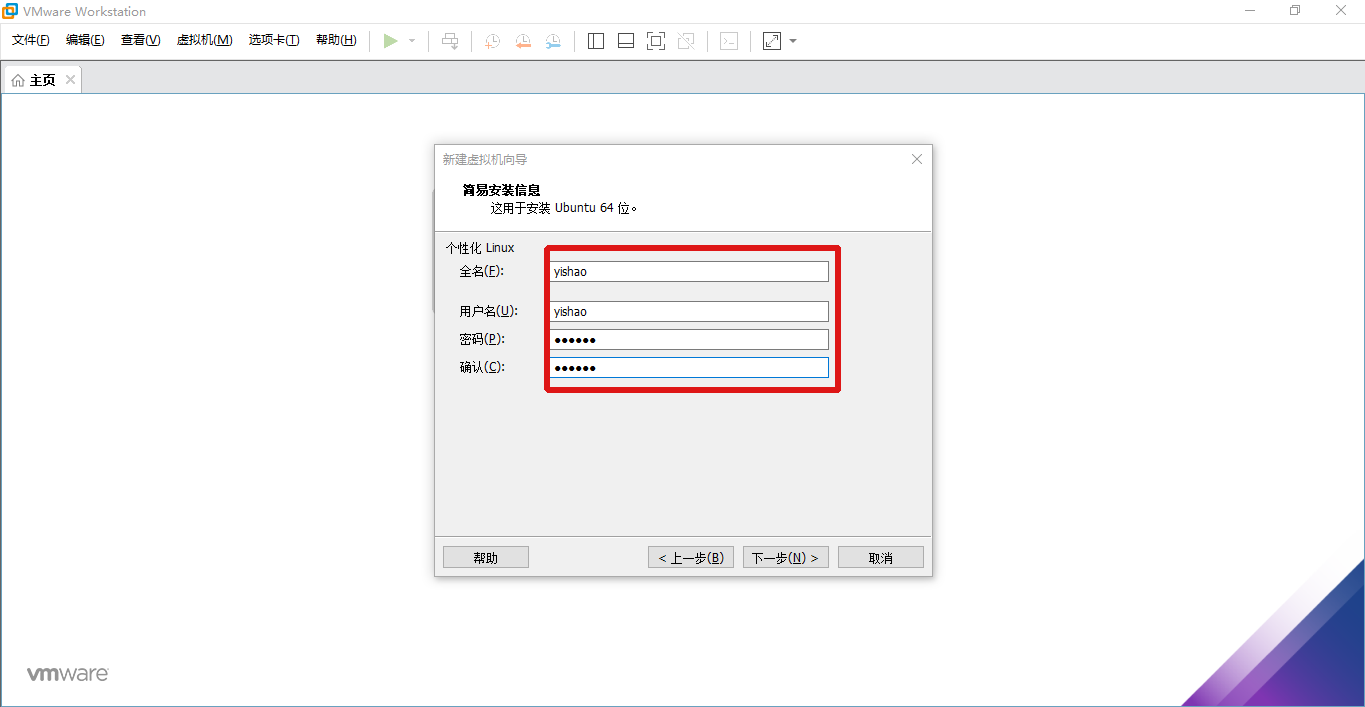
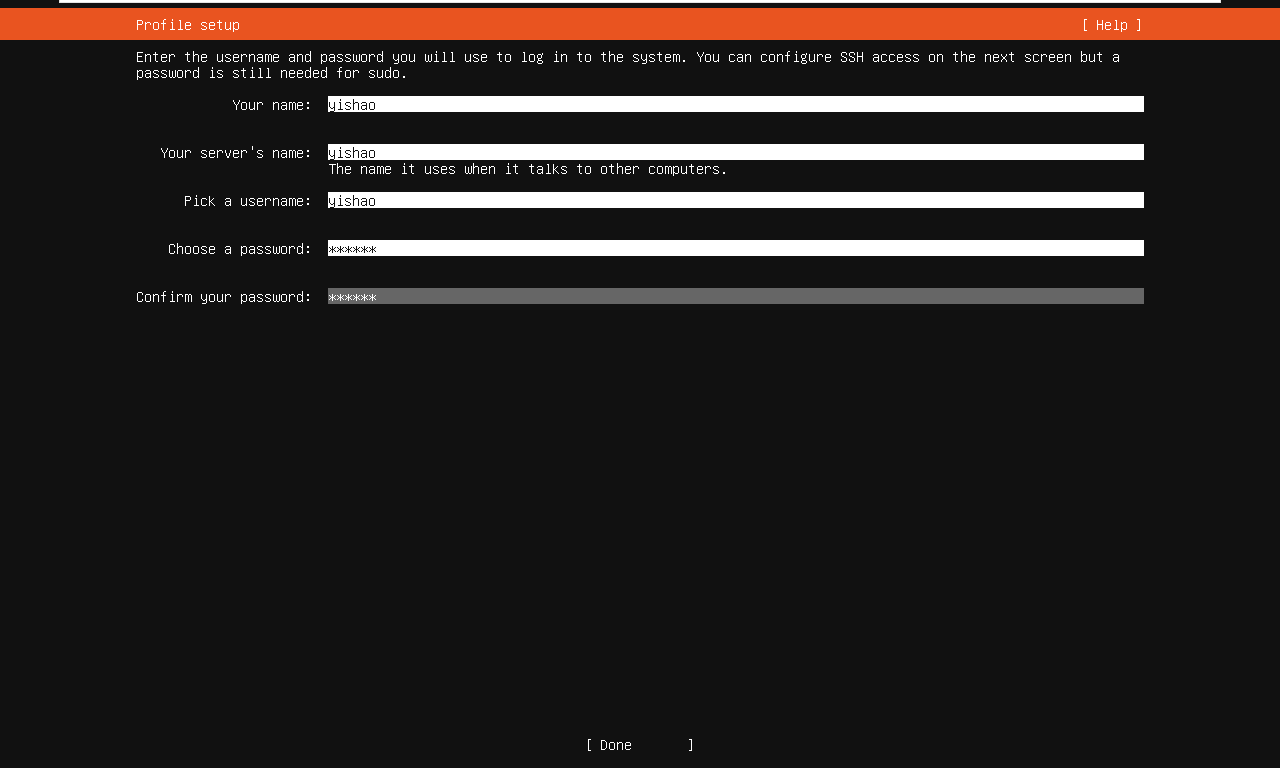
设置用户名密码信息
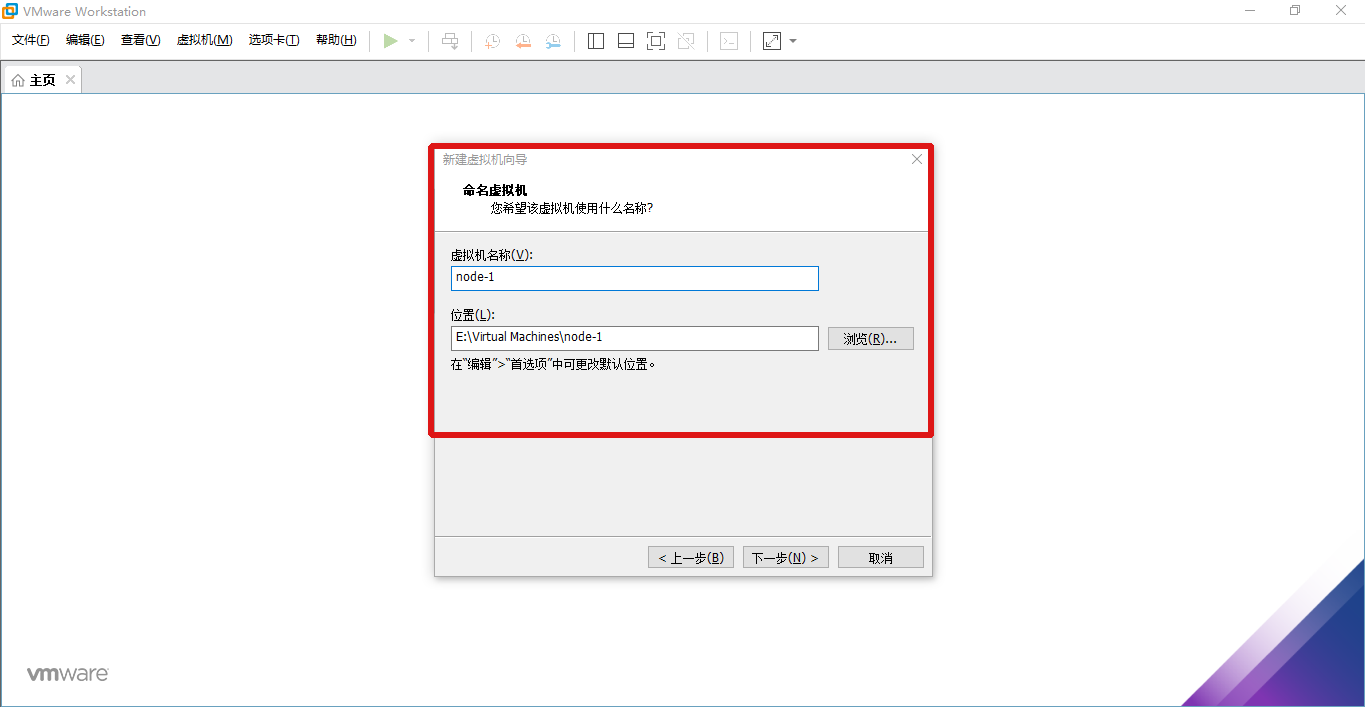
设置虚拟机名称以及位置信息
设置磁盘相关配置,默认即可
选中创建后开启此虚拟机
设置 server name、username
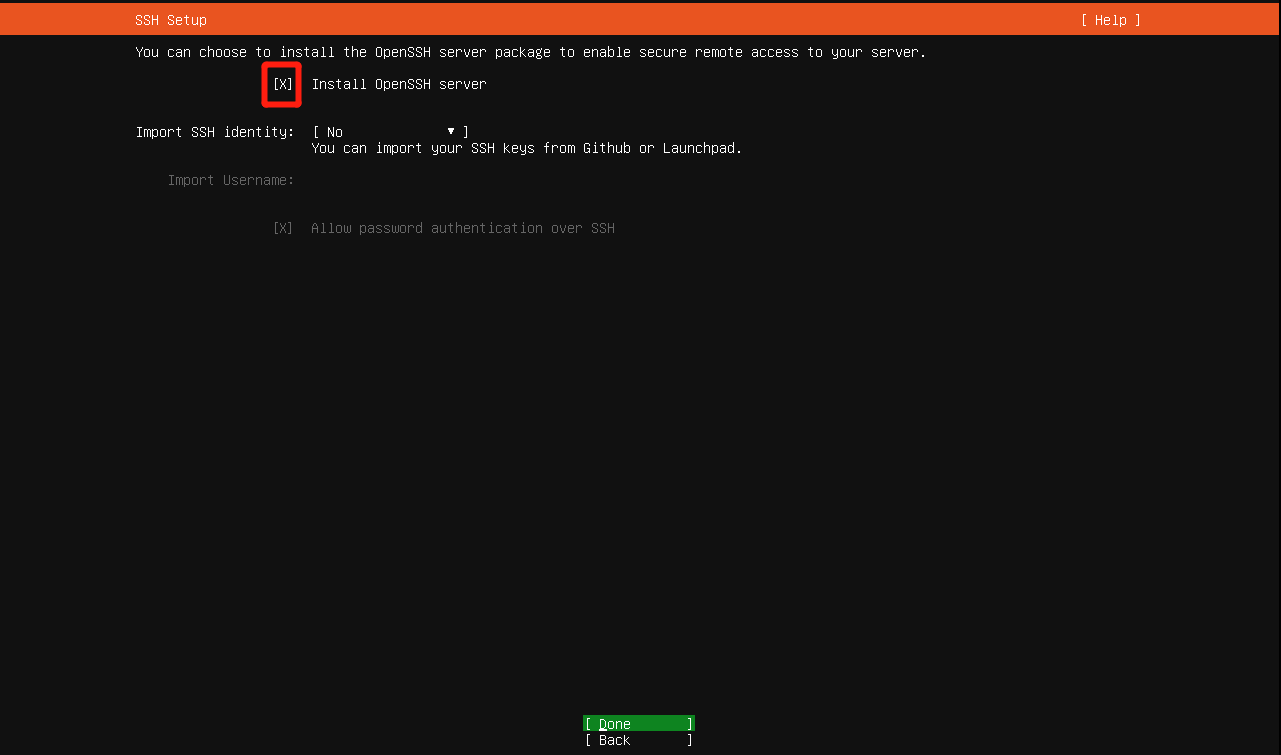
选择安装 OpenSSH server(方便后续使用ssh工具进行连接)
查看系统版本信息
yishao@yishao:~$ uname -a
Linux yishao 5.4.0-73-generic #82-Ubuntu SMP Wed Apr 14 17:39:42 UTC 2021 x86_64 x86_64 x86_64 GNU/Linux
yishao@yishao:~$ cat /proc/version
Linux version 5.4.0-73-generic (buildd@lcy01-amd64-019) (gcc version 9.3.0 (Ubuntu 9.3.0-17ubuntu1~20.04)) #82-Ubuntu SMP Wed Apr 14 17:39:42 UTC 2021
Ubuntu 虚拟机设置
时区设置
执行 sudo tzselect,并按照提示选择对应的设置项
yishao@yishao:~$ sudo tzselect
[sudo] password for yishao:
Please identify a location so that time zone rules can be set correctly.
Please select a continent, ocean, "coord", or "TZ".
1) Africa                                                            7) Europe
2) Americas                                                          8) Indian Ocean
3) Antarctica                                                        9) Pacific Ocean
4) Asia                                                             10) coord - I want to use geographical coordinates.
5) Atlantic Ocean                                                   11) TZ - I want to specify the timezone using the Posix TZ format.
6) Australia
#? 4
Please select a country whose clocks agree with yours.
1) Afghanistan            10) Cyprus                19) Japan                 28) Macau                 37) Qatar                 46) Turkmenistan
2) Armenia                11) East Timor            20) Jordan                29) Malaysia              38) Russia                47) United Arab Emirates
3) Azerbaijan             12) Georgia               21) Kazakhstan            30) Mongolia              39) Saudi Arabia          48) Uzbekistan
4) Bahrain                13) Hong Kong             22) Korea (North)         31) Myanmar (Burma)       40) Singapore             49) Vietnam
5) Bangladesh             14) India                 23) Korea (South)         32) Nepal                 41) Sri Lanka             50) Yemen
6) Bhutan                 15) Indonesia             24) Kuwait                33) Oman                  42) Syria
7) Brunei                 16) Iran                  25) Kyrgyzstan            34) Pakistan              43) Taiwan
8) Cambodia               17) Iraq                  26) Laos                  35) Palestine             44) Tajikistan
9) China                  18) Israel                27) Lebanon               36) Philippines           45) Thailand
#? 9
Please select one of the following timezones.
1) Beijing Time
2) Xinjiang Time
#? 1

The following information has been given:

        China
        Beijing Time

Therefore TZ='Asia/Shanghai' will be used.
Selected time is now:   Sun Jun 13 20:26:30 CST 2021.
Universal Time is now:  Sun Jun 13 12:26:30 UTC 2021.
Is the above information OK?
1) Yes
2) No
#? 1

You can make this change permanent for yourself by appending the line
        TZ='Asia/Shanghai'; export TZ
to the file '.profile' in your home directory; then log out and log in again.

Here is that TZ value again, this time on standard output so that you
can use the /usr/bin/tzselect command in shell scripts:
Asia/Shanghai
创建时区软连接
yishao@yishao:~$ sudo ln -sf /usr/share/zoneinfo/Asia/Shanghai /etc/localtime执行时区生效命令
yishao@yishao:~$ timedatectl
               Local time: Sun 2021-06-13 20:28:42 CST
           Universal time: Sun 2021-06-13 12:28:42 UTC
                 RTC time: Sun 2021-06-13 12:28:41
                Time zone: Asia/Shanghai (CST, +0800)
System clock synchronized: yes
              NTP service: active
          RTC in local TZ: no
hostname设置
查看当前hostname
yishao@yishao:~$ hostnamectl
   Static hostname: yishao
         Icon name: computer-vm
           Chassis: vm
        Machine ID: 648933e419cc48babcfd31a53a7a6ad6
           Boot ID: b84f37318ebc436c96c4ece89ae920dd
    Virtualization: vmware
  Operating System: Ubuntu 20.04.2 LTS
            Kernel: Linux 5.4.0-73-generic
      Architecture: x86-64
设置hostname
yishao@yishao:~$ sudo hostnamectl set-hostname node1
yishao@yishao:~$ hostnamectl
   Static hostname: node1
         Icon name: computer-vm
           Chassis: vm
        Machine ID: 648933e419cc48babcfd31a53a7a6ad6
           Boot ID: b84f37318ebc436c96c4ece89ae920dd
    Virtualization: vmware
  Operating System: Ubuntu 20.04.2 LTS
            Kernel: Linux 5.4.0-73-generic
      Architecture: x86-64
查看/etc/hosts
yishao@yishao:~$ cat /etc/hosts
127.0.0.1 localhost
127.0.1.1 yishao         #此处yishao需要修改为node1

# The following lines are desirable for IPv6 capable hosts
::1     ip6-localhost ip6-loopback
fe00::0 ip6-localnet
ff00::0 ip6-mcastprefix
ff02::1 ip6-allnodes
ff02::2 ip6-allrouters
设置新的映射
yishao@yishao:~$ sudo vi /etc/hosts将/etc/hosts文件中原来127.0.1.1 yishao修改为127.0.1.1 node1,如下:
127.0.0.1 localhost
127.0.1.1 node1   # 新的映射

# The following lines are desirable for IPv6 capable hosts
::1     ip6-localhost ip6-loopback
fe00::0 ip6-localnet
ff00::0 ip6-mcastprefix
ff02::1 ip6-allnodes
ff02::2 ip6-allrouters
静态IP设置
修改/etc/netplan/00-installer-config.yaml,设置静态IP
yishao@yishao:~$ sudo vi /etc/netplan/00-installer-config.yaml将文件编辑为如下内容(addresses、gateway4、nameservers根据实际情况设置):
# This is the network config written by 'subiquity'
network:
  ethernets:
    ens33:
      dhcp4: false
      addresses: [192.168.57.131/24]
      gateway4: 192.168.57.2
      nameservers:
        addresses: [192.168.57.2,114.114.114.114,8.8.8.8]
  version: 2
生效配置,并重启虚拟机
yishao@yishao:~$ sudo netplan apply
yishao@yishao:~$ sudo reboot
Docker 安装
Uninstall old versions
yishao@node1:~$ sudo apt-get remove docker docker-engine docker.io containerd runcUpdate the package index and install packages to allow to use a repository over HTTPS
yishao@node1:~$ sudo apt-get update
yishao@node1:~$ sudo apt-get install \
>     apt-transport-https \
>     ca-certificates \
>     curl \
>     gnupg \
>     lsb-release
Add Docker’s official GPG key
yishao@node1:~$ curl -fsSL https://download.docker.com/linux/ubuntu/gpg | sudo gpg --dearmor -o /usr/share/keyrings/docker-archive-keyring.gpgUse the following command to set up the stable repository. To add the nightly or test repository, add the word or (or both) after the word in the commands below. .
yishao@node1:~$ echo \
>   "deb [arch=amd64 signed-by=/usr/share/keyrings/docker-archive-keyring.gpg] https://download.docker.com/linux/ubuntu \
>   $(lsb_release -cs) stable" | sudo tee /etc/apt/sources.list.d/docker.list > /dev/null
Update the package index, and install the latest version of Docker Engine and containerd, or go to the next step to install a specific version
yishao@node1:~$ sudo apt-get update
yishao@node1:~$ sudo apt-get install docker-ce docker-ce-cli containerd.io
install docker-ce docker-ce-cli containerd.io
yishao@node1:~$ sudo apt-get install docker-ce docker-ce-cli containerd.io执行如下命令配置镜像加速器(阿里)
sudo mkdir -p /etc/docker
sudo tee /etc/docker/daemon.json <<-'EOF'
{
  "registry-mirrors": ["https://9w2ypf5d.mirror.aliyuncs.com"]
}
EOF
sudo systemctl daemon-reload
sudo systemctl restart docker
运行 镜像,验证环境
yishao@node1:~$ sudo docker run hello-world

Hello from Docker!
This message shows that your installation appears to be working correctly.

To generate this message, Docker took the following steps:
 1. The Docker client contacted the Docker daemon.
 2. The Docker daemon pulled the "hello-world" image from the Docker Hub.
    (amd64)
 3. The Docker daemon created a new container from that image which runs the
    executable that produces the output you are currently reading.
 4. The Docker daemon streamed that output to the Docker client, which sent it
    to your terminal.

To try something more ambitious, you can run an Ubuntu container with:
 $ docker run -it ubuntu bash

Share images, automate workflows, and more with a free Docker ID:
 https://hub.docker.com/

For more examples and ideas, visit:
 https://docs.docker.com/get-started/
看到如上输出,表示 docker 环境已经安装成功~
Docker 环境设置
添加当前用户到 docker 用户组,可以不用 sudo 运行 docker
yishao@node1:~$ sudo groupadd docker
yishao@node1:~$ sudo usermod -aG docker yishao
Docker-compose 安装
Run this command to download the current stable release of Docker Compose
yishao@node1:~$ sudo curl -L "https://github.com/docker/compose/releases/download/1.29.2/docker-compose-$(uname -s)-$(uname -m)" -o /usr/local/bin/docker-composeApply executable permissions to the binary:
yishao@node1:~$ sudo chmod +x /usr/local/bin/docker-composeNote: If the command fails after installation, check your path. You can also create a symbolic link to or any other directory in your path.
yishao@node1:~$ sudo ln -s /usr/local/bin/docker-compose /usr/bin/docker-compose测试docker-compose环境
yishao@node1:~$ docker-compose --version
docker-compose version 1.29.2, build 5becea4c
看到如上输出,表示 docker compose 环境已经安装成功~
克隆虚拟机
经过以上步骤完整的Ubuntu虚拟机+docker环境已经安装设置完成,为了以后能够方便使用,建议对此VM镜像克隆备份,克隆有几个需要注意的地方如下:
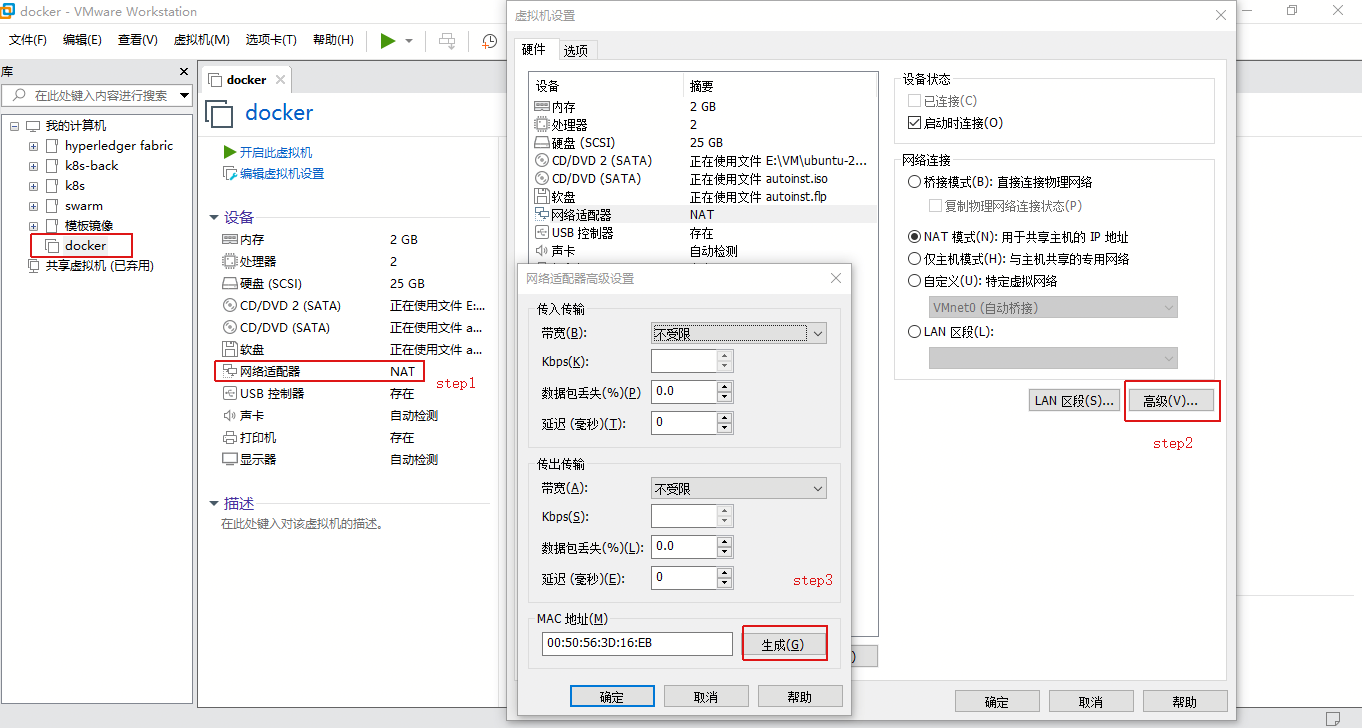
克隆时请选择 创建完整克隆
克隆完成后请重新生成 MAC地址 (重要)
后续可以根据实际需要重新设置静态IP和hostname
参考: