一个前端的 Windows10 开发环境
安装新版 PowerShell
美化 PowerShell
打开 PowerShell 并输入以下命令安装 posh-git 和 oh-my-posh 这两个模块
Install-Module posh-git -Scope CurrentUser
Install-Module oh-my-posh -Scope CurrentUser
优化命令的颜色,需要管理员权限运行
Install-Module Get-ChildItemColor让 PowerShell 主题配置生效
新增(/或修改)你的 PowerShell 配置文件
如果之前没有配置文件,就新建一个 PowerShell 配置文件
if (!(Test-Path -Path $PROFILE )) { New-Item -Type File -Path $PROFILE -Force }用记事本打开配置文件
notepad $PROFILE在其中添加下面的内容
Import-Module Get-ChildItemColor

$env:PYTHONIOENCODING="utf-8"
# Remove curl alias
If (Test-Path Alias:curl) {Remove-Item Alias:curl}
If (Test-Path Alias:curl) {Remove-Item Alias:curl}
# Remove-Item alias:ls -force
Set-Alias l Get-ChildItemColor -option AllScope
Set-Alias ls Get-ChildItemColorFormatWide -option AllScope

Import-Module posh-git
Import-Module oh-my-posh
Set-Theme Paradox
安装 choco
Set-ExecutionPolicy Bypass -Scope Process -Force; iex ((New-Object System.Net.WebClient).DownloadString('https://chocolatey.org/install.ps1'))安装ConEmu
choco install ConEmu安装Scoop
在 PowerShell 中输入下面内容,保证允许本地脚本的执行:
然后执行下面的命令安装 Scoop:
静待脚本执行完成就可以了,安装成功后,执行下面命令查看帮助文档:
添加加 Nerd font的仓库
如果没有git,会提示你顺便先安装git,按照提示安装就行。
安装字体
scoop install FantasqueSansMono-NF安装 Windows terminal
首先安装 Windows terminal ,在 Microsoft store 里搜索 Windows terminal, 现在还是 preview 的版本
修改 Windows Terminal 配置
点击 Windows Terminal 顶栏的下拉箭头按钮,选择, 按需要修改成下面配置。
// To view the default settings, hold "alt" while clicking on the "Settings" button.
// For documentation on these settings, see: https://aka.ms/terminal-documentation

{
    "$schema": "https://aka.ms/terminal-profiles-schema",
    // 默认启动哪个终端, 该值为对应 guid
    "defaultProfile": "{574e775e-4f2a-5b96-ac1e-a2962a402336}",

    "profiles":
    [
        {
            // 安装新 PowerShell Core 以后会自动生成基础配置.
            "guid": "{574e775e-4f2a-5b96-ac1e-a2962a402336}",
            "hidden": false,
            "name": "PowerShell",
            "source": "Windows.Terminal.PowershellCore",
            "icon" : "ms-appx:///ProfileIcons/{574e775e-4f2a-5b96-ac1e-a2962a402336}.png",
            // 启用亚克力效果时控制窗口透明度。0到1之间的浮点数,0表示完全透明,1表示完全不透明。默认值是0.5。
            "useAcrylic" : true,
            "acrylicOpacity" : 0.3,
            "background" : "#171717",
            // 背景图片, ms-appdata的位置在 %LOCALAPPDATA%\Packages\Microsoft.WindowsTerminal_8wekyb3d8bbwe\RoamingState
            "backgroundImage" : "ms-appdata:///roaming/lightm.jpg",
            "backgroundImageOpacity" : 0.1,
            "closeOnExit" : true,
            "colorScheme" : "cyberpunk",
            "cursorColor" : "#FFFFFF",
            "cursorShape" : "vintage",
            "fontFace" : "FantasqueSansMono NF",
            "fontSize" : 11,
            "historySize" : 9001,
            "padding" : "0, 0, 0, 0",
            "snapOnInput" : true,
            "startingDirectory" : "%USERPROFILE%",
            // 实验性功能,不保证将来的版本会继续存在。设置为true可以启用模拟CRT显示器效果,装逼利器。效果如下图所示,显卡太弱的话会影响性能。需要重启窗口才能生效。
            "experimental.retroTerminalEffect": true
        },
        {
            // Make changes here to the powershell.exe profile
            "guid": "{61c54bbd-c2c6-5271-96e7-009a87ff44bf}",
            "name": "Windows PowerShell",
            "commandline": "powershell.exe",
            "hidden": false,
            "acrylicOpacity" : 0.5,
            "background" : "#000",
            "closeOnExit" : true,
            "colorScheme" : "Nord",
            "cursorColor" : "#FFFFFF",
            "cursorShape" : "bar",
            "fontFace" : "FantasqueSansMono NF",
            "fontSize" : 10,
            "padding" : "0, 0, 0, 0",
            "snapOnInput" : true,
            "useAcrylic" : true
        },
        {
            // Make changes here to the cmd.exe profile
            "guid": "{0caa0dad-35be-5f56-a8ff-afceeeaa6101}",
            "name": "cmd",
            "commandline": "cmd.exe",
            "hidden": false,
            "acrylicOpacity" : 0.5,
            "background" : "#000",
            "closeOnExit" : true,
            "colorScheme" : "Campbell",
            "cursorColor" : "#FFFFFF",
            "cursorShape" : "bar",
            "fontFace" : "FantasqueSansMono NF",
            "fontSize" : 10,
            "padding" : "0, 0, 0, 0",
            "snapOnInput" : true,
            "useAcrylic" : true
        },
        {
            "guid": "{b453ae62-4e3d-5e58-b989-0a998ec441b8}",
            "hidden": false,
            "name": "Azure Cloud Shell",
            "source": "Windows.Terminal.Azure"
        },
        // WSL 配置, 安装 WSL 会用到
        {
            "guid" : "{07b52e3e-de2c-5db4-bd2d-ba144ed6c273}",
            "acrylicOpacity" : 0.6,
            "background" : "#171717",
            "closeOnExit" : true,
            "hidden": false,
            "colorScheme" : "cyberpunk",
            "source": "Windows.Terminal.Wsl",
            "cursorColor" : "#FFFFFF",
            "cursorShape" : "vintage",
            "fontFace" : "FantasqueSansMono NF",
            "fontSize" : 11,
            "historySize" : 9001,
            // "icon" : "ms-appx:///ProfileIcons/{07b52e3e-de2c-5db4-bd2d-ba144ed6c273}.png",
            "backgroundImage" : "ms-appdata:///roaming/lightm.jpg",
            "backgroundImageOpacity" : 0.3,
            "name" : "Ubuntu-20.04",
            "padding" : "0, 0, 0, 0",
            "snapOnInput" : true,
            // 通常来说,启动路径只支持Windows下的路径,如果你想在启动wsl时进入家目录,可以如下设置:"//wsl$/DistroName/home/username"。注意修改其中对应wsl发行版的名字以及你的用户名。
            "startingDirectory" : "//wsl$/Ubuntu-20.04/home/gadzan",
            "useAcrylic": true
        },
    ],

    // Add custom color schemes to this array
    "schemes": [
           {
             "name": "Campbell",
             "foreground": "#F2F2F2",
             "background": "#0C0C0C",
             "colors": [
               "#0C0C0C",
               "#C50F1F",
               "#13A10E",
               "#C19C00",
               "#0037DA",
               "#881798",
               "#3A96DD",
               "#CCCCCC",
               "#767676",
               "#E74856",
               "#16C60C",
               "#F9F1A5",
               "#3B78FF",
               "#B4009E",
               "#61D6D6",
               "#F2F2F2"
             ]
           },
           {
             "name": "Solarized Dark",
             "foreground": "#FDF6E3",
             "background": "#073642",
             "colors": [
               "#073642",
               "#D30102",
               "#859900",
               "#B58900",
               "#268BD2",
               "#D33682",
               "#2AA198",
               "#EEE8D5",
               "#002B36",
               "#CB4B16",
               "#586E75",
               "#657B83",
               "#839496",
               "#6C71C4",
               "#93A1A1",
               "#FDF6E3"
             ]
           },
           {
             "name": "Solarized Light",
             "foreground": "#073642",
             "background": "#FDF6E3",
             "colors": [
               "#073642",
               "#D30102",
               "#859900",
               "#B58900",
               "#268BD2",
               "#D33682",
               "#2AA198",
               "#EEE8D5",
               "#002B36",
               "#CB4B16",
               "#586E75",
               "#657B83",
               "#839496",
               "#6C71C4",
               "#93A1A1",
               "#FDF6E3"
             ]
           },
           {
             "name": "Ubuntu",
             "foreground": "#EEEEEC",
             "background": "#2C001E",
             "colors": [
               "#EEEEEC",
               "#16C60C",
               "#729FCF",
               "#B58900",
               "#268BD2",
               "#D33682",
               "#2AA198",
               "#EEE8D5",
               "#002B36",
               "#CB4B16",
               "#586E75",
               "#657B83",
               "#839496",
               "#6C71C4",
               "#93A1A1",
               "#FDF6E3"
             ]
           },
           {
             "name": "UbuntuLegit",
             "foreground": "#EEEEEE",
             "background": "#2C001E",
             "colors": [
               "#4E9A06",
               "#CC0000",
               "#300A24",
               "#C4A000",
               "#3465A4",
               "#75507B",
               "#06989A",
               "#D3D7CF",
               "#555753",
               "#EF2929",
               "#8AE234",
               "#FCE94F",
               "#729FCF",
               "#AD7FA8",
               "#34E2E2",
               "#EEEEEE"
             ]
           },
           {
            "name": "Nord",
            "background": "#2e3440",
            "foreground": "#eceff4",
            "brightBlack": "#2e3440",
            "brightBlue": "#5e81ac",
            "brightCyan": "#8fbcbb",
            "brightGreen": "#a3be8c",
            "brightPurple": "#b48ead",
            "brightRed": "#bf616a",
            "brightWhite": "#eceff4",
            "brightYellow": "#ebcb8b",
            "black": "#2e3440",
            "blue": "#5e81ac",
            "cyan": "#8fbcbb",
            "green": "#a3be8c",
            "purple": "#b48ead",
            "red": "#bf616a",
            "white": "#eceff4",
            "yellow": "#ebcb8b"
          }
        ],
    // Add any keybinding overrides to this array.
    // To unbind a default keybinding, set the command to "unbound"
    "keybindings": []
}
修改后保存即可看见效果。
添加自定义主题
在 powershell 中输入:
会输出下面信息:
PromptSymbols        : {UNCSymbol, HomeSymbol, ElevatedSymbol, SegmentSeparatorForwardSymbol...}
CurrentUser          : Administrator
CurrentThemeLocation : C:\Users\Administrator\Documents\WindowsPowerShell\Modules\oh-my-posh\2.0.379\Themes\Paradox.psm                        1
Colors               : {AdminIconForegroundColor, PromptBackgroundColor, PromptHighlightColor, GitLocalChangesColor...} GitSymbols           : {OriginSymbols, LocalWorkingStatusSymbol, LocalDefaultStatusSymbol, BranchUntrackedSymbol...}    Options              : {ConsoleTitle, OriginSymbols}
ErrorCount           : 1
MyThemesLocation     : C:\Users\Administrator\Documents\WindowsPowerShell\PoshThemes
CurrentThemeLocation 即是现在主题的地址,在该目录下
新建一个文件
填入一下内容
#requires -Version 2 -Modules posh-git

function Write-Theme {
    param(
        [bool]
        $lastCommandFailed,
        [string]
        $with
    )

    $lastColor = $sl.Colors.PromptBackgroundColor
    $prompt += Write-Prompt -Object "╭" -ForegroundColor $sl.Colors.PromptIndicatorForegroundColor1

    $prompt = Write-Prompt -Object " $($sl.PromptSymbols.StartSymbol) " -ForegroundColor $sl.Colors.PromptForegroundColor -BackgroundColor $sl.Colors.PromptUserBackgroundColor
    $prompt += Write-Prompt -Object "$($sl.PromptSymbols.SegmentForwardSymbol) " -ForegroundColor $sl.Colors.PromptIndicatorForegroundColor3 -BackgroundColor $sl.Colors.PromptUserBackgroundColor
    #check for elevated prompt
    If (Test-Administrator) {
        $prompt += Write-Prompt -Object "$($sl.PromptSymbols.ElevatedSymbol)" -ForegroundColor $sl.Colors.AdminIconForegroundColor -BackgroundColor $sl.Colors.PromptUserBackgroundColor
    }


    $user = [System.Environment]::UserName
    $computer = [System.Environment]::MachineName
    $path = Get-ShortPath -dir $pwd
    if (Test-NotDefaultUser($user)) {
        $prompt += Write-Prompt -Object "$user@$computer " -ForegroundColor $sl.Colors.PromptForegroundColor -BackgroundColor $sl.Colors.PromptUserBackgroundColor
    }

    if (Test-VirtualEnv) {
        $prompt += Write-Prompt -Object "$($sl.PromptSymbols.SegmentForwardSymbol)" -ForegroundColor $sl.Colors.SessionInfoBackgroundColor -BackgroundColor $sl.Colors.VirtualEnvBackgroundColor
        $prompt += Write-Prompt -Object "$($sl.PromptSymbols.VirtualEnvSymbol) $(Get-VirtualEnvName) " -ForegroundColor $sl.Colors.VirtualEnvForegroundColor -BackgroundColor $sl.Colors.VirtualEnvBackgroundColor
        $prompt += Write-Prompt -Object "$($sl.PromptSymbols.SegmentForwardSymbol)" -ForegroundColor $sl.Colors.VirtualEnvBackgroundColor -BackgroundColor $sl.Colors.PromptBackgroundColor
    }
    else {
        $prompt += Write-Prompt -Object "$($sl.PromptSymbols.SegmentForwardSymbol)" -ForegroundColor $sl.Colors.PromptUserBackgroundColor -BackgroundColor $sl.Colors.PromptBackgroundColor
    }

    # Writes the drive portion
    $prompt += Write-Prompt -Object " $path " -ForegroundColor $sl.Colors.PromptForegroundColor -BackgroundColor $sl.Colors.PromptBackgroundColor

    $status = Get-VCSStatus
    if ($status) {
        $themeInfo = Get-VcsInfo -status ($status)
        $lastColor = $themeInfo.BackgroundColor
        $prompt += Write-Prompt -Object $($sl.PromptSymbols.SegmentForwardSymbol) -ForegroundColor $sl.Colors.PromptBackgroundColor -BackgroundColor $lastColor
        $prompt += Write-Prompt -Object " $($themeInfo.VcInfo) " -BackgroundColor $lastColor -ForegroundColor $sl.Colors.GitForegroundColor
    }

    # Writes the postfix to the prompt
    $prompt += Write-Prompt -Object $sl.PromptSymbols.SegmentForwardSymbol -ForegroundColor $lastColor

    #check the last command state and indicate if failed
    If ($lastCommandFailed) {
        $prompt += Write-Prompt -Object " $($sl.PromptSymbols.FailedCommandSymbol)" -ForegroundColor $sl.Colors.CommandFailedIconForegroundColor -BackgroundColor $sl.Colors.SessionInfoBackgroundColor
    } else {
        $prompt += Write-Prompt -Object " $($sl.PromptSymbols.SuccessCommandSymbol)" -ForegroundColor $sl.Colors.CommandSuccessIconForegroundColor -BackgroundColor $sl.Colors.SessionInfoBackgroundColor
    }

    # $timeStamp = Get-Date -UFormat %T
    # $timestamp = " $timeStamp "

    # $prompt += Set-CursorForRightBlockWrite -textLength ($timestamp.Length + $sl.PromptSymbols.TimeSymbol.Length + $sl.PromptSymbols.SegmentBackwardSymbol.Length + $sl.PromptSymbols.SegmentForwardSymbol.Length + 1)
    # $prompt += Write-Prompt $sl.PromptSymbols.SegmentBackwardSymbol -ForegroundColor $sl.Colors.PromptBackgroundColor -BackgroundColor $sl.Colors.SessionInfoBackgroundColor
    # $prompt += Write-Prompt $sl.PromptSymbols.TimeSymbol -ForegroundColor $sl.Colors.PromptForegroundColor -BackgroundColor $sl.Colors.PromptBackgroundColor
    # $prompt += Write-Prompt $timeStamp -ForegroundColor $sl.Colors.PromptForegroundColor -BackgroundColor $sl.Colors.PromptBackgroundColor
    # $prompt += Write-Prompt $sl.PromptSymbols.SegmentForwardSymbol -ForegroundColor $sl.Colors.PromptBackgroundColor -BackgroundColor $sl.Colors.SessionInfoBackgroundColor

    $prompt += Set-Newline

    if ($with) {
        $prompt += Write-Prompt -Object "$($with.ToUpper()) " -BackgroundColor $sl.Colors.WithBackgroundColor -ForegroundColor $sl.Colors.WithForegroundColor
    }

    $prompt += Write-Prompt -Object "╰" -ForegroundColor $sl.Colors.PromptIndicatorForegroundColor1
    $prompt += Write-Prompt -Object $sl.PromptSymbols.PromptIndicator -ForegroundColor $sl.Colors.PromptIndicatorForegroundColor1
    $prompt += Write-Prompt -Object $sl.PromptSymbols.PromptIndicator -ForegroundColor $sl.Colors.PromptIndicatorForegroundColor2
    $prompt += Write-Prompt -Object $sl.PromptSymbols.PromptIndicator -ForegroundColor $sl.Colors.PromptIndicatorForegroundColor3
    $prompt += ' '
    $prompt
}

$sl = $global:ThemeSettings #local settings
$sl.PromptSymbols.StartSymbol = [char]::ConvertFromUtf32(0xe70c)
$sl.PromptSymbols.PromptIndicator = [char]::ConvertFromUtf32(0x276F)
$sl.PromptSymbols.SegmentForwardSymbol = "" # [char]::ConvertFromUtf32(0xE0B0) #(0xE0B4)
$sl.PromptSymbols.SegmentBackwardSymbol = [char]::ConvertFromUtf32(0xE0B2)
$sl.PromptSymbols.TimeSymbol = ' ' + [char]::ConvertFromUtf32(0x235F)
$sl.PromptSymbols.FailedCommandSymbol = [char]::ConvertFromUtf32(0x2718)
$sl.PromptSymbols.SuccessCommandSymbol = [char]::ConvertFromUtf32(0x2714)
$sl.Colors.PromptForegroundColor = [ConsoleColor]::White
$sl.Colors.PromptBackgroundColor = [ConsoleColor]::DarkBlue
$sl.Colors.PromptSymbolColor = [ConsoleColor]::White
$sl.Colors.PromptHighlightColor = [ConsoleColor]::DarkBlue
$sl.Colors.GitForegroundColor = [ConsoleColor]::Black
$sl.Colors.WithForegroundColor = [ConsoleColor]::DarkRed
$sl.Colors.WithBackgroundColor = [ConsoleColor]::DarkMagenta
$sl.Colors.VirtualEnvBackgroundColor = [System.ConsoleColor]::DarkRed
$sl.Colors.VirtualEnvForegroundColor = [System.ConsoleColor]::White
$sl.Colors.CommandSuccessIconForegroundColor = [System.ConsoleColor]::DarkGreen
$sl.Colors.CommandFailedIconForegroundColor = [System.ConsoleColor]::DarkRed
$sl.Colors.PromptIndicatorForegroundColor1 = [ConsoleColor]::DarkBlue
$sl.Colors.PromptIndicatorForegroundColor2 = [ConsoleColor]::DarkYellow
$sl.Colors.PromptIndicatorForegroundColor3 = [ConsoleColor]::DarkMagenta
$sl.Colors.PromptUserBackgroundColor = [ConsoleColor]::Black保存后,在 PowerShell 中输入
修改最后一行的
改为,保存
另一个好主题 Powerlevel10k
Oh My Zsh 版的安装方法.
git clone --depth=1 https://gitee.com/romkatv/powerlevel10k.git ${ZSH_CUSTOM:-~/.oh-my-zsh/custom}/themes/powerlevel10k在里加上
ZSH_THEME="powerlevel10k/powerlevel10k"安装 WSL
在微软应用商店里搜索 Ubuntu 安装即可,安装完成后会在 Windows 任务栏搜索 bash 即可进入 Ubuntu 环境。
初次进入 WSL 会立刻安装 Ubuntu 然后提示添加用户和密码, 按照提示输入即可.
键入以下命令安装环境:
# 更新系统
sudo apt-get update

# 安装 git, 一般会自带.
sudo apt-get install git

# 安装 ZSH
sudo apt-get install zsh

# 切换到 zsh,直接在终端输入 zsh 即可切换到 zsh。提示后输入 0 可以自动生成 .zshrc 文件
zsh
安装Oh-my-zsh
oh-my-zsh首页在这:
https://github.com/ohmyzsh/ohmyzsh
# 安装Oh-my-zsh
sh -c "$(curl -fsSL https://raw.githubusercontent.com/ohmyzsh/ohmyzsh/master/tools/install.sh)"
安装完成后在设置默认 SHELL 时会出现了问题。
Linux 下设置默认 SHELL 方法如下:
chsh -s /bin/zsh但重新在 CMD/POWERSHELL 上进入 WSL ,默认的 SHELL 还是 bash ,需要手动执行才能进入。
于是在 Google 上查了一下,发现在 Microsoft 的 Github 上面有一个提交 Bug 的 Repository:Microsoft/WSL 上有一个 issue:
can’t change default shell #477
出现这个问题的原因是在启动 WSL 时没有执行 login 相关的组件,而这些组件和设置默认 SHELL 有关。
We don’t run login which is the component that normally sets those things up.解决方法
打开 ~./bashrc 添加下列代码进去并保存即可。
[[ $- == *i* ]] && $(command -v zsh) || echo "ZSH is not installed"下载 oh-my-zsh 的 powerlevel9k 主题
git clone https://github.com/bhilburn/powerlevel9k.git ~/.oh-my-zsh/custom/themes/powerlevel9k编辑 .zshrc
vi ~/.zshrc找到 ZSH_THEME
添加下面内容
POWERLEVEL9K_MODE='nerdfont-complete'
# POWERLEVEL9K_LEFT_SEGMENT_SEPARATOR="\uE0B4"
POWERLEVEL9K_LEFT_SUBSEGMENT_SEPARATOR="%F{$(( $DEFAULT_BACKGROUND - 2 ))}|%f"
# POWERLEVEL9K_RIGHT_SEGMENT_SEPARATOR="\uE0B6"
POWERLEVEL9K_RIGHT_SUBSEGMENT_SEPARATOR="%F{$(( $DEFAULT_BACKGROUND - 2 ))}|%f"
POWERLEVEL9K_SHORTEN_DIR_LENGTH="2"
POWERLEVEL9K_LEFT_PROMPT_ELEMENTS=(os_icon context dir nvm vcs)
POWERLEVEL9K_RIGHT_PROMPT_ELEMENTS=(status root_indicator battery date)
POWERLEVEL9K_OS_ICON_BACKGROUND="magenta"
POWERLEVEL9K_OS_ICON_FOREGROUND="black"
POWERLEVEL9K_DEFAULT_FOREGROUND="white"
POWERLEVEL9K_CONTEXT_DEFAULT_FOREGROUND="black"
POWERLEVEL9K_CONTEXT_DEFAULT_BACKGROUND="cyan"
POWERLEVEL9K_STATUS_CROSS="true"
ZSH_THEME="powerlevel9k/powerlevel9k"
重启 bash 可以生效.
或者用上一节的 Powerlevel10k 更简单.
WSL 下安装 Python
安装 Pyenv
输入下面命令安装:
curl -L https://github.com/pyenv/pyenv-installer/raw/master/bin/pyenv-installer | bash在 .zshrc 或者 .bashrc 中添加下面3行
export PATH="/home/gadzan/.pyenv/bin:$PATH"
eval "$(pyenv init -)"
eval "$(pyenv virtualenv-init -)"
输入生效.
使用 pyenv 安装 python 3.6.6
pyenv install 3.6.6如果提示, 那就先安装依赖
sudo apt-get install -y make build-essential libssl-dev zlib1g-dev libbz2-dev \
libreadline-dev libsqlite3-dev wget curl llvm libncurses5-dev libncursesw5-dev \
xz-utils tk-dev
安装完成后先创建虚拟环境, 执行命令:
pyenv virtualenv 3.6.6 my-env它的格式就是这样固定的,最后一个是你自己想要的环境的名字,可以随便取。稍等片刻,你将会看到:
Looking in links: /tmp/tmp0eywgc7v
Requirement already satisfied: setuptools in /home/joit/.pyenv/versions/3.6.6/envs/my-env/lib/python3.6/site-packages (39.0.1)
Requirement already satisfied: pip in /home/joit/.pyenv/versions/3.6.6/envs/my-env/lib/python3.6/site-packages (10.0.1)
类似于这样的回显信息,说明环境已经创建成功了,它还告诉了你,该虚拟环境的绝对路径,如果你进去看了,你就会发现,所谓的虚拟环境,就是把 python 装在 pyenv 的安装目录的某个文件夹中,以供它自己调用。
在任意目录下,执行命令激活虚拟环境:
pyenv activate my-env你会发现,在你的终端里面,多了一个类似于 (my-env) 这样的一个东西,这时候你如果执行:
python --version会显示, 证明 python 已经安装好了.
安装 NVM
直接在官网获得下面命令输入以安装:
curl -o- https://raw.githubusercontent.com/nvm-sh/nvm/v0.35.3/install.sh | bash在或者中添加下面两行.
export NVM_DIR="$([ -z "${XDG_CONFIG_HOME-}" ] && printf %s "${HOME}/.nvm" || printf %s "${XDG_CONFIG_HOME}/nvm")"
[ -s "$NVM_DIR/nvm.sh" ] && \. "$NVM_DIR/nvm.sh" # This loads nvm
安装激活 Node 12
# 安装 Node 12
nvm install 12
# 激活 Node 12
nvm use 12
安装 Yarn 和 tyarn
# 安装 yarn
npm install -g yarn
# 安装 tyarn
npm install -g tyarn
# 更换淘宝源
yarn config set registry https://registry.npm.taobao.org
安装 mobaXterm
Windows 下的 SSH 工具
下载个人用的免费版本即可,在 Settings -> SSH -> SSH Settings 把 SSH keepalive 勾上。
安装 VScode
设置
设置默认显示空格和tab符号
打开VScode,左上角 文件 -> 首选项 -> 设置,搜索栏里搜索关键字 在Editor: Render Whitespace里选择。
安装插件
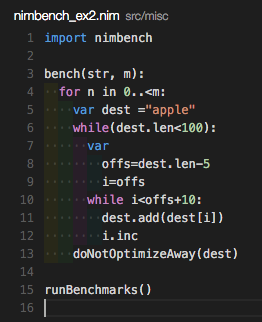

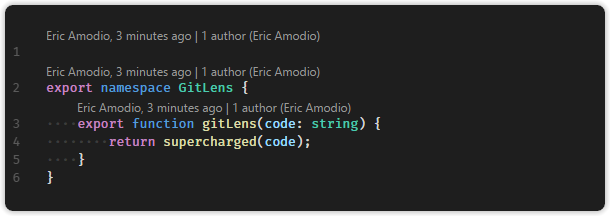
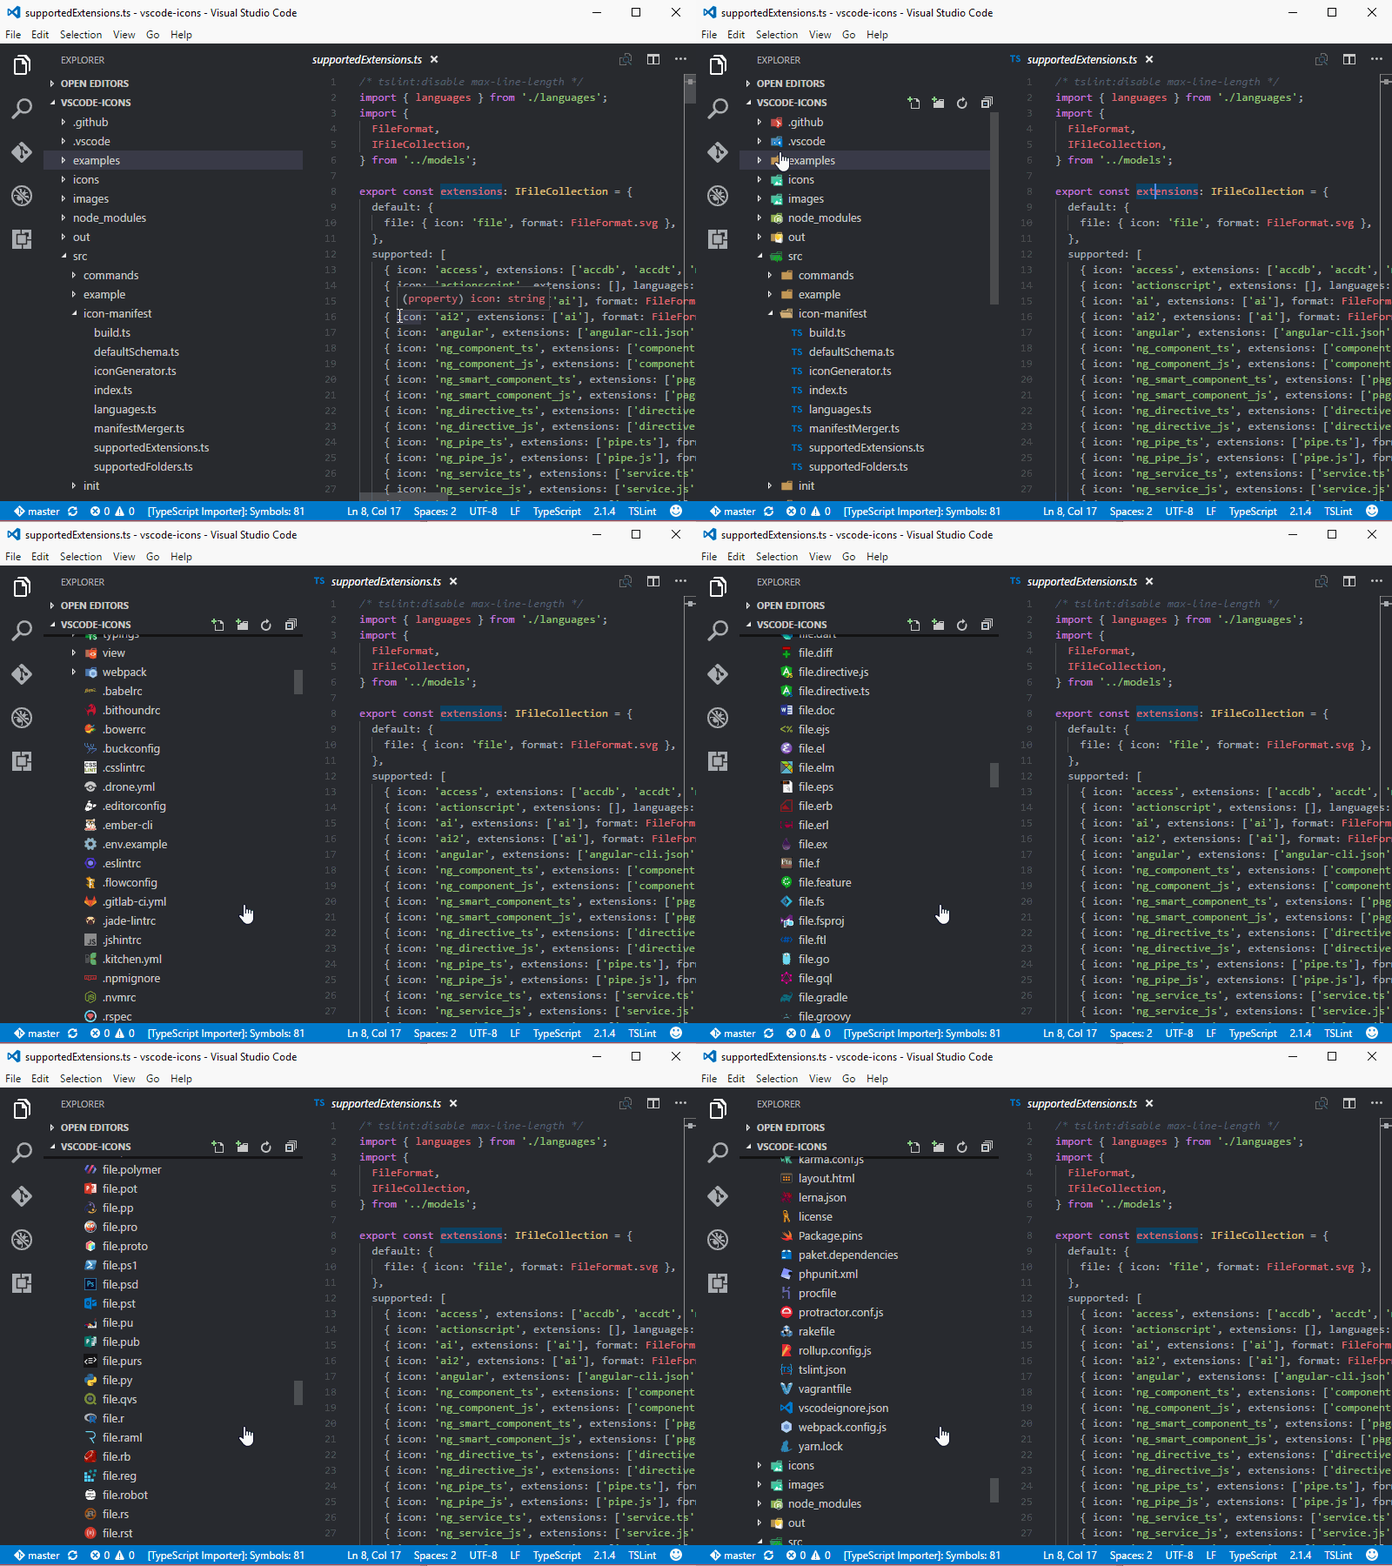
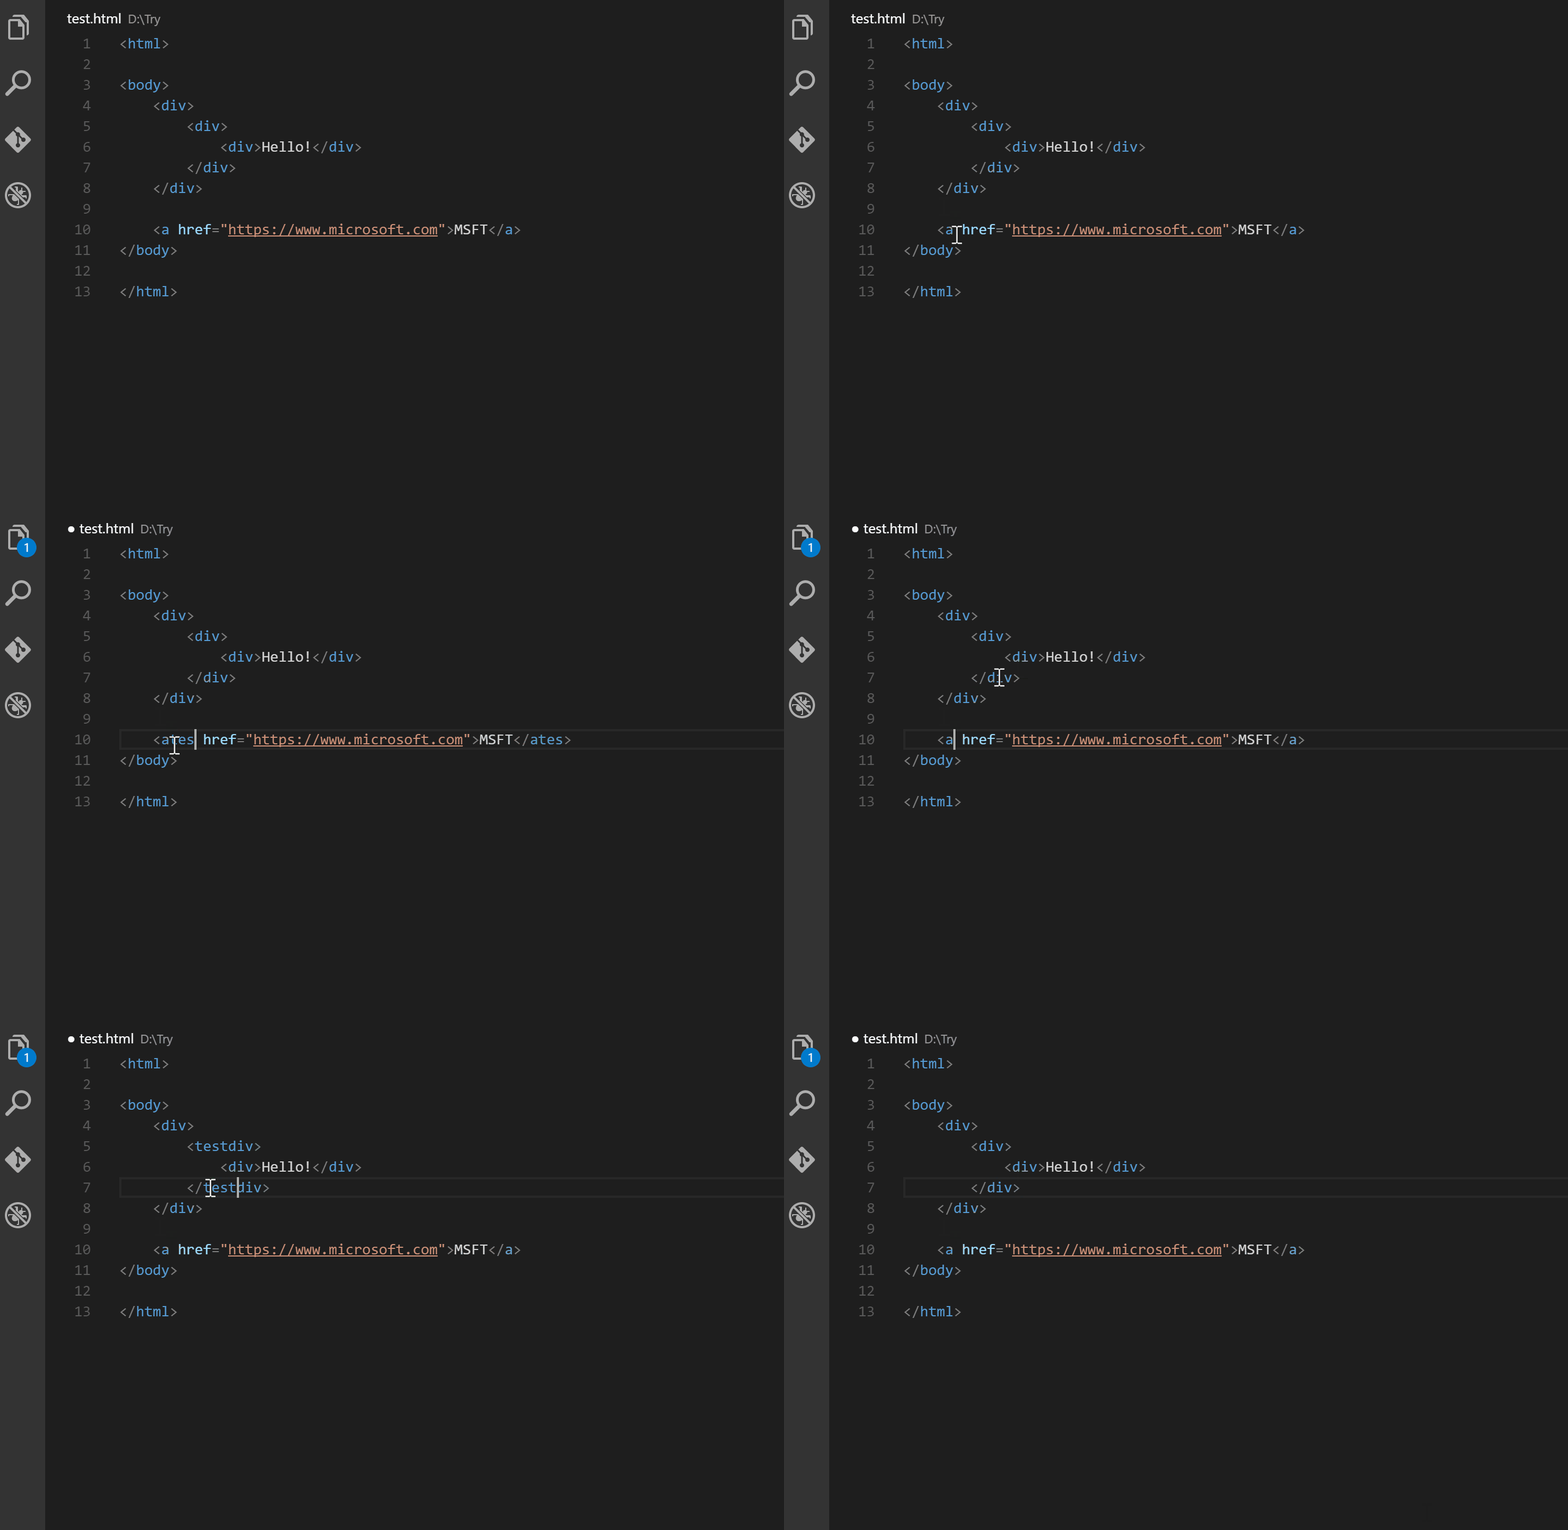
美化javascript,JSON,CSS,Sass,和HTML在Visual Studio代码。
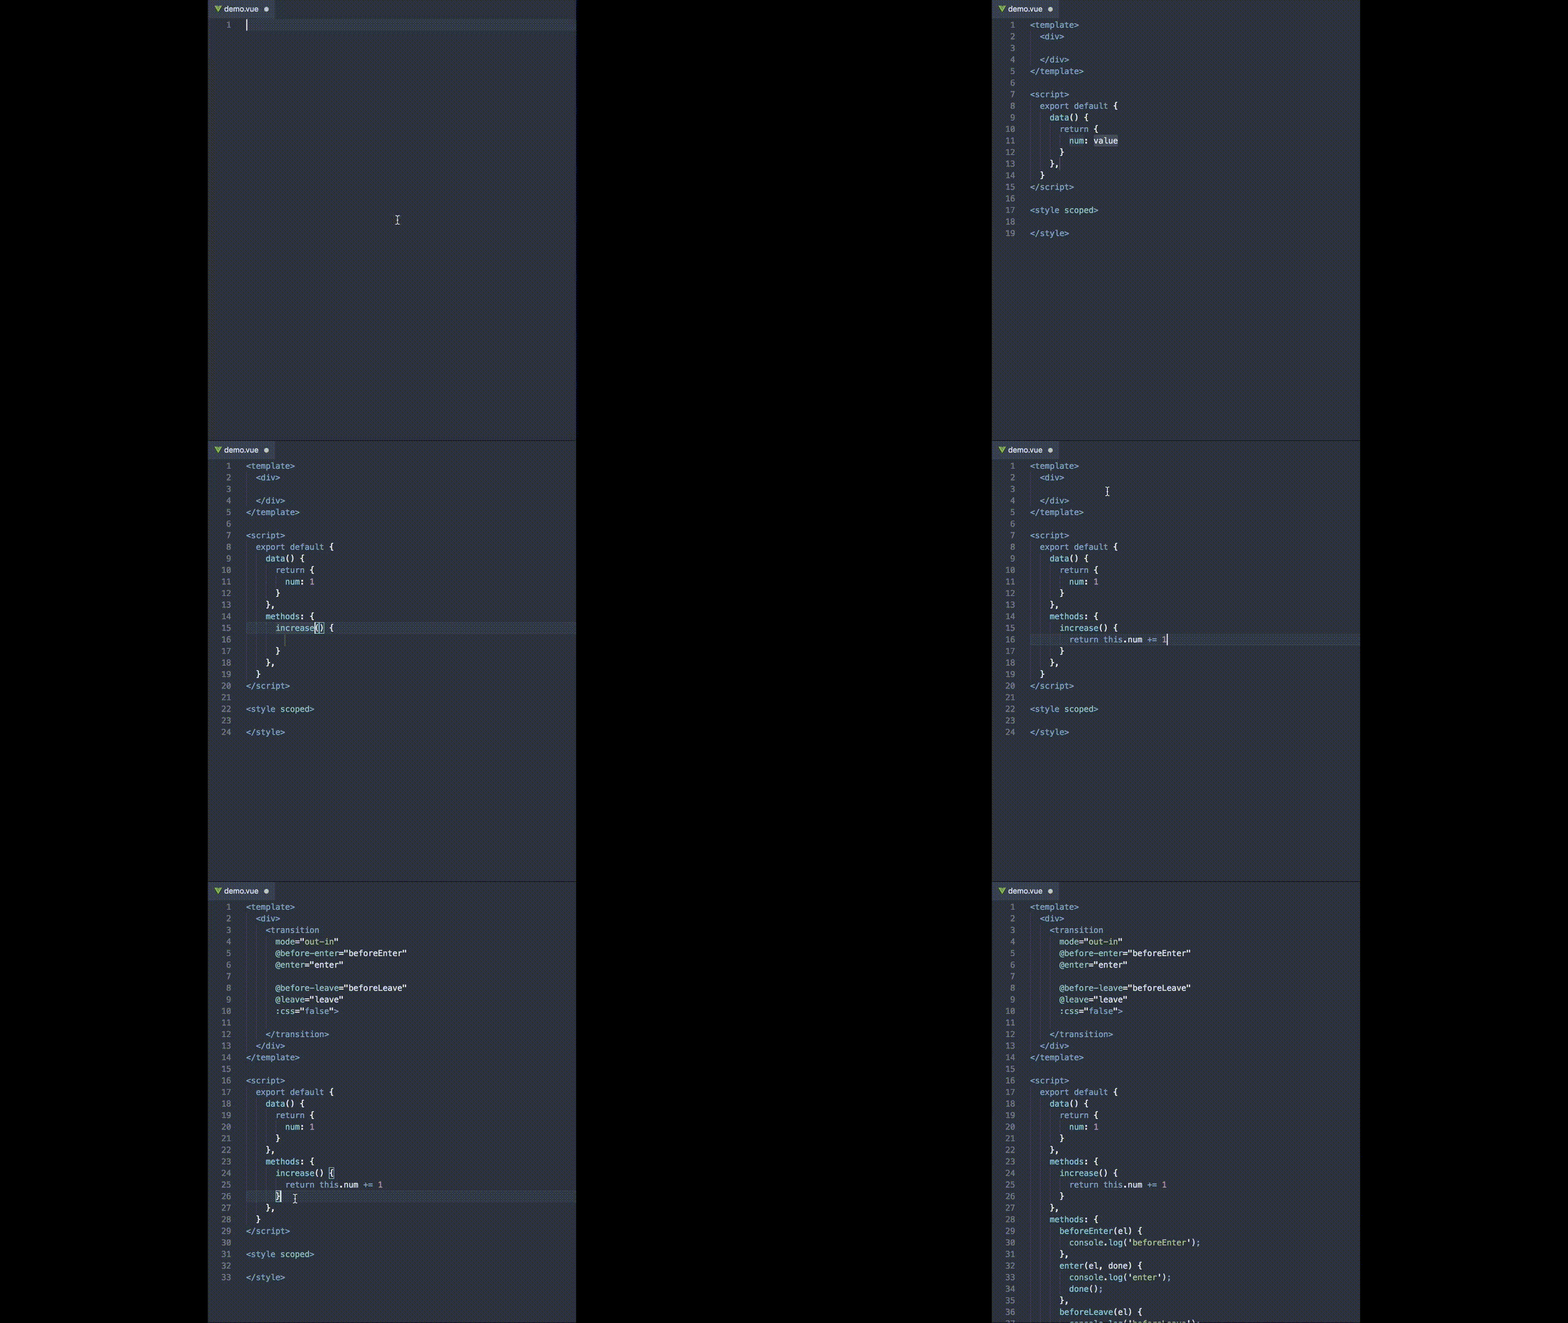
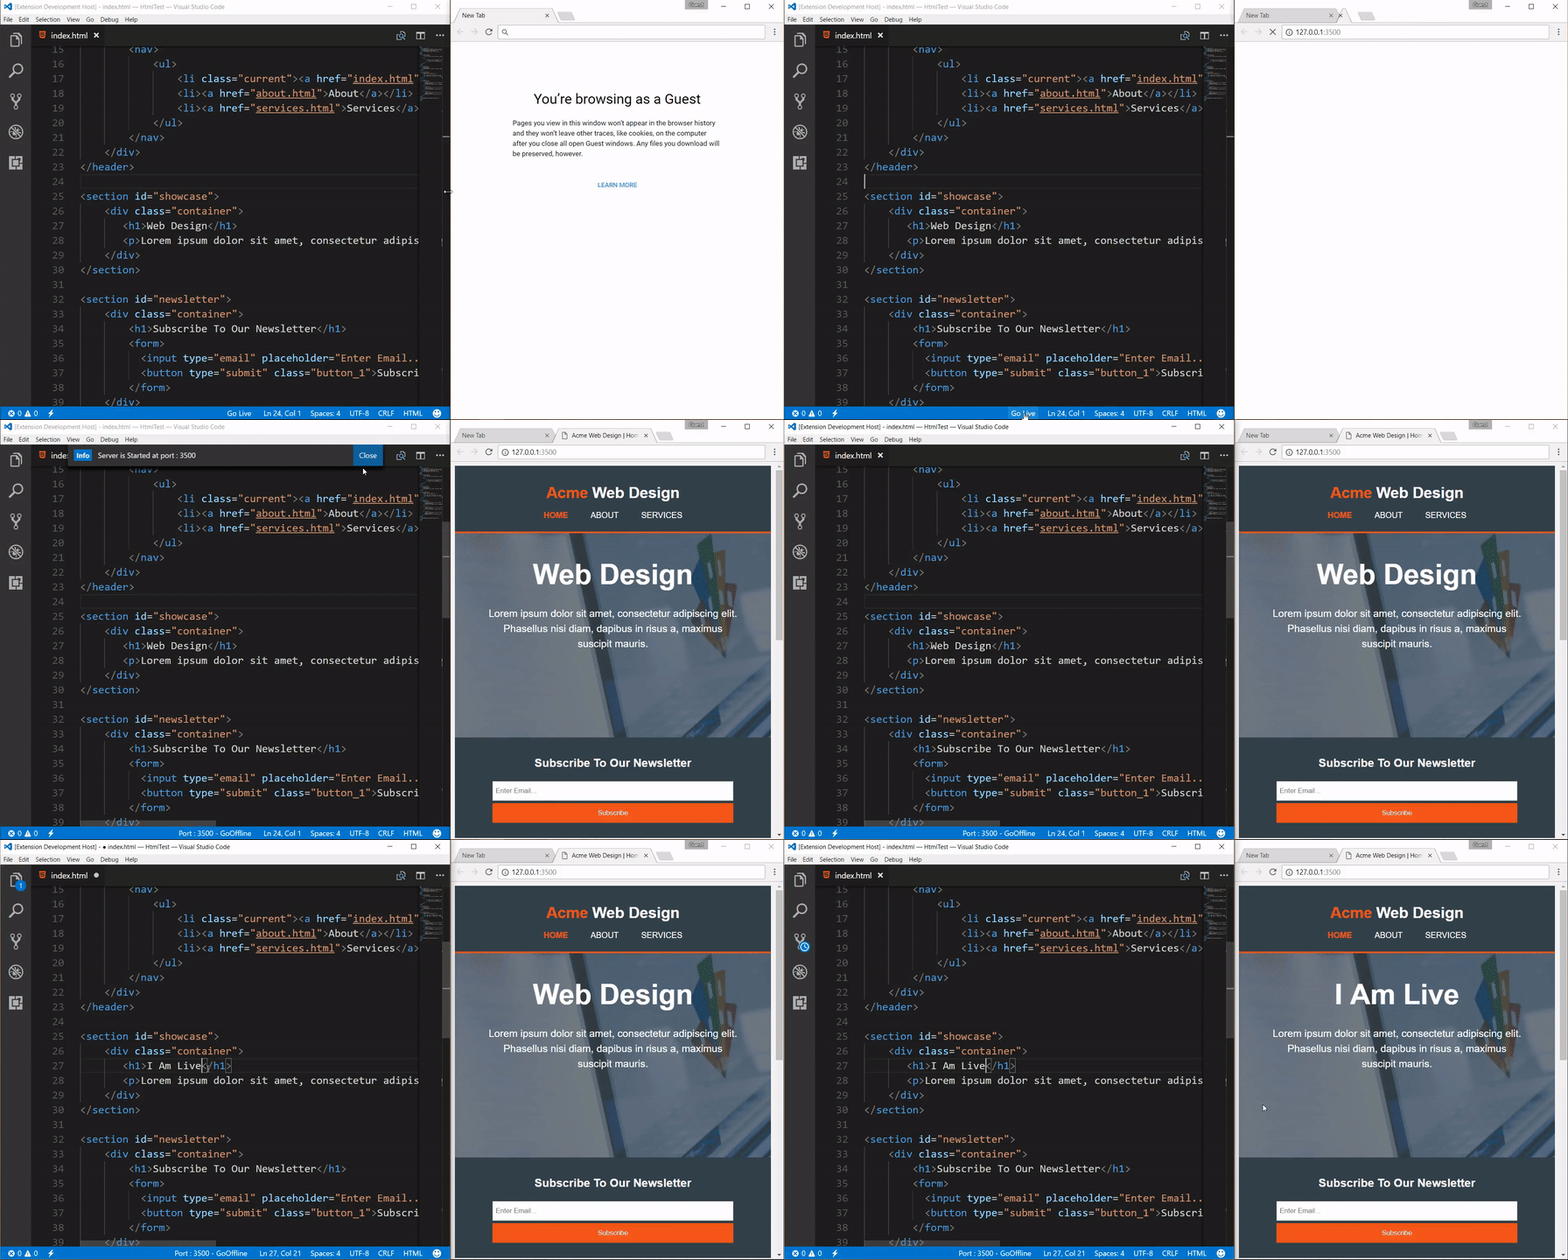
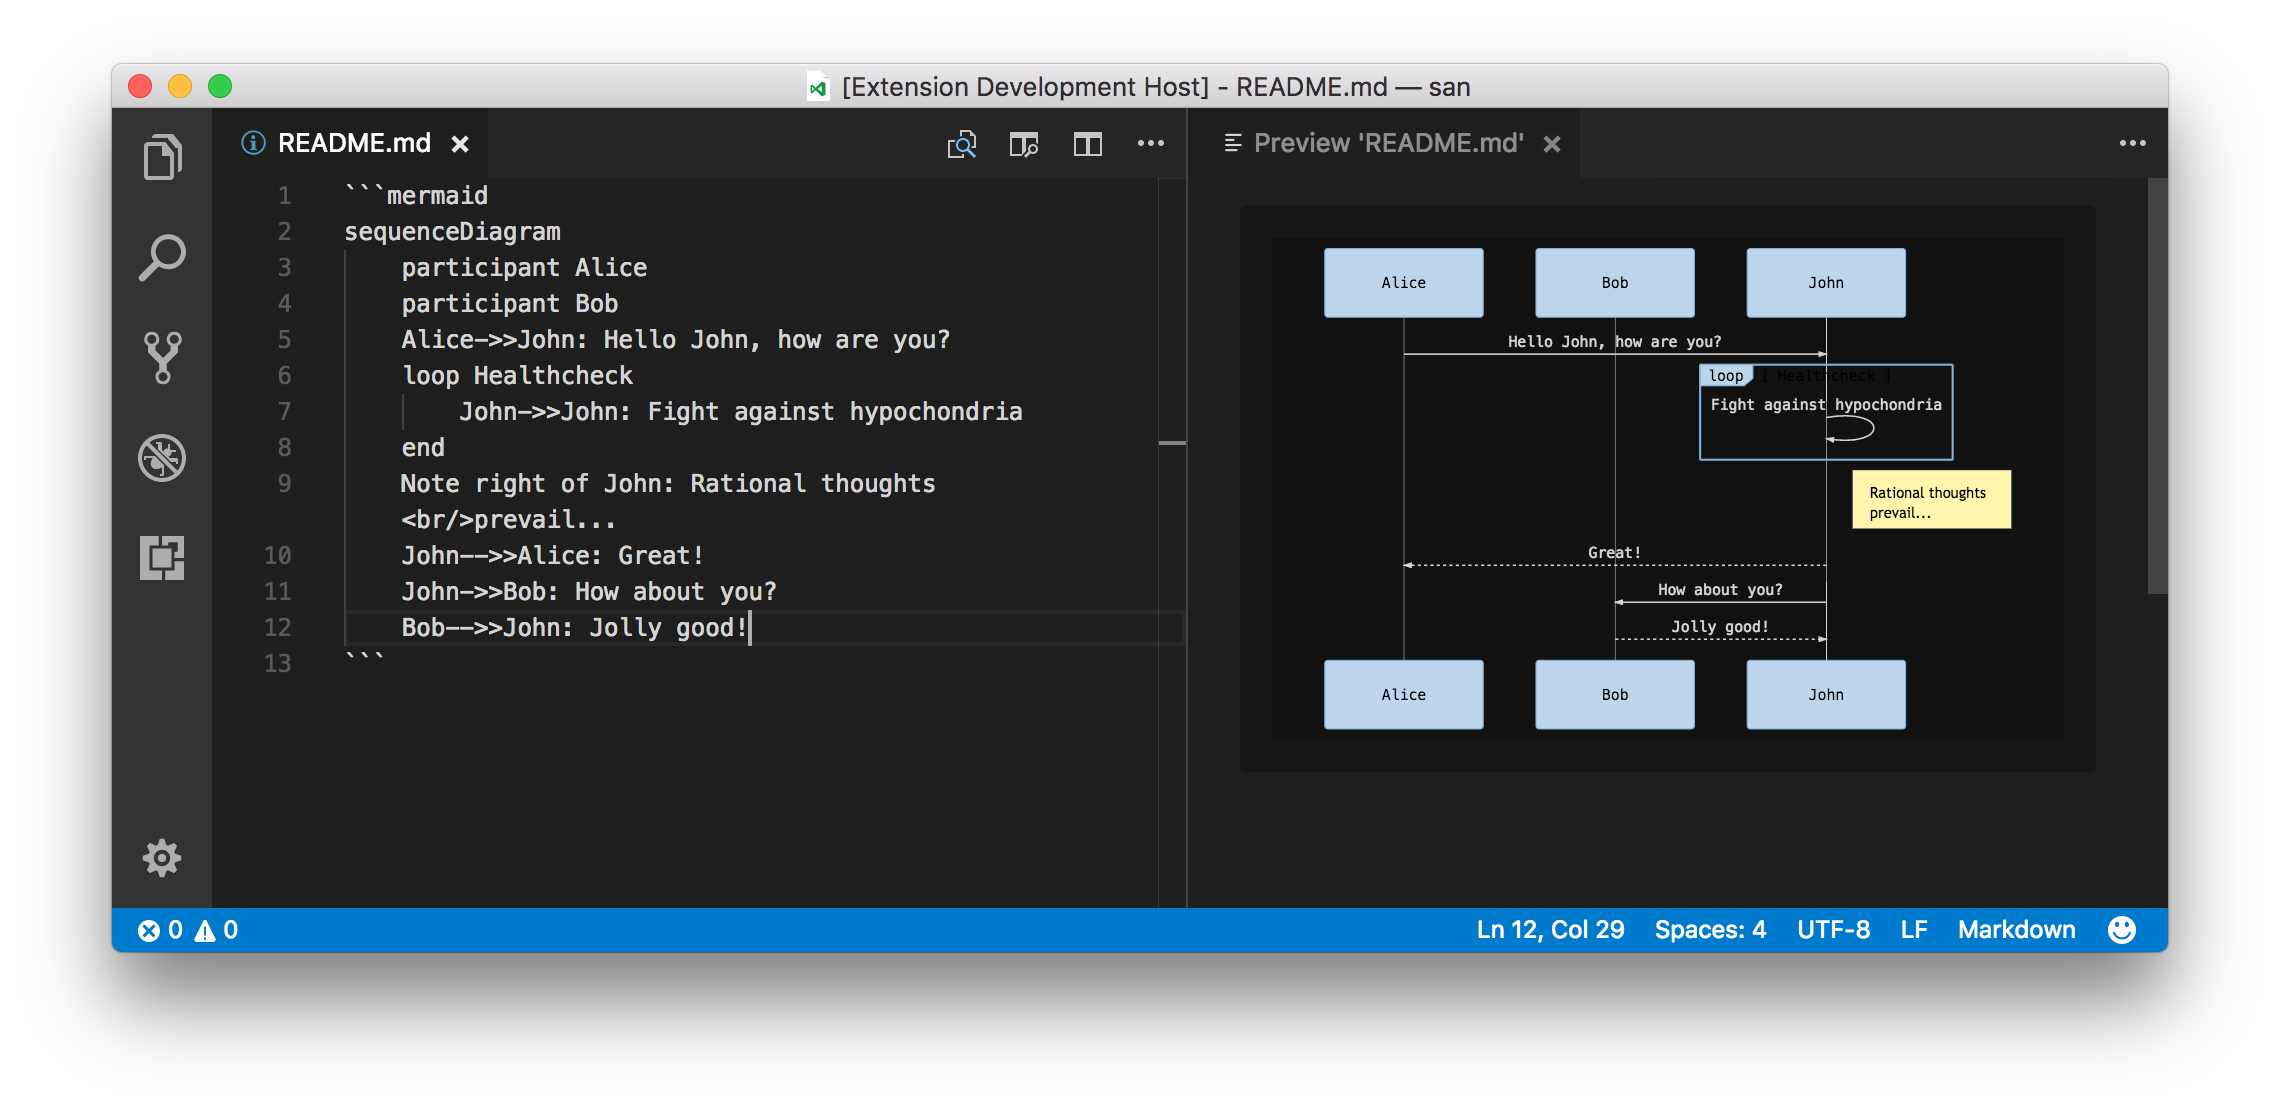
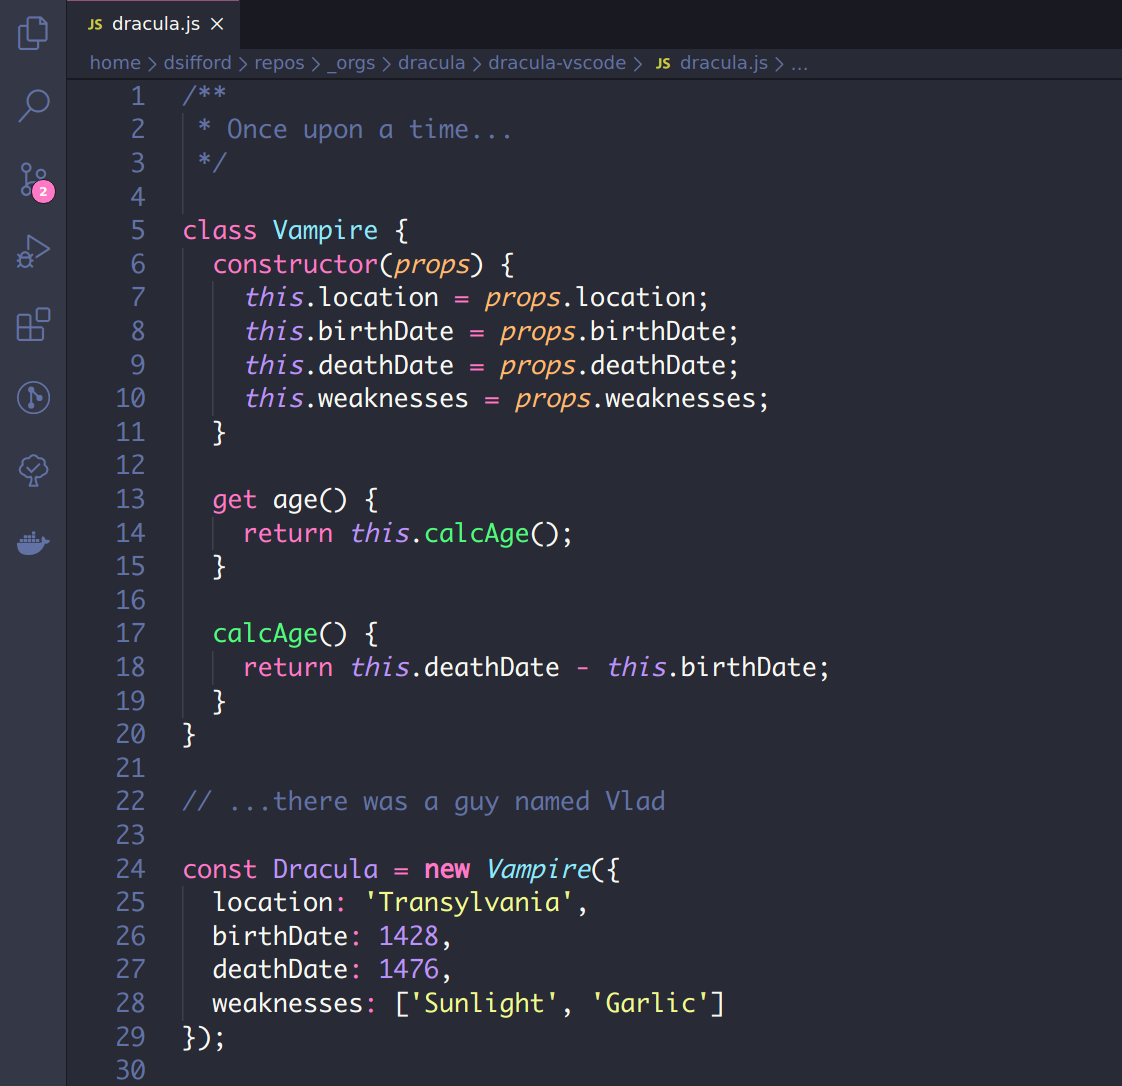
安装 VScode 主题
安装JetBrain Mono字体
JetBrains Mono 字体是 JetBrains 开源的字体, 专门为程序员长期专注观看代码而设计, 各个字母数字辨识度非常高, 能很好地分清, 有效减少疲劳.
下载安装后, 在 VS Code 文件->首选项->设置里搜索项设置字体, 或者在项点击并在内按需增量输入以下内容.
**** 一定要有, 不然连字效果不会显示.
{
  "editor.fontFamily": "'JetBrains Mono', Consolas, 'Courier New', monospace",
  "editor.fontLigatures": true,
  "editor.fontSize": 14,
  "editor.lineHeight": 22,
  "editor.letterSpacing": 0.5,
  "editor.fontWeight": "400",
  "editor.cursorStyle": "line",
  "editor.cursorWidth": 2,
  "editor.cursorBlinking": "solid"
}
安装 Edge
最新的Edge是基于Chromium的,所以支持直接安装Chrome的插件,
插件
在浏览器可用的VSCode: code-server
curl -o code-server-3.1.1.tar.gz https://github.com/cdr/code-server/releases/download/3.1.1/code-server-3.1.1-linux-x86_64.tar.gz# 解压缩 tar.gz 压缩包
tar xf code-server-3.1.1.tar.gz
# 进入解压得到的文件夹
cd code-server-3.1.1-linux-x86_64设置访问密码
export PASSWORD="{YOUR_CODE_SERVER_PASSWORD}"把替换成密码即可
可以放到或者里
运行
./code-server --host "0.0.0.0"在浏览器里访问, 例如在本机访问(code-server 默认监听 8080 端口)